

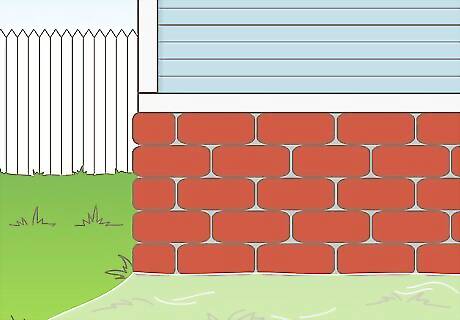
Checking the condition of the siding

Check that the siding is in good condition before considering painting. Painting over sidings that have existing defects simply delays future work to remedy the problems. Moreover, painting over defects will worsen the problem if the sidings actually need to be replaced or mended first. Fix the problems first, to avoid wasting time and money.
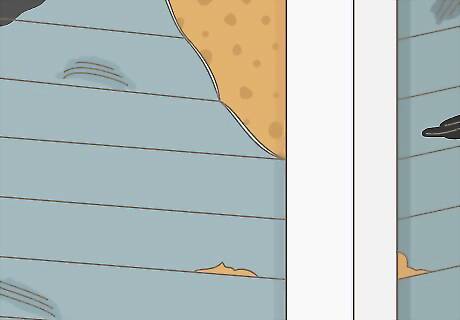
Check for defects. Some of the typical things to note and deal with include: Look for any loose, lifting or missing parts of the siding. Use this check to re-fix or repair the problems. Check the positioning of nail heads and fixings. Each of these items should be flush to the sidings. If they are not, either remove and reposition or replace them with new ones. Remove any rotted parts of the siding or anything that could impact the siding. If there is any excess moisture under the siding, it needs to be treated promptly, as it will only get worse and can encourage the growth of mold or mildew or buckling of the siding. As well as checking underneath the siding, check the surfaces. Treat appropriately to remove and prevent further regrowth of the mold or mildew.
Pre-painting preparation

Brush down the siding first. Use a soft outdoor brush or broom with a long handle and a smaller one for corners and difficult areas. Run the brush or broom over the siding to collect spiderwebs, insect remains, dead leaves, etc. Regularly clean off the broom so that you don't inadvertently scratch the siding surface when reapplying it in a new area.
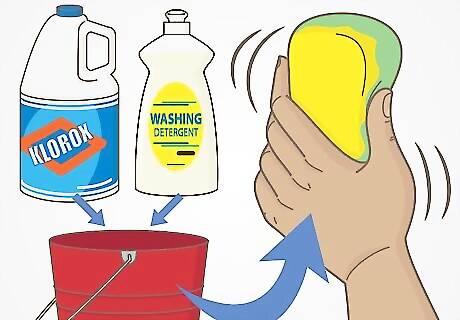
Wash the siding in sections. Use a mixture of water and standard washing detergent to remove all the grease and grime. If you add chlorine bleach to this mixture, it will also remove any mold and mildew that might be growing on the surface of the sidings. While it is possible to use a power washer to clean the sidings, be aware that the intensity of the pressure can cause the sidings to lift up, especially if you are not careful around the edges or wherever there are sidings placed at unusual angles. Moreover, the pressure risks pushing water up behind the siding, seeping into the wood and other material behind the sidings, which can encourage mildew growth or rotting. Your best bet is to wash by hand, using sponges and rags, with the mixture suggested. Although this takes longer, it's a more thorough and gentler clean and won't result in damage to the siding or the walls.
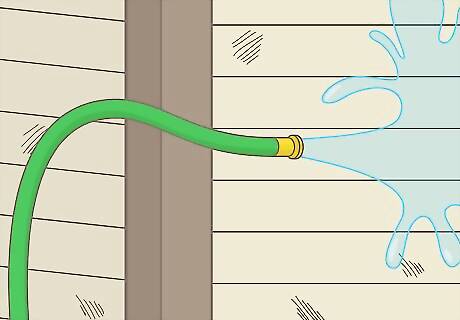
Rinse off the cleaning mixture and remaining particles. Once one section of the siding is clean, rinse off the residue from the cleaning agents before moving to a new section. Before painting, allow plenty of drying time, so that the surface is suitable for painting.
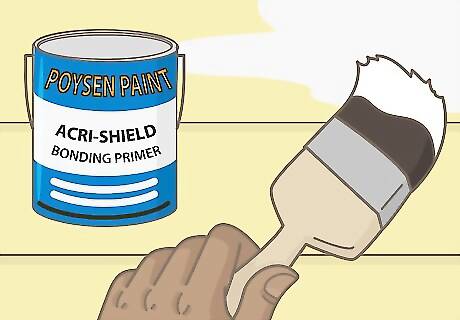
Apply a primer to the sidings. When painting an aluminum or vinyl siding, primer must be used to ensure that the paint sticks to the surface. Use an acrylic bonding primer. This will ensure that the finishing coat stays on properly, and even better, it will help the paintwork to last for longer. The last thing you want is for your paint to start peeling after a few months and having to start again. Apply that primer!
Painting the siding
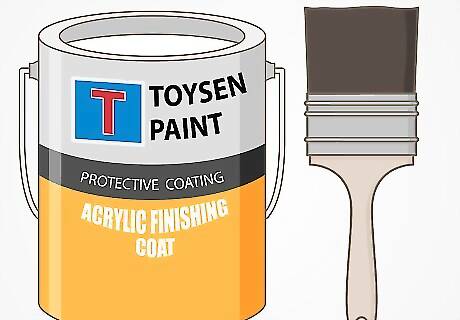
Apply an acrylic finishing coat. Choose the best quality you can afford; your house is your showcase after all. When choosing the paint, you'll find that you have an array of finishes to choose from; however, be aware that high gloss finishes can reflect too much sun. For the best effect, an eggshell finish is recommended. Eggshell finishes still contain some gloss, but in much reduced amounts and therefore won't reflect the sun as much as the high gloss finish. As an added bonus, this surface tends to be easier to keep clean. Take care when choosing the color for your vinyl sidings. Some of the darker colors can cause sidings to warp. The best approach is to talk to the retailer first, to get an idea of which paints are preferable. You should find that light colors are generally fine for vinyl sidings. The color of the paint is usually not a problem for aluminum sidings, so choose any color you want.
Place tarpaulins, old sheets or other covers underneath your work areas. Paint will end up splashing on the ground surface, making more work for you if it spoils other surfaces. Cover all things that you don't want painted and that cannot be moved, such as downpipes, gate posts, taps/faucets, etc. Use old sheets or rags and rubber bands or twine to cover these items. It is best to transfer small amounts of paint to a separate small container, such as a plastic honey or yogurt pot, (or the rolling pad if rolling), and using that to hold and work from. This makes for ease of use and prevents the paint from drying out as you work with it. Be aware at all times where the paint pot is. Always replace the lid tightly after dipping in your brush; spills are expensive and messy, and it's no fun putting your foot into the pot either.
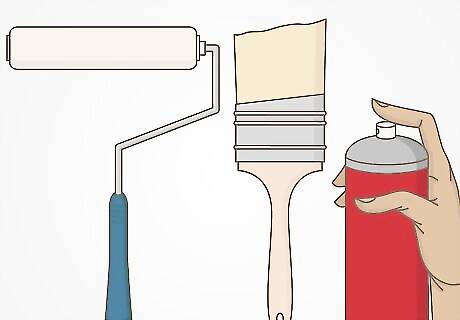
Apply the paint. There are three possible methods for applying the paint: Spray-painting, brushes, or rollers. While the method chosen depends on your painting skill and personal preference, spraying is best left to somebody with experience. If this is your first time, you'll find it easier to work with either a brush or a roller. Even here, you need to make a choice between the faster and easier height application of the roller or the more time-consuming yet neater finish of the brush. It is recommended that your avoid sponge rollers and use a lamb’s wool roller. These last longer and have a neater finish; they also tend to hold less gunk on them. A short roller will be needed as well as a long one; the short one is easier for fitting into the siding folds. Indeed, even if you're brushing most of the time, a small roller helps with tight corners. Brushes tend to give a better finish. They're also easy to use and you'll find that you improve quickly with the repeated practice. It's recommended that you choose a synthetic bristle for acrylic paint. In terms of size, a wider, larger brush will cover more ground than a smaller one but keep a small one handy for the tight corners and fussy bits. Have plenty of rags with you, for spills and drip clean-ups.
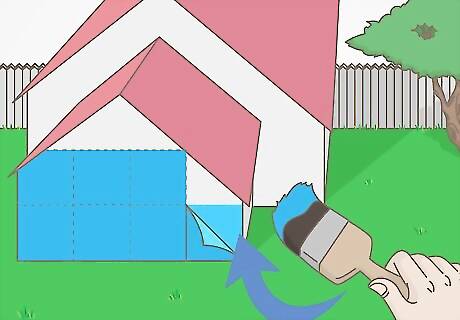
Work your way around the house in sections. Allow each section layer to dry, then reapply another layer. Two layers is usually sufficient but you'll need to judge that with your own eye, depending on your location, climate, the paint used and its final color when dried. If using a brush, always smooth in the last brush strokes with the new lot of brush strokes and fresh paint. Painting from top to bottom is the best approach. That way, you can fix drips that occur as you move down, rather than ruining already painted surfaces. Keep brushes and rollers clean by washing after each use, without fail. Follow the suggested washing method offered by the paint manufacturer.

Check your work afterward. There will always be some areas that need a touch-up. Also remember to check areas you "left for later" because they were awkward, such as siding behind piping, lamps, plants or taps.


Comments
0 comment