views
Location and Species Selection
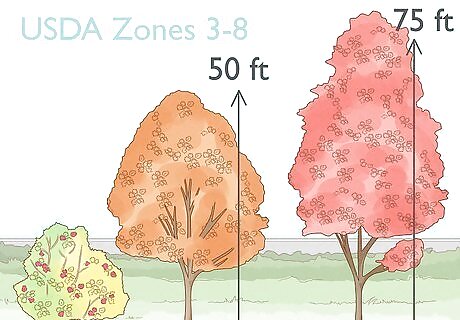
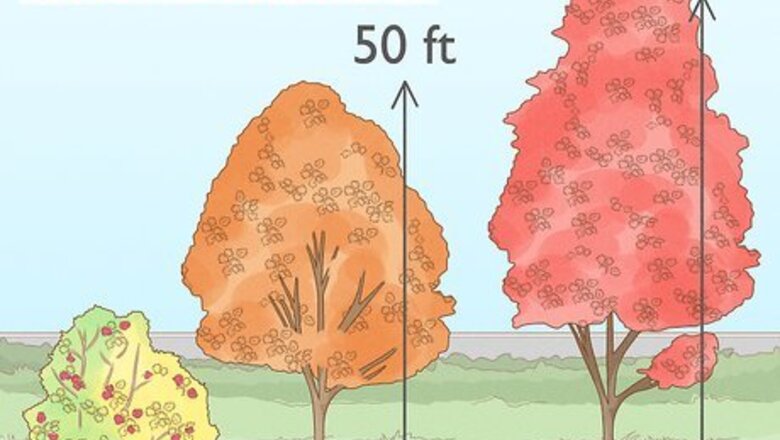
Choose a maple species that suits your climate zone and available space. Maples are hardy trees that can survive a wide range of climates. Some species are better suited to certain conditions, though, so it’s best to check with an arborist or tree nursery expert for advice on the best options in your area. Likewise, maple species can vary from shrub-size Japanese maples to sugar maples that reach 75 ft (23 m) in height and 50 ft (15 m) in canopy spread, so choose a species that suits your available space. In the United States, most maple species are best suited to USDA Zones 3-8, an area that covers most of the continental U.S. As a few specific examples, Japanese maples prefer Zones 5-8, silver maples prefer Zones 3-9, and crimson king maples prefer Zones 3-7. One of the most widespread American maple species, the red maple (acer rubrum), averages 50 ft (15 m) in height and 30 ft (9.1 m) in canopy spread at maturity.
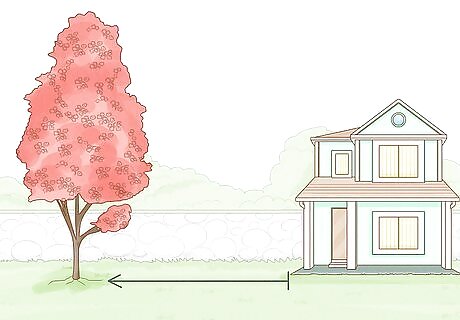
Pick a spot where the tree won’t overhang your home or interfere with utilities. Planting a maple near your home can provide wonderful shading. However, the leaf canopy of any type of tree you plant, when fully grown, should not touch or overhang your home. So, if your chosen silver maple (acer saccharinum) has an average mature canopy of 50 ft (15 m)—in other words, 25 ft (7.6 m) from the trunk all the way around—plant it at least 30 ft (9.1 m) from your home. Overhanging limbs can clog gutters with leaves and cause damage in storms. Also, the root system of a tree extends underground at least as far as the canopy, and roots can cause damage to your home’s foundation. Make sure there are no overhead or underground utility lines in the area of both the mature leaf canopy and root system (roughly equivalent to the canopy). Contact your local utilities to mark their underground lines before digging!
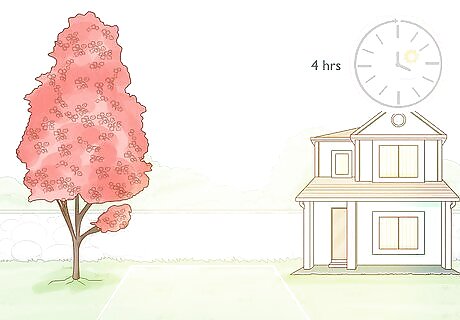
Select a planting location that gets 4-plus hours of sunlight per day. Maples do best in a place that gets both sun and shade during the day. If you choose a spot that averages less than 4 hours of direct sunlight per day, your maple will likely survive but not achieve its full potential. If a maple tree is exposed to intense, direct sunshine for too long, its leaves may shrivel and fall off. Some maple varieties do have slightly different sunlight needs. For example, Norway maples can handle some partial shade, coral bark maples can deal with some light shading, and paperbark maples need full sunlight.
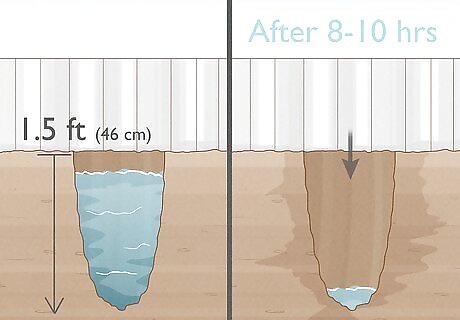
Test whether the soil drains well without getting too dried out. Maple trees prefer soil that stays moist most of the time yet also drains quickly. Test the soil drainage by digging a 1 ft (30 cm) deep hole, filling it with water, and letting the water drain completely. Refill the hole with water and time how long it takes for the water to drain completely again. If it takes between 5 and 15 minutes to drain, the soil is ideal for maples. If it takes longer than 15 minutes to drain, the soil isn’t ideal for a maple. Anything longer than 60 minutes is definitely not good for a maple. Soil that drains in less than 5 minutes is okay for a maple, but the tree may require more frequent watering as it gets established.
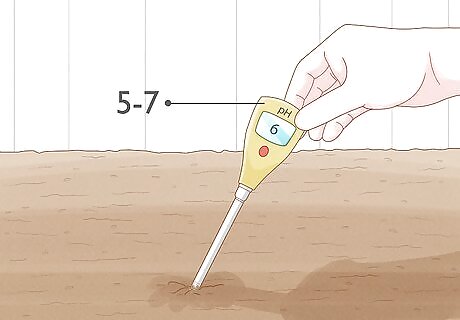
Use a testing kit to determine if the soil pH is between 5.0 and 7.0. Test the soil according to the kit’s instructions, which are often like the following: Dig a 2–4 in (5.1–10.2 cm) deep hole in the soil, clear away any rocks or twigs, and fill the hole with distilled water. Dip the test probe into the muddy water and wait about 1 minute. Check the pH readout or use the color-coded guide provided with the kit. You can purchase a pH test kit at your local garden center. If the soil pH is outside the 5.0 to 7.0 range, you’ll have better luck planting another species of tree. Soil pH can be adjusted with amendments, but it is very difficult to maintain a consistently altered pH for the life of a tree—especially since maples can live for 100-300 years!
Planting Process
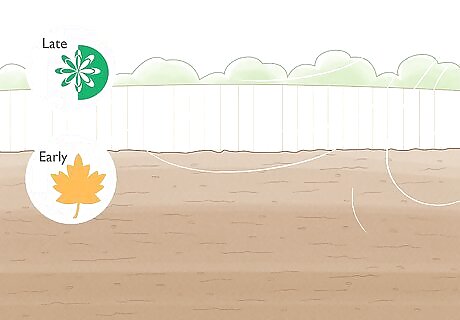
Plant a maple when the air and soil are cool to promote root growth. In many climates, late spring and early fall are the best times to plant maple trees. Aim for a time when the air temperature is comfortably cool—not freezing cold nor uncomfortably hot. Likewise, the soil should be cool but not frozen (or nearly frozen). These conditions promote root growth. In some climates, fall is definitely the best time to plant a maple, while spring is the ideal time in other climates. Your best bet is to consult a pro at a local plant nursery or agricultural extension office.
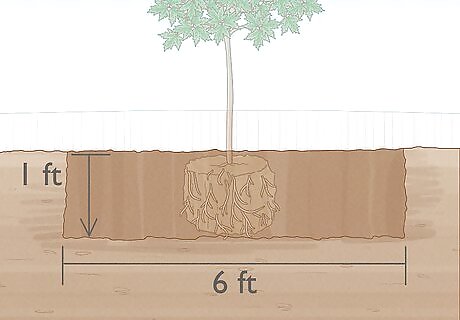
Dig a hole that’s 3x wider and 1x as deep as the tree’s root system. If your tree comes with a root ball that’s 2 ft (61 cm) wide and 2 ft (61 cm) deep, for example, dig a hole that’s 6 ft (1.8 m) wide and 2 ft (61 cm) deep. Use the same formula if you’re planting a bare-root tree without a root ball. This hole depth may end up being a bit too deep when it comes time to position the tree, but it’s easier to dig the hole a bit deeper now and backfill it as needed. If the soil is heavy clay, scrape channels into the side walls and bottom of the hole with a hand rake or the tip of a dirt shovel. Doing so will make it easier for water and tree roots to penetrate the clay.
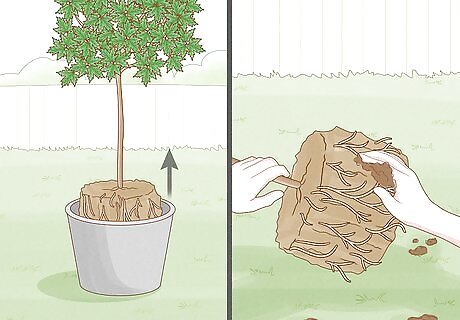
Remove the tree from its container and loosen the root ball slightly. If the maple is in a tree nursery container, grasp the trunk and lift it straight up and out—if it’s stuck, cut away the container. Put on gardening gloves (if you haven’t already) and use your fingers to loosen the root tips around the exterior of the root ball. If the root ball is very tightly packed—or “root bound”—use a garden hose to blast away some of the packed-together soil around the exterior. If the root ball is instead wrapped in burlap, simply cut away the burlap with garden shears and then loosen the root tips. A bare-root tree requires minimal if any root preparation. Simply loosen up any root tips that are packed together.
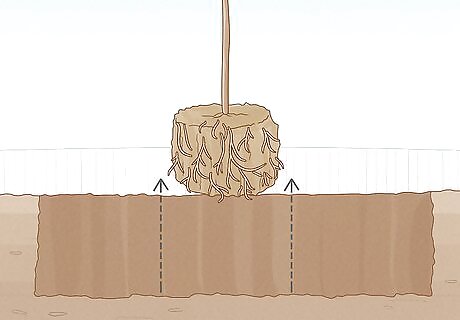
Stand the tree in the hole so the root ball is at or slightly above ground level. Lift the tree by its trunk and place it in the middle of the hole, standing straight up. In ideal soil conditions, the top of the root ball should be either level with or just a few inches/centimeters above the surrounding ground level. If this is the case, move on. If the soil drainage is less-than-ideal, aim to have up to one-third of the root ball above ground level. In this case, lift out the tree, shovel in some of the dirt you removed, replace the tree, and keep fine-tuning as needed.
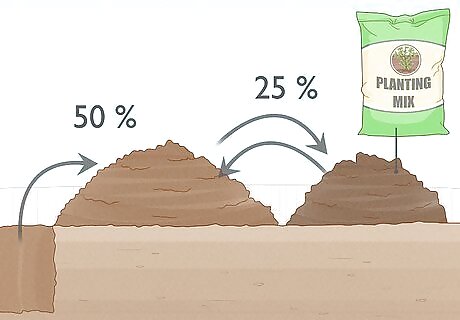
Improve sandy or clay backfill by adding bagged soil mixes. If the backfill soil that you dug out to create the planting hole is sandy or very dry, replace 25%-50% of it with an even mixture of bagged topsoil and either peat moss or compost. If the backfill soil is densely-packed dirt or clay, replace 25%-50% of it with bagged topsoil and/or a bagged planting mix. Simply remove some of the existing backfill, dump on the additions, and use your shovel to mix the new backfill together. Remove any rocks from the backfill while you’re at it! Improving the soil this way will help the tree flourish early on and ease its transition into the native soil.
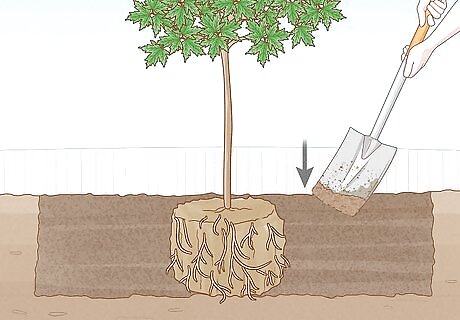
Fill the hole around the tree halfway with soil, add water, and repeat. Use your shovel and the backfill soil mixture to fill the hole halfway, then pour 1–2 US gal (3.8–7.6 L) of water evenly over the soil to remove any air pockets. After the water soaks in, fill the rest of the hole up to the surrounding ground level, then pour on another 1–2 US gal (3.8–7.6 L) of water. If you have a helper, have them hold the tree trunk to keep it completely upright. If you’re working solo, try to hold the trunk with one hand while backfilling with the other. If the top of the root system is above ground level, mound up just enough soil to cover the exposed roots with a couple of inches/centimeters of dirt.
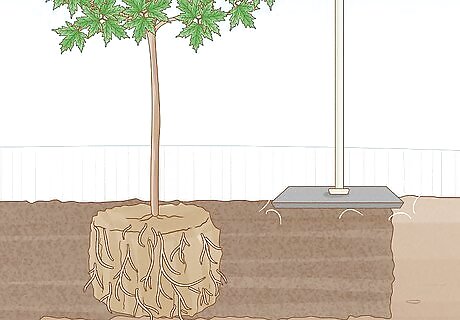
Tamp down the backfill with a tamper tool or shovel to remove air pockets. Repeatedly smack the flat bottom of the tamper tool or shovel blade against the soil surrounding the tree trunk. You may need to add a bit more backfill to bring the soil back up to ground level—if so, tamp it down and repeat the process as needed. If the top of the root ball is above ground level, tamp the small amount of soil that’s covering it very lightly.
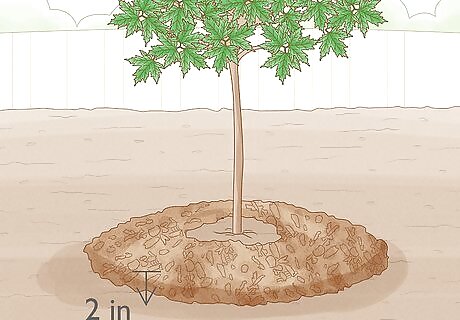
Spread a 2 in (5.1 cm) layer of mulch over the soil around the tree. The mulch should cover the entire backfill area or extend 3 ft (91 cm) from the tree trunk all around—whichever is larger. But don’t pile up mulch right against the trunk! In fact, leave a 2–3 in (5.1–7.6 cm) gap between the trunk and the mulch. This depth and spread of mulch is sufficient to hold in moisture and limit weed growth—adding more isn’t necessary. If you pile up mulch against the trunk, the wet mulch may cause rot on the tree bark and potentially kill your newly-planted maple. Fertilizer may give the tree a boost, but digging mulch or a light layer of moss peat into the surface around the trunk each growing season is more beneficial as it adds a small amount of organic matter and helps to hold moisture in the soil.
Watering and Care
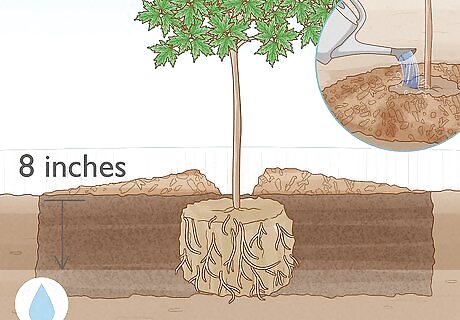
Aim to keep the soil consistently moist at least 6 in (15 cm) deep. A few days after planting the tree, dig a small hole to a depth of 6 in (15 cm) near the edge of the mulch bed. If the soil is dry, add water to the entire mulch bed until the soil is damp but not soaked at the bottom of the hole. Repeat this process every few days until you get a good handle on how much water you need to add—and how often you need to add it—to keep the soil moist. Water the tree as needed for at least the first year after planting it. You might, for instance, have to add 3–4 US gal (11–15 L) of water twice per week. If the tree branches and leaves start to wilt on your maple tree, it is not getting enough water.
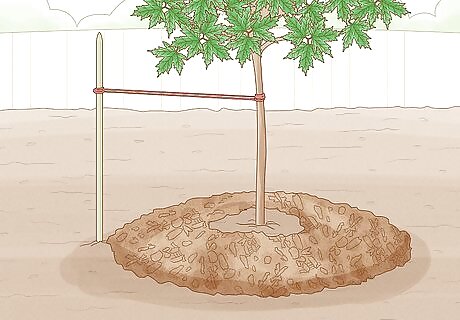
Stake the tree for its first year, if desired, to help its roots take hold. Staking is optional for maples. To stake a newly-planted maple, pound in 2-3 wooden stakes that are equally spaced apart around the tree trunk—put them about 2 ft (61 cm) from the trunk and angle them roughly 45 degrees away from the trunk. Tie a nylon string to each stake. Wrap a rubber covering around the tree trunk where you intend to tie the strings, then attach them securely but not too tightly around the trunk. Remove the stakes after the first year of growth after planting. Otherwise, they may restrict trunk growth.
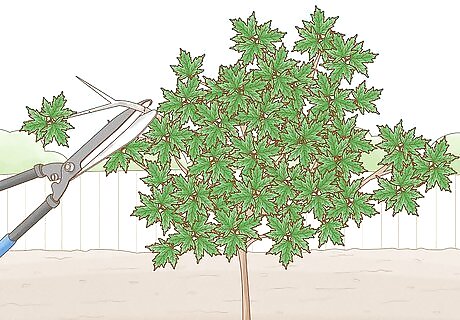
Prune damaged or undesirable branches a few times per year. Pruning is particularly helpful during the first several years of growth, but don’t overdo it! Use sharp pruning shears to nip off dead, damaged, intertwined, or low-hanging branches no more than 1 in (2.5 cm) from the trunk or limb—get as close as you can without damaging the bark on the trunk or limb. During the spring, prune any branches that are sprouting near the soil line. In summer, prune dead, damaged, or twisted branches, as well as branches you want to remove for aesthetic purposes. In winter, do another round of pruning similar to that done in the summer.
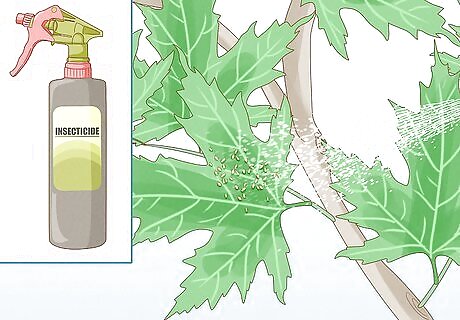
Check often for wildlife, insect, or disease damage, and respond quickly. Consult a local expert at a tree nursery or agricultural extension office so you know exactly what to watch out for in your area. To ensure your tree’s survival, immediately deal with damage from various diseases, insects like caterpillars and aphids, and wildlife like deer and rodents. Maples are typically fairly resilient against insect damage, but they are susceptible to bark damage from wildlife such as deer. Consider loosely wrapping plastic or metal fencing around the trunk if you see missing bark or other signs of damage. Diseases may cause spotting on the leaves, bark damage, or other issues. Consult an arborist if you suspect signs of disease.



Comments
0 comment