
Setting Up Your Work Area
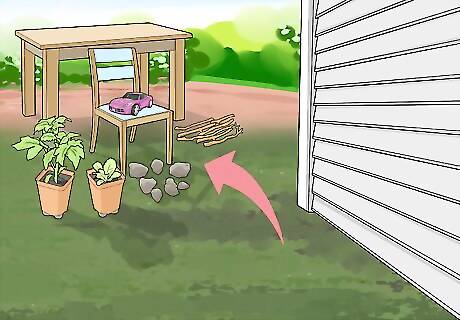
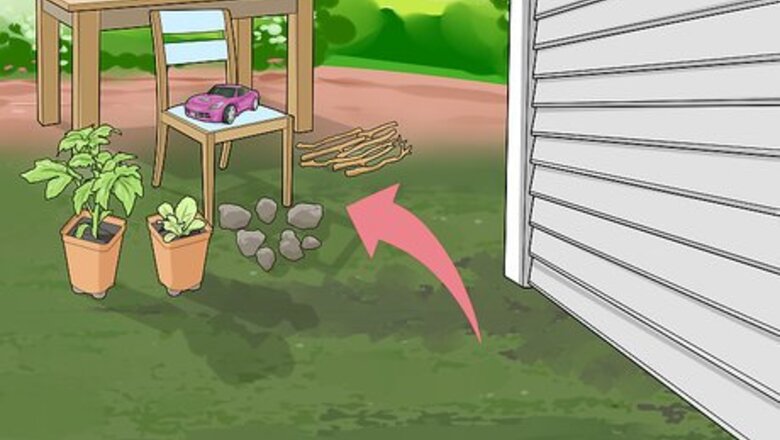
Clear obstacles and clutter. Remove any obstacles or ground debris that may interfere with the proper use of a ladder. Move lawn furniture, potted plants, toys, sticks, and rocks away from where you’re working. Make sure there is a stable spot for the ladder to be set up.
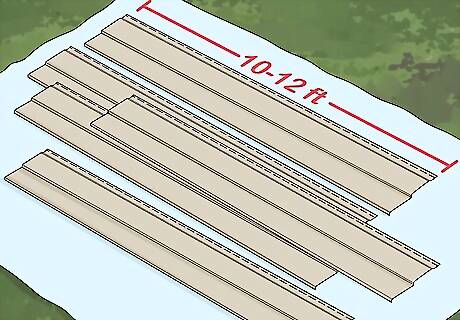
Designate a large area to pile the pieces of vinyl siding. If the siding is still in good condition, lay a tarp our to keep the siding clean. If you are going to throw it away, or recycle it, park a truck nearby, so you can throw the siding directly into it for removal from your property. However you decide to pile the siding up, pieces are often 10-12 feet long, so make sure you have a large enough space. If you’re taking off a whole wall of siding, it will take up more space than you might think.
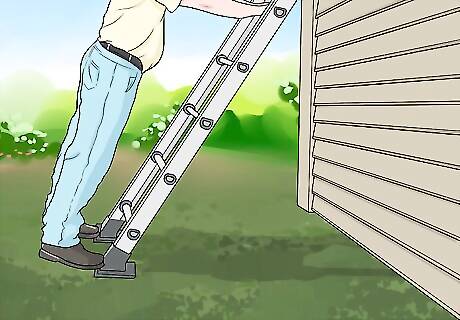
Set up a ladder if you need one. Find a stable piece of ground to set up a ladder on. Make sure it reaches to the highest piece of vinyl siding that you need to remove. If the ladder is the type that leans against the house, make sure to place it at a 45-degree angle for the most stable setup. When working on a ladder, it’s always good to have a partner standing by to help you balance. If you are only removing one piece of siding and you can reach it from the ground, a ladder is not necessary. If you are removing an entire wall, it’s best to start removing the siding from the top because of how the pieces are connected.
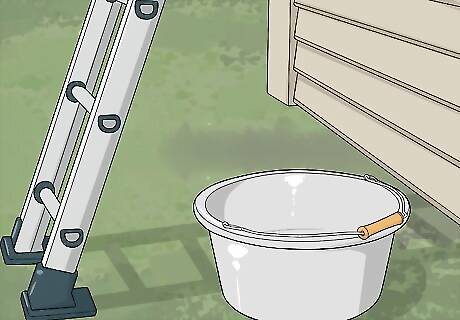
Set a bucket nearby for nails. Vinyl siding is held on by hundreds of nails, which you’ll be removing along the way. Make sure to have a trash bucket of some kind close to your work area so you can throw all of the nails in it as you go. Nail puller pliers are a useful tool for easily removing siding nails.
Detaching Pieces of Vinyl Siding
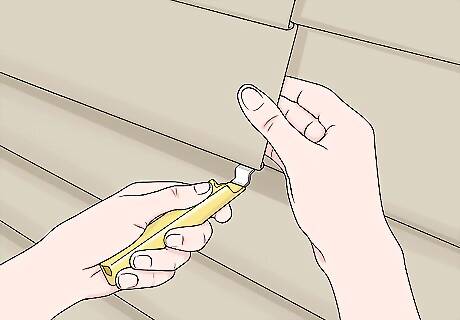
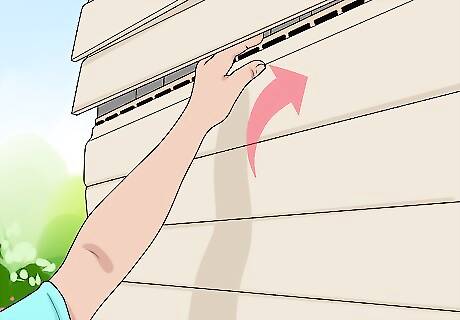
Use a zip tool to disconnect two pieces of siding. Zip tools disconnect a higher piece from a lower piece. Reveal the nails anchoring a piece to the wall by sticking the zip tool under the bottom of the piece above it. To remove a piece at your eye level, slide the zip tool under the piece above that one. If you don’t have a zip tool, buy one at a hardware store. It should cost around $5 and is perfect for removing the siding. You can also get a tool made specifically for removing siding, called a siding removal tool, for around the same price. The top piece will have a piece of channel, rather than another piece of siding, covering its nails. You may have to remove this top piece of channel to remove the top piece of siding.
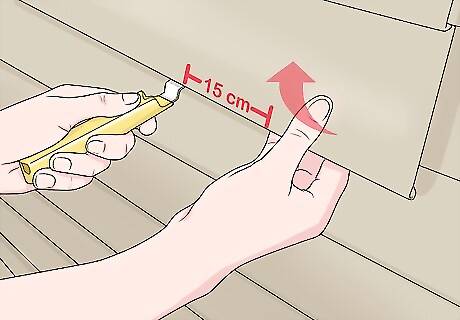
Slide the tool sideways and pry upward. Slide the tool about six inches (15 cm) from where you inserted it and pry it upwards. Then slide it a bit farther and pry again. Continue this process going back and forth between sliding and prying until the entire length of the piece of siding is unhooked from the piece below it. Once the higher piece is unhooked from the lower piece, lift the higher piece up and look under it. You’ll see the nails which anchor the lower piece to the wall.
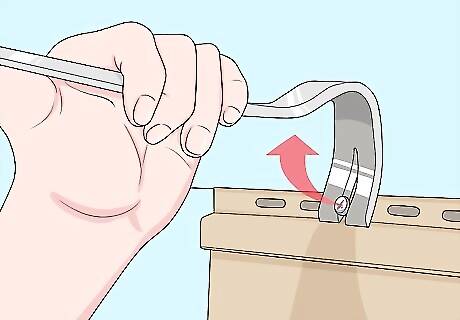
Remove the anchoring nails. Use a crowbar, flat bar, or a claw hammer to pull all of the exposed nails from the piece of siding. Work methodically from left to right, taking care not to skip any nails. If you happen to miss a nail, the piece of siding will not come off of the house. A flat bar is the easiest tool to use because its shape works better than a hammer when removing siding. Find a flat bar at a hardware or home improvement store, or some big-box stores.
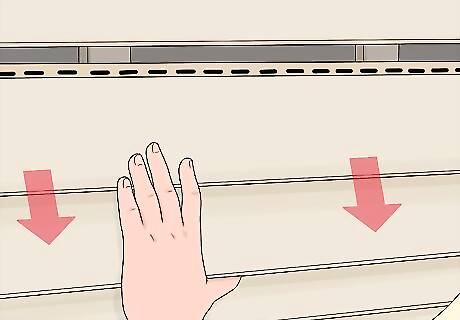
Push the siding downward to remove it from the piece below it. After you remove the nails from the top of the piece of siding, it is still hooked to the piece below it. Place the palms of your hands on the siding and apply downward pressure until the piece pops free. If the piece still seems attached to the wall, gently pull it outward so it comes free of the channel holding it in place at the end of the wall. If the siding is hard to remove, try tapping it with the palm of your hand. If it remains stuck, double check to see if you have overlooked any nails.
Finishing the Process
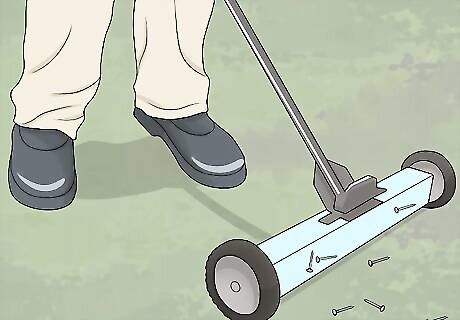
Check the ground for nails when you’re finished. If you removed a whole wall of siding, it’s likely you dropped at least a couple of nails. Carefully scan the area you’ve been working in to locate any lost nails. They pose a danger to feet and lawnmowers if left in the yard. It’s a good idea to use a lawn magnet, which easily picks up nails you can’t see. Dump the nails in a garbage container or keep them for use later on. Don’t put them in a trash bag to transport them, as they’ll rip the bag and spill.
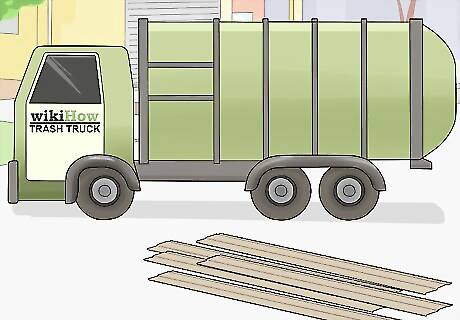
Dispose of the siding. You’ll have more siding than you can realistically throw away in your regular garbage. You’ll need to schedule a large item pickup with your trash company or take the siding somewhere on your own. You may be able to recycle it. If the siding is in good shape, you may be able to sell it for secondhand use.
Replace removed siding as soon as possible. Most of the time if your house has siding, the area of wall you uncover is not meant to be exposed to the elements. Hang new vinyl siding, or some other type of siding, as soon as possible to avoid damage to the exterior wall of your house. If you only remove one piece, you might be able to cover the area with a tarp to protect it until you replace the piece. Measure the area you uncovered so you know what size replacement piece you need. Don’t leave exterior walls exposed for long periods of time or you risk damage to your house.


Comments
0 comment