
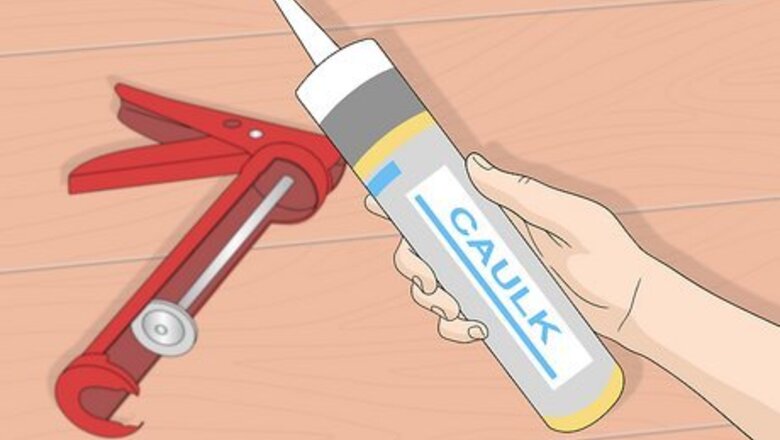
Making Minor Corrections with Caulk

Purchase a suitable caulk. Exterior caulk that is intended for vinyl will be able to fill nail holes and minor cracks. Some hardware stores and home centers may offer a variety of colors so you can match the tint of your home’s siding. If you can’t find tinted caulk, use a vinyl caulk that can be painted. When the caulk is dry, you can paint it to match the vinyl siding.
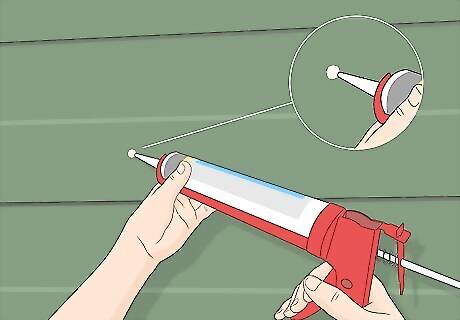
Fill imperfections with the caulk. Insert your caulk into the caulk gun and cut off its tip. Put the tip into the hole or crack you are filling. Press the trigger of the caulk gun until the hole is filled and the caulk emerges slightly from the hole. Use a damp rag to wipe over the caulk to ensure it is flush with the surface of the vinyl. Try to get the tip of your caulk gun as deeply in the hole as possible. Aim to fill the entire hole and the surrounding behind-panel area with caulk.
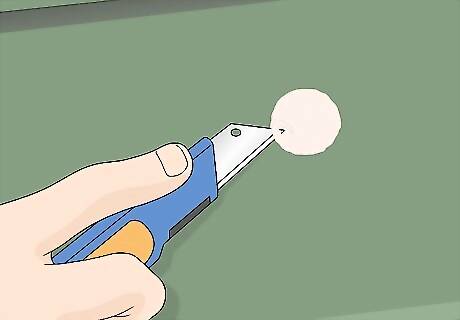
Slice away excess caulk with a razor blade after it cures. Wait several days (or as long as recommended in the directions) for the caulk to harden and cure. When it's firm, cut away excess caulk with a razor blade or utility knife so the caulk forms a flat surface with the vinyl.
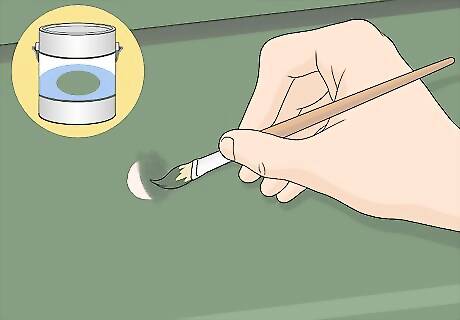
Paint non-tinted caulk, if desired. Unpainted caulk can stand out and detract from the overall appearance of your vinyl siding. Bring a small piece of clean siding to the hardware store and ask them to match exterior paint with an eggshell finish to the siding. When the caulk has fully cured, clean the entire area. Then, use a small brush to cover the non-tinted caulk with the matching paint. Use a dry brush to feather the paint out in long strokes so it matches the rest of the siding. Fresh coats of paint generally stand out next to older coats. Make this difference less noticeable by painting the entire repaired side or segment.
Patching a Small Dent, Crack, or Hole

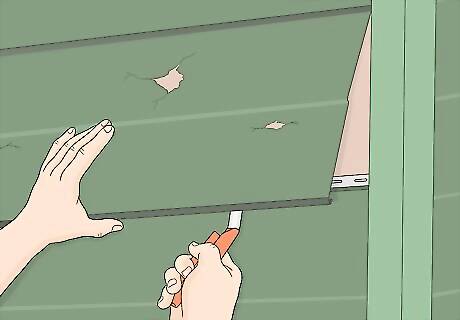
Cut a 2 in (5.1 cm) wide perimeter around the damage. First, create straight and even guidelines. Use a utility knife with a new blade to cut around the damage. The cut should extend all the way to the bottom of the panel. If you can’t leave 2 inches (5.1 cm) of space around the damaged part, leave as much as possible.
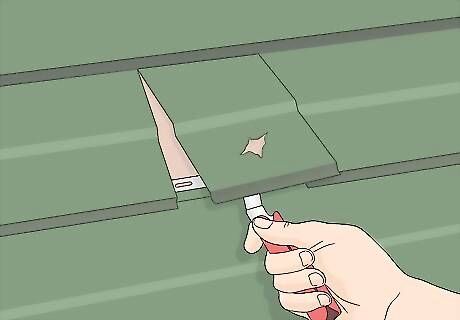
Remove the damaged segment with a zip tool. A zip tool is also called a siding removal tool. Hook the zip tool underneath the lip of the panel. Pull downward slightly and slide the tool to unzip the damaged segment. When unzipped, the segment should pull free. Zip tools are relatively inexpensive and can be purchased at most hardware stores and home centers. If your panel was damaged around the nail strip fastening it in place, you’ll need to remove the nails before the segment will come free.

Cut a vinyl patch 4 inches (10 cm) wider than the removed segment. Hold the removed segment up to a spare piece of vinyl siding. Measure and mark a point 2 inches (5.1 cm) away from each side of the removed segment. Cut the spare piece of vinyl along the marks using straight tin snips. Cut off any overhanging vinyl. Your replacement patch should be the same height as the removed segment, but 2 inches (5.1 cm) wider on either side.
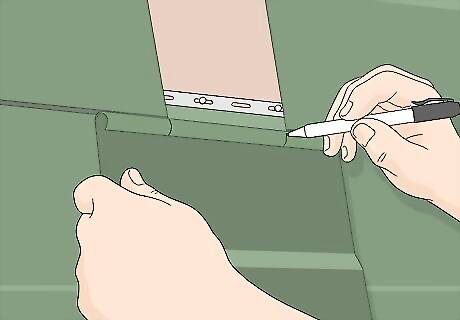
Measure and mark the snap flange of the replacement panel. Hold the snap flange at the bottom of the replacement panel up to the removed segment. Mark the flange of the replacement panel where it aligns with the width of the removed segment. The snap flange is the curved lip at the bottom of the replacement panel. This part will connect to the panel below the replacement with your zip tool later.
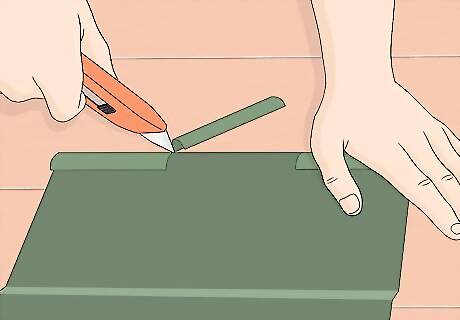
Remove excess flange from the replacement panel. Using your utility knife, tin snips, or shears, remove the flange from the replacement panel from the flange marks outward. The replacement panel will only be able to zip to the panel underneath where the flange remains.

Outline the replacement panel and apply caulk. Hold your replacement panel in place over the hole. Outline the panel with pencil. About 1 inch (2.5 cm) inwards from this outline, apply a perimeter of vinyl caulk.
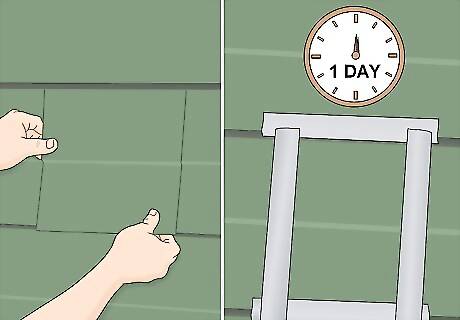
Press and snap the patch into place. Press the patch onto the caulk and pull upwards to lock the lip of the patch to the panel below it. Reinforce the patch for about a day with duct tape to allow the caulk to harden and cure. When the caulk is dry, the duct tape can be removed. Some brands of caulk may dry faster than others. Check the label directions to find out how long you’ll need to wait for your caulk to dry.
Replacing a Whole Panel

Equip yourself with a zip tool and a pry bar. A zip tool (or siding removal tool) is used to unlock vinyl siding panels from each other. Zip tools can be bought at most hardware stores and home centers for around $5. A pry bar will allow you to most efficiently remove nails from the panel being replaced.
Unzip the panel from one end. Always work from end to end when removing a panel. To unzip the damaged panel, insert the zip tool under the lip of the vinyl until it catches on the lip. Pull downward on the tool to unhook the siding and slide the tool toward the opposite end to continue unzipping. Panels should be unzipped a little bit at a time. Unzipping panels will open access to the nails holding the damaged panel in place. You may need to unzip the panels above and below the damaged one to fully gain access to nails. If you're removing multiple panels, work from the top down. You'll need to put a little pressure on the bottom part to release it from the next section.
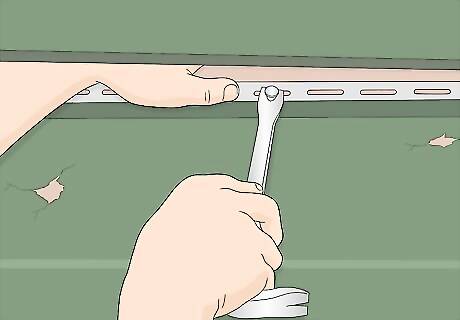
Remove the damaged panel’s nails with a pry bar. When the siding is unzipped, bend it up out of the way using your elbow. Use a pry bar to remove fastening nails little by little as you work towards the opposite end of the panel. Only bend panels enough to gain access to the nails fastening the damaged panel to the side of your house. Avoid working on vinyl siding in cold weather, especially if it’s below freezing. Vinyl will become brittle and more prone to cracking at low temperatures.
Fasten the replacement panel in place with nails. Fit the new panel into the empty slot left by the damaged one. Press up on the new panel to lock its lower lip onto the panel underneath it. After that, fasten the new panel through its nailing flange with roofing nails. The roofing flange will have sturdy holes where nails are supposed to connect the panel to the house. If you took off more than one panel, replace them from the bottom up—the opposite of how you took them off.

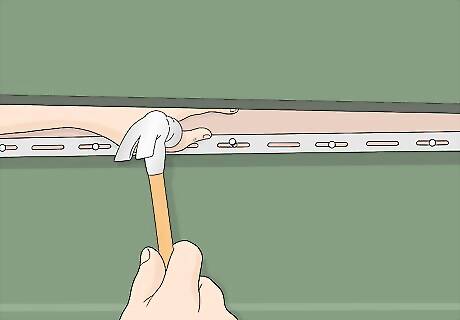
Zip all unzipped panels with the zip tool. When zipping panels, work from one end to the other. Slide the zip tool onto the bottom lip of the panel and twist the tool slightly so the leading edge pulls down. Follow the tool with your hand and apply medium pressure so when the tool passes, the panel fastens to the one beneath it.


Comments
0 comment