views
Shut off the water supply.
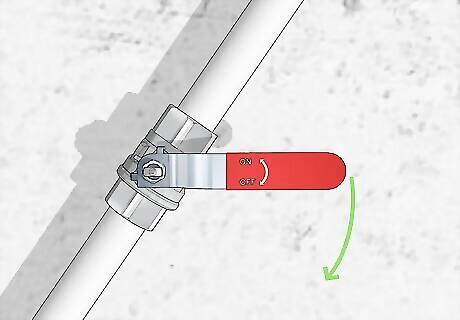
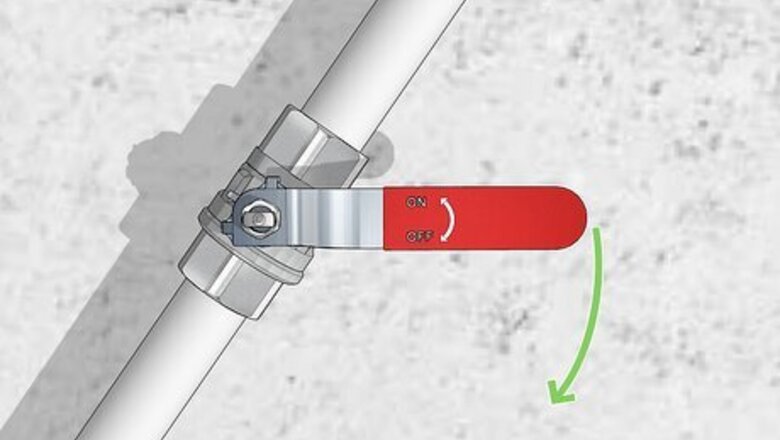
Turn the water supply valve to the “OFF” position. Locate your home’s main water supply, which may be in the basement (if you have one), near the water heater, or outside near a property line. Turn the valve “wheel” handle clockwise to shut off the main valve. If your water supply has straight valve handles, ensure the valve is perpendicular to the water supply pipe. If it’s parallel, that means the water is still on.
Expose the faucet cartridge.
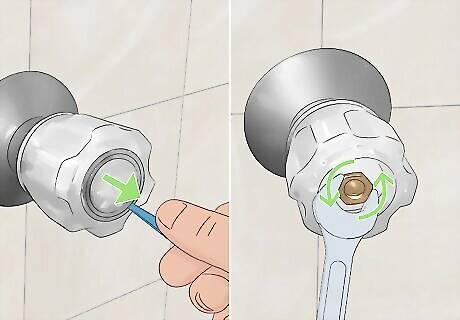
Remove the screws, handles, and decorative plate to access the faucet. Look on the sides of the faucet handles for a small screw. Use a flat-head screwdriver to remove this screw, setting it aside in a plastic bag or tray to avoid losing small pieces. Once removed, lift the faucet handle off the escutcheon (the decorative plate) and set it aside. Use this same method to remove the escutcheon from the wall. The handle usually hides the plate screws. Set the plate aside, exposing the faucet cartridge. Use a utility knife to score the caulk surrounding the escutcheon loose. Screws may be beneath or on the underside of the handle. Remove any decorative plates hiding screws with your fingers or with the screwdriver.
Remove the cartridge.
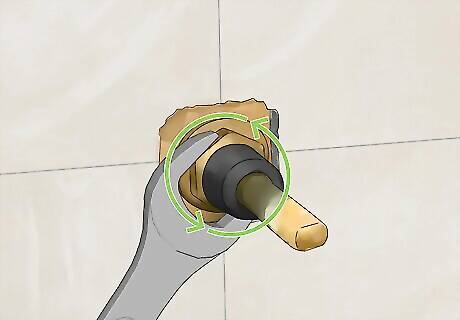
Use pliers to twist the cartridge counterclockwise. Release the cartridge’s locking nut with a pair of pliers or a socket wrench set. The key is to have a good grip to twist the cartridge free from the wall. Once it is free, turn the cartridge upside down to locate the washer at its base.
Replace the washer.
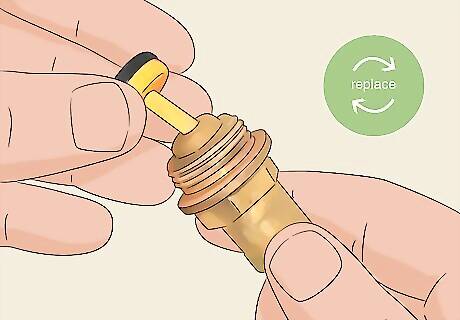
Unfasten the old washer using a screwdriver to loosen it. Grasp the cartridge with pliers to help loosen it if you’re having difficulty. Twist counterclockwise to remove the screw. Add a new flat washer to the end of the cartridge, placing the screw back to keep it secure. If you need to replace the O-ring (the circular black silicone or rubber piece) lift one side of the ring with the screwdriver to shimmy it down the length of the cartridge. To find the right washer replacement, first understand what type of faucet you’re working with. Ball faucets have a single handle and use o-rings and rubber seals. A disc faucet uses ceramic discs to control the flow of water. Cartridge faucets close water with a simple handle twist and use rubber o-rings. Compression faucets use a few twists and rubber washers. Take your washer to the hardware store to match the size and type.
Replace the cartridge, plate, and screws.
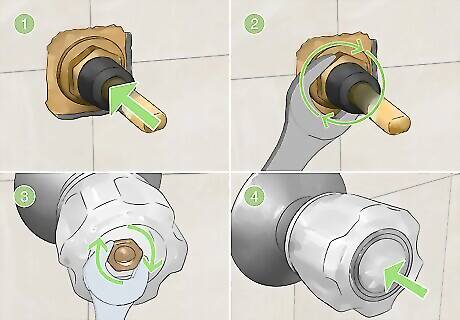
Reassemble the faucet in the opposite order you removed it. Insert the cartridge into the wall and twist it clockwise to lock it back in place. Press your escutcheon plate over the valve and secure it with the screws from earlier. Then, you can replace the handle over the plate by screwing it back on.
Caulk the edges of the plate.
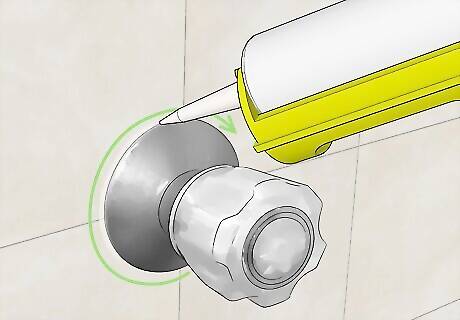
Run a thin bead of silicone caulk to seal the plate. To ensure no leaks or internal water damage to the walls or pipes, apply fresh silicone caulk to where the decorative plate and wall meet. Cut the tip of the caulk tube off at a 45-degree angle. Squeeze the tube slowly and carefully to fill the gap. Use a caulk gun for even distribution. Wipe excess caulk down with your finger or a caulk finishing tool.
Turn the water back on and test for leaks.
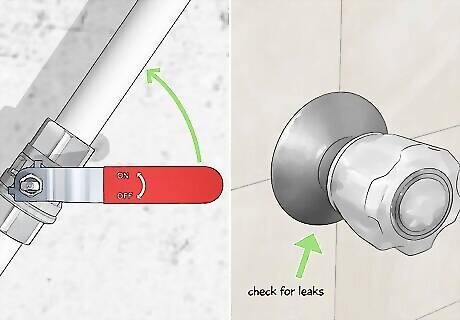
Twist the main water supply valve to the “ON” position. Then, inside the bathroom, turn the faucet on and inspect the handles for any drips or leaks. If you still see leaks, ensure all the screws are tight. You may need to double-check your work. If the problem persists, schedule an appointment with a local plumber.


Comments
0 comment