views
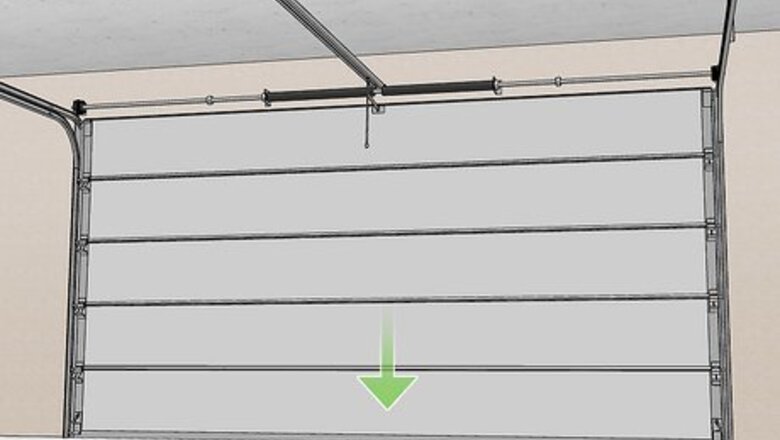
- Disconnect the electric door opener and unwind the torsion springs before you start. Use a partner or C-clamps to hold the door steady.
- Replace the middle and top rollers by unscrewing their respective hinges, swapping the rollers, and screwing the hinges back on.
- Remove the bottom set of rollers by bending open the track and pulling the door panel out of the frame. Do not remove the bottom set of hinges.
Middle and Top Rollers
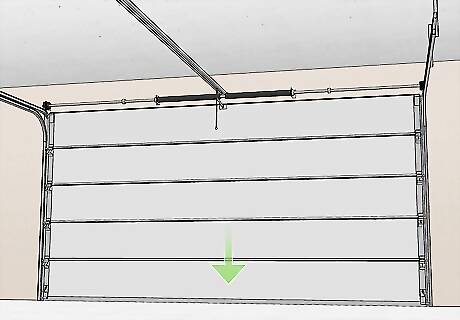
Lower the garage door completely. For safety reasons, it’s best to replace all but the bottom set of rollers while the door is in the down position. This ensures the door won’t slide down while you’re working and the individual panels won’t sag when you remove the hinges. Add C-clamps to the door track above the bottom rollers to secure the door. Tighten the clamps onto the track just above the bottom rollers. This keeps the door from rising on accident. Twist the clamp handle to tighten.
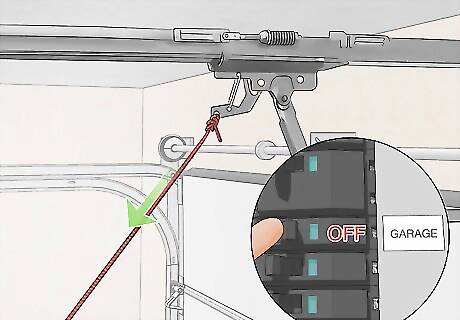
Disconnect and unplug the electric garage door opener. This way, no one can accidentally activate the door while you’re working. To disconnect, pull the opener’s release rope and then unplug the opener from its outlet for extra caution. If needed, use a ladder to safely reach the release rope and outlet. If the door opener is hard-wired to your garage, turn off the corresponding breakers or fuses to cut the power.
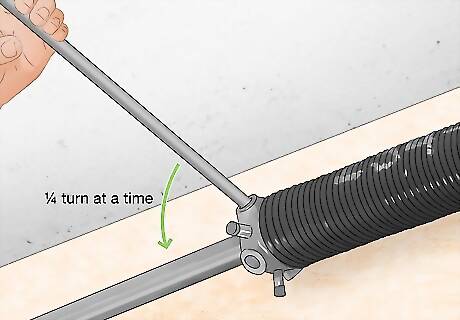
Unwind the torsion springs with steel winding bars. Place one winding bar into a hole in the spring’s adjustment collar (located on the right or left end of the spring) to hold it steady, then carefully loosen the set screw with a screw driver while holding the winding bar in position. Use the winding bar to twist the spring ¼ turn at a time until the tension is gone. Twist in the opposite direction that the garage door cable passes over the pulley to loosen. Tighten the set screw or clamp the spring shaft to hold it in place. Measure the size of the holes in the spring’s adjustment collar to ensure you have winding bars with the correct diameter. Wear protective goggles and gloves in case the tension of the spring is accidentally released. Take note of how many ¼ turns you make to loosen the spring. You’ll need to twist it back to its original tension after the rollers are replaced. The torsion spring (or springs) are located on a steel shaft above and parallel to the garage door frame.
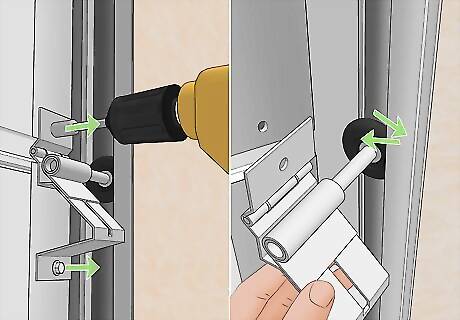
Unscrew and remove one door hinge and roller at a time. Begin with the set of hinges that is second from the bottom. Pick either the left or right one to remove first and remove all of the screws holding it in place. Lift the hinge off the door and maneuver the roller it holds out of the door track. Only remove and replace one hinge and roller at a time. They hold the door in position, and removing multiple at once could make the door collapse. Use pliers or the claw of a hammer to pop the roller head out of the tracks if you can’t wiggle it out by hand. You may need a hammer to help tap the hinge out of place.
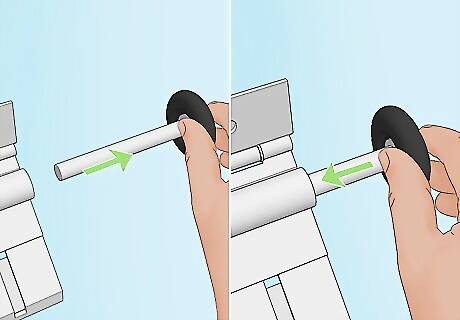
Slide the old roller out of the hinge and insert the new one. Once the hinge is off, pull the old roller out of its guiding holes—it will slide right out without needing any tools. Set it to the side or discard it, then slide the new roller into the holes on the hinge.
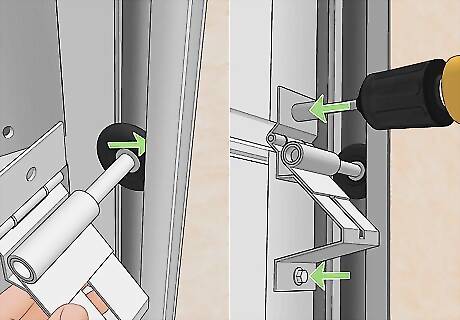
Tip the roller back into the track and reattach the hinge to the door. Once the head of the roller is back in the track, align the bolt holes on the hinge with the corresponding holes on the garage door. Tighten the nuts or screws that hold the hinge in place to complete changing the roller. If you can’t wiggle the roller back into the track, use a hammer to tap it back into place.
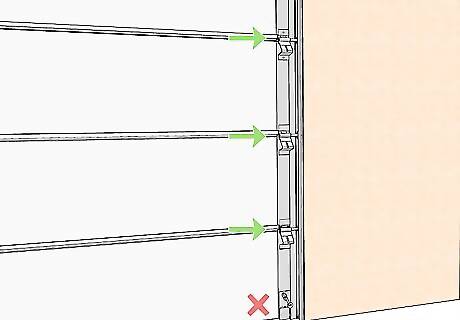
Repeat this process on every hinge and roller except the bottom pair. Make sure to only remove one hinge at a time to keep the door stable in the frame. A standard 7 ft (2.1 m) garage door has 10 rollers and hinges (5 per side), and an 8 ft (2.4 m) has 12 (6 per side). Make sure to buy the correct number of replacement rollers you need before you start removing hinges.
Bottom Roller
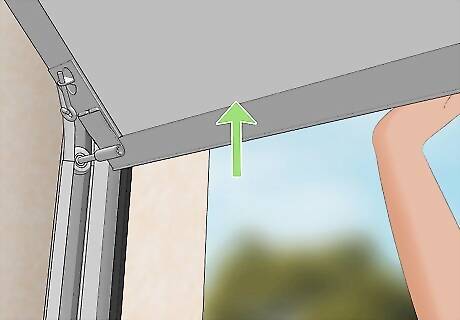
Open the garage door manually. Remove the clamps holding the door and lift it to the up position. It will feel heavier than normal because the torsion springs are unwound, so you may want to have a partner nearby to help you.
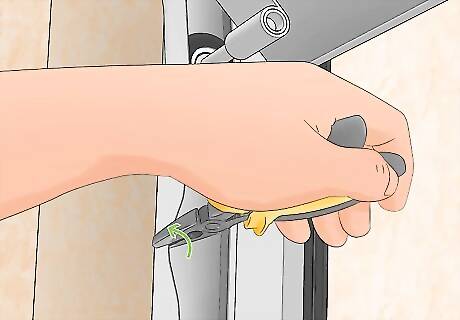
Use pliers to bend open the track at the seam near the top of the frame. On one side of the frame, locate where the vertical piece of the track meets the curved piece that runs along the ceiling. Bend the inside edge out about 1 in (2.5 cm) with pliers or the claw of a hammer. Only bend one edge of the track. If you bend both, the roller (and door) may slip out of the track accidentally. Bend the track at a lower point if that means you can reach more comfortably or safely.
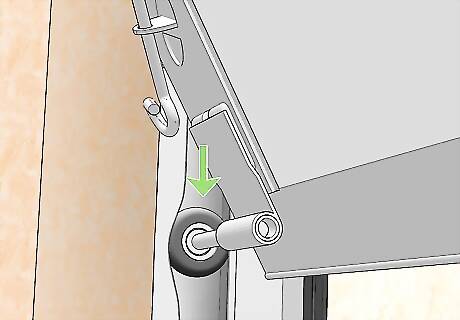
Lower the door so the bottom roller is level with the bent track. If it’s a light door, you may be able to support it yourself. If it’s too heavy to hold with one arm, ask a partner to hold it steady or place your C-clamps beneath the bent track to hold it up.
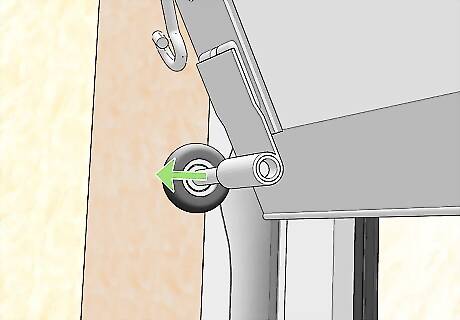
Pull the bottom panel towards you to free the roller from the bent track. It’ll slide right out if the bend is big enough. If you can’t maneuver it free, use a screwdriver or the claw of a hammer to pop it out of the track. Do not remove the bottom hinges. Support cables are attached to these hinges, and removing them means the cables may snap and hurt you.
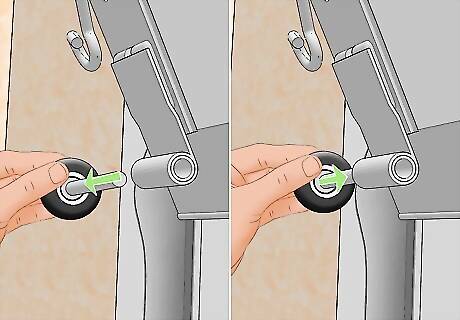
Swap out the roller. Without removing the hinge from the door panels, pull the old roller out of its socket and slide the new one in its place. Take this time to examine the hinge—if the guide holes aren’t perpendicular to the surface of the hinge, straighten them out with the stem of the roller or by gently tapping them with your hammer.
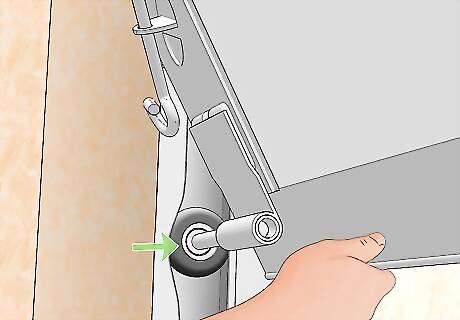
Maneuver the new roller back into the track. If needed, shift the door height so the roller is level with the bent open track again. Push the roller back into the opening you created. If for some reason it won’t fit easily, pop it back in with a hammer.
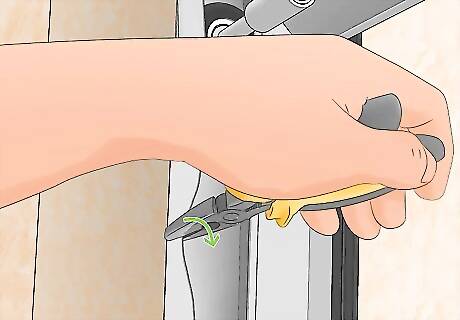
Straighten the track with pliers or a hammer to secure the new roller. Shift the door so the roller is away from the bent track. Then use a hammer or pliers to bend the track back into its original shape. If you hammer directly over the roller, you risk damaging it.
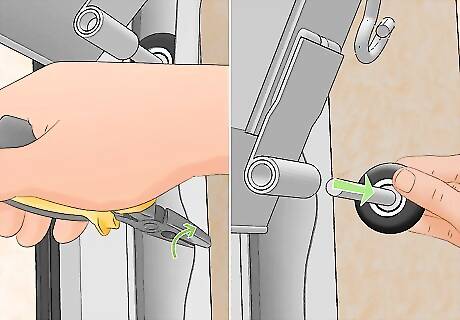
Repeat this process for the bottom roller on the other side of the frame. Follow the same instructions, again making sure not to loosen or remove the hinge holding the bottom roller.
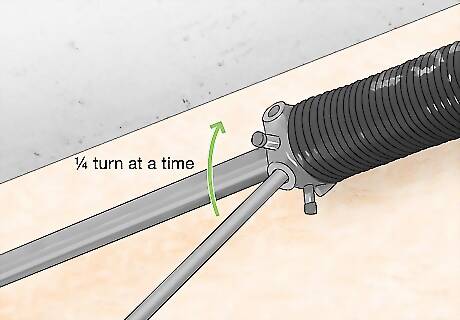
Rewind the torsion springs back to their original tension. Insert your winding rod into the adjustment collar and carefully loosen the set screw. The spring will have little to no tension since you unwound it before. Use the winding rod to make ¼ turns in the opposite direction from before to re-tighten the spring. If the spring was too loose before or the door was difficult to lift open, use this opportunity to adjust the spring tighter by making extra turns. Tighten the set screw once you’ve reached your desired tension. If you clamped the spring shaft, remove the clamp after the set screw is secure.
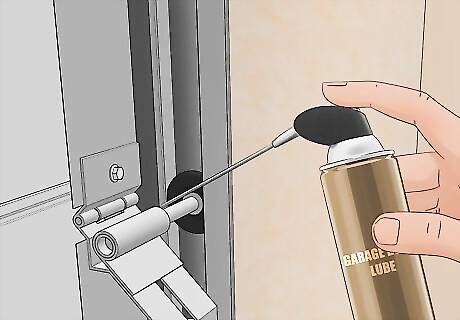
Lubricate the rollers with a white lithium grease. Check your garage door owner’s manual for specific products or recommendations. Generally, you’ll apply the lubricant to both sides of the guide holes that hold the roller in the hinge, then spray it on any exposed ball bearings on the head of the roller. In most cases, any white lithium grease will lubricate the rollers without eroding them down the line. Avoid regular WD-40. It’s many people’s first choice, but it will cause damage to the rollers in the future.
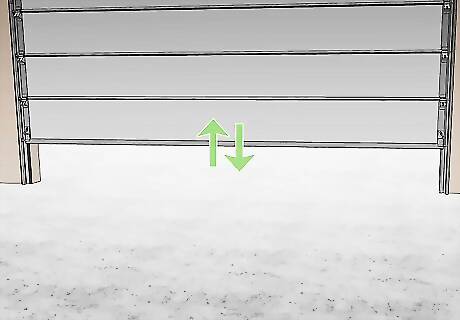
Reconnect your electric door opener and test the door. If everything is lined up correctly, your door will open and close smoothly and quietly with its new rollers. In case of any problems, double check that all hinges are secure, all rollers are inside the tracks, and the tracks are no longer bent out of shape.


Comments
0 comment