views
Restoring Correction Ink
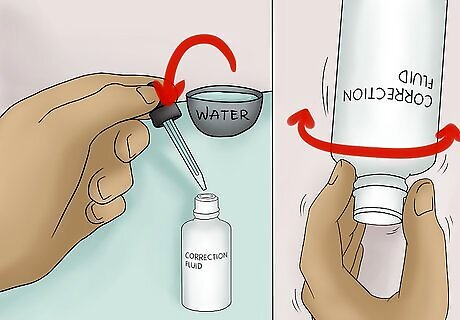
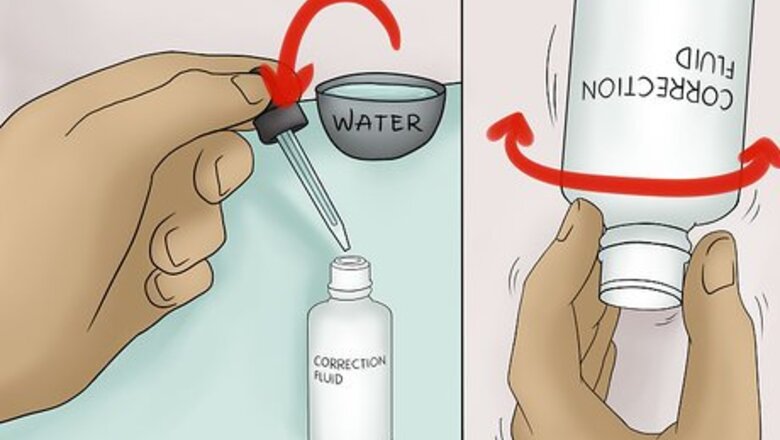
Add a little water. Add water or correction fluid thinner to the bottle it dries up. Put on the cap and shake it.
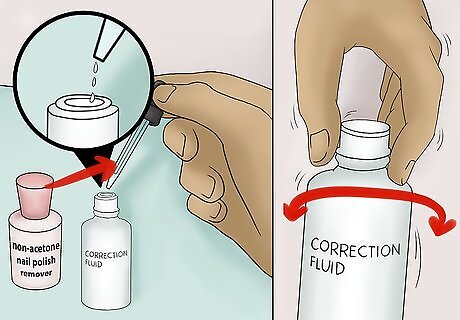
Try using some non-acetone nail polish remover. Open your bottle of correction ink. Use an eyedropper to add three drops of a non-acetone nail polish remover into the bottle. Close the bottle and shake it to mix everything up. Open the bottle and test the ink. If the ink is still too thick, add two more drops of the nail polish remover.
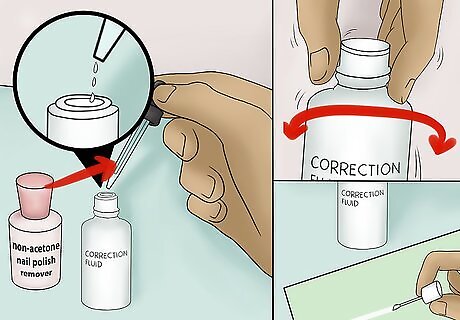
Try using a white-out thinner. You can buy it in an office supply store. Use an eye dropper to add three drops of the thinner into the bottle of correction ink. Close the bottle and shake it to mix everything up. Test the ink on a sheet of paper. If it is still too thick, add two more drops of the thinner. Be sure to close the bottle and shake it before testing the ink again. You may also find the thinner labeled as "correction ink thinner" or "correction fluid thinner."
Restoring Correction Ink Pens
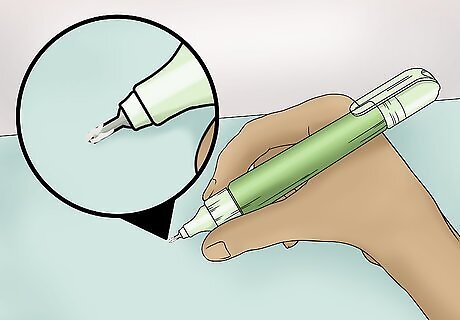
Check the nib first. Sometimes, it's just a thin layer of ink that has dried over the nib, and the ink inside the pen is just fine.
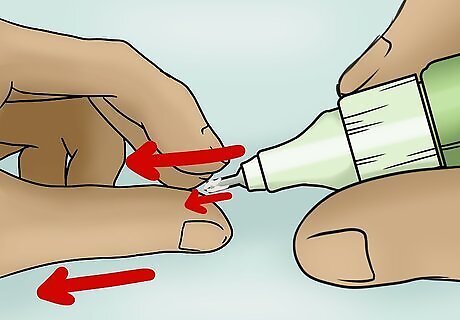
Try scratching dried ink off of the nib. If there is dried ink covering the nib, use your fingernail to gently scratch the ink off. A thin layer of dried ink can prevent fresh ink from flowing out.
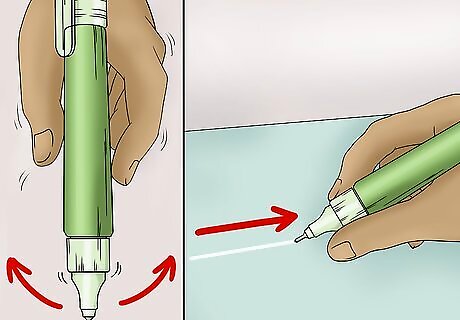
Give the pen a shake and test it out. This will help dislodge any blockage that is inside the ink. Once you have given the pen a few shakes, try drawing with it and seeing if any ink comes out.
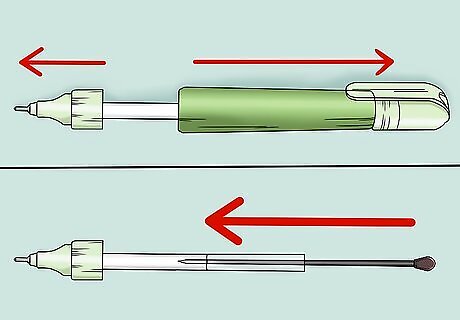
Take the pen apart if the blockage is inside the tube. This may require you to remove the top and bottom sections, depending on how the pen is designed. Use something long and thin, such as a knitting needle or a chopstick to remove the clot.
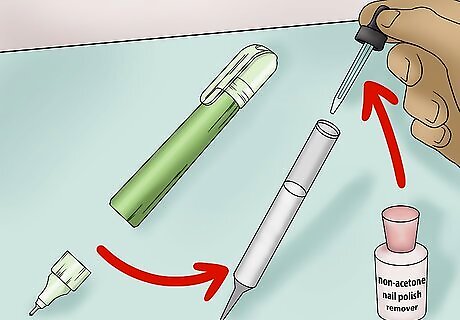
Consider thinning the ink out inside. You can use a few drops of water or a non-acetone nail polish remover.
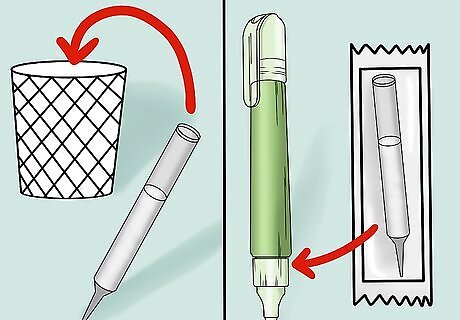
Consider refilling the ink with fresh ink. If the ink inside the pen has mostly dried out and you can't restore it, you can try pouring in fresh correction ink. Get a bottle of white correction ink, and pour a little bit into the pen capsule.
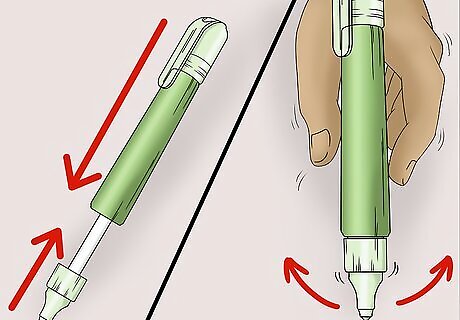
Put the pen back together and give it a shake. If necessary, seal any parts that don't stay together with super glue.
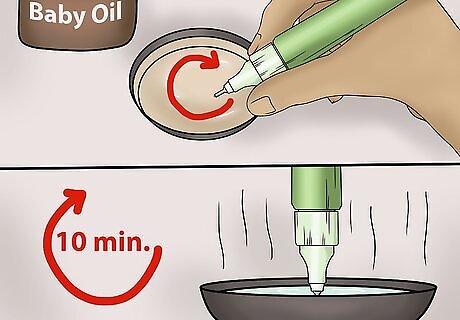
Know what to do if the ball point is simply stuck. Sometimes, a correction ink pen won't write simply because the little ball in the tip is stuck. You can loosen it in two ways: Draw circles with it in a small puddle of olive oil or baby oil. Soak the tip in a cup of warm water for about 10 minutes.
Keeping Correction Ink from Drying Out
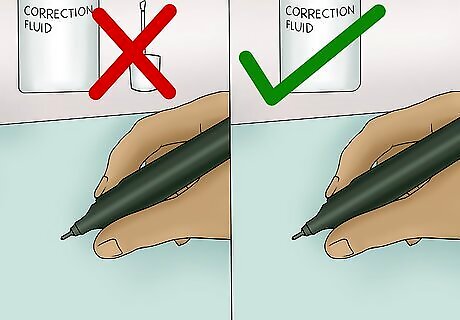
Keep the lid on the bottle when you are not using it. Any air that gets into the bottle will cause the ink to harden and dry. The longer you leave the bottle open, the thicker the ink will become.
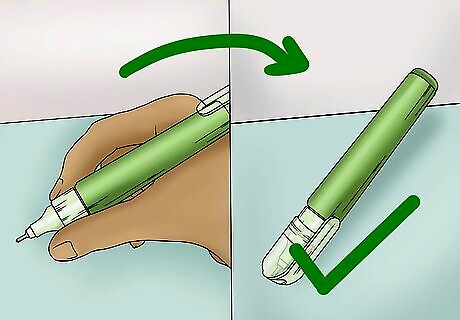
Keep a correction pen capped. Even though the ink is inside the pen capsule, you'll still want to keep the cap on. Not only will this prevent the pen from leaking, but it will also keep ink from drying out on the nib too fast. It the ink dries on the nib, you might end up with a blockage.
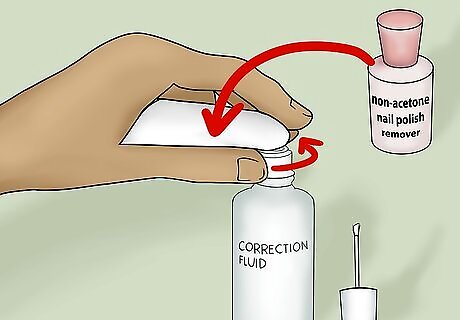
Consider wiping the inside neck of the bottle with nail polish remover. From time to time, you might want to open up your bottle of correction fluid, and wipe the neck part, right where the threads are. Soak a folded paper towel with some nail polish remover and wipe it around the neck. This will remove any excess ink that might have dried up on the neck of the bottle. It will help keep the cap tightly closed and prevent any air from getting inside.
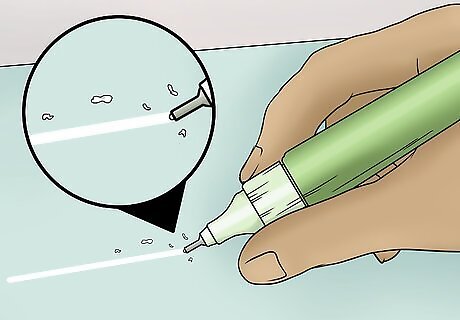
Consider cleaning the nib of a correction ink pen from time to time. Every so often, run the pen across some paper. You can also scratch off any ink that is starting to dry on the ball point with your fingernail. This will help prevent any blockages.
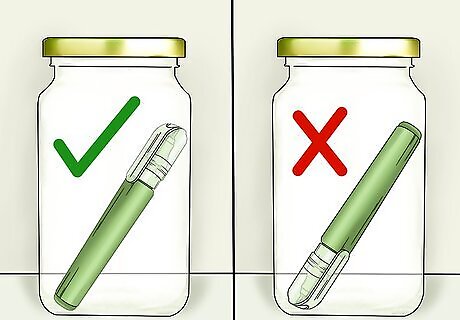
Store correction ink pens upright in a jar. The tip should be pointing upward. If you store it on its side or upside down, the ink may flow into the nib and dry out.
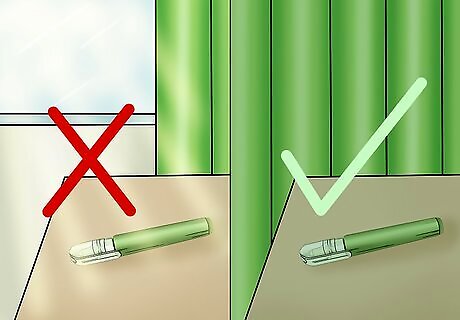
Keep the correction fluid in a cool, dry place. Keep it out of sunlight and heat, as both can cause the ink to dry and harden.


Comments
0 comment