
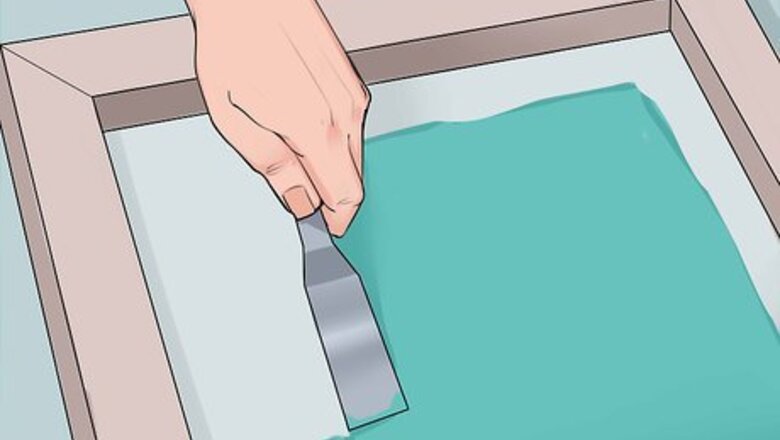

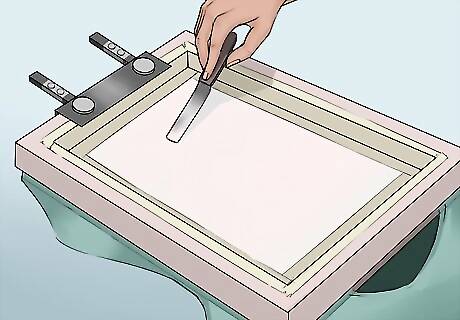
Apply a layer of emulsion to your screen. You can do this with a spatula. Keep a clear border around the frame. This should be about 1 to 2 inches (2.5 to 5.1 cm) wide. For this step, you need to be in a darkroom.
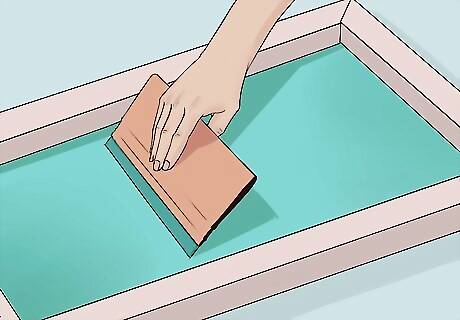
Pull the squeegee along the screen to get rid of any surplus of emulsion that accumulates. Allow the screen to dry.
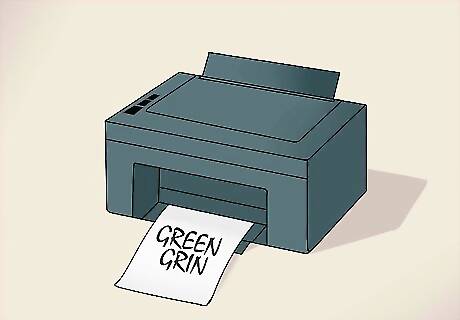
Design the picture you want on your shirt on a computer and print it off. This image needs to be black and white, not gray scale.

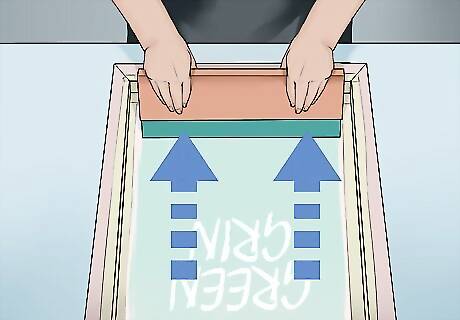
Place the printed image on your screen. Make sure it is lying down smoothly and there are no bubbles, folds, or any other places where it does not lie flat.
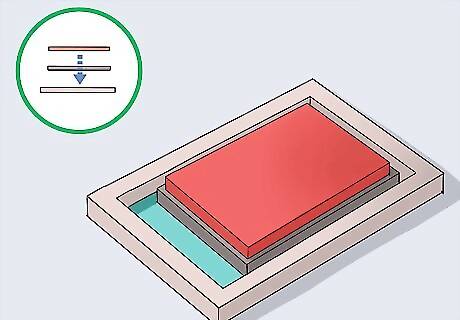
Layer a piece of foam and a flat weight over the screen.
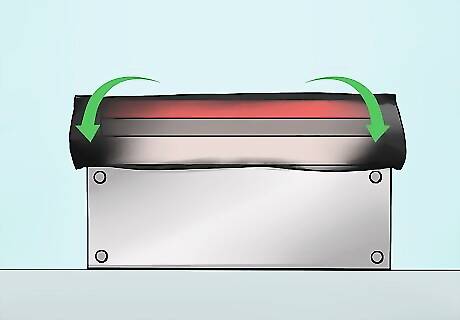
Wrap the screen, foam, and weight in a black trash bag. The trash bag makes clean up much easier. Should any emulsion run off, it will be caught by the bag rather than making a mess.
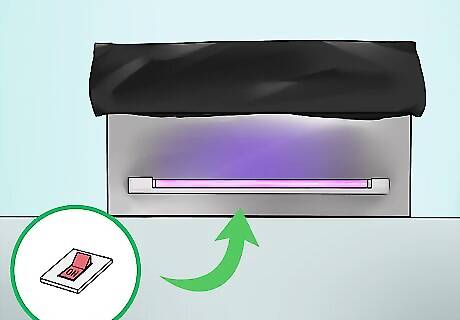
Start the UV lights and allow them to run for about 10 minutes.
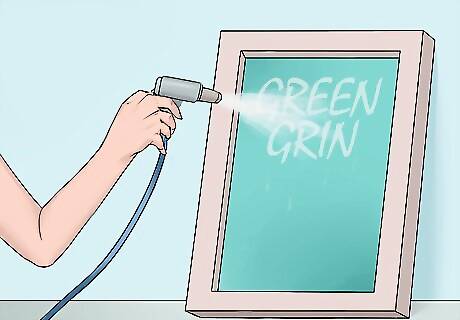
Wash the screen carefully. At this point the layer of emulsion should stick while your image comes out clear on the screen.
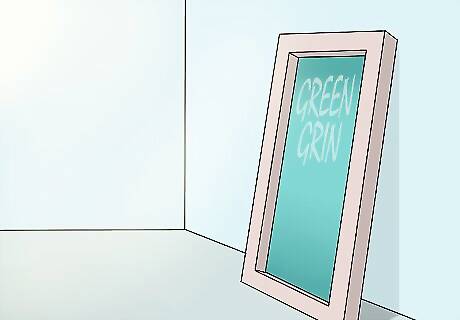
Allow the screen to fully dry.
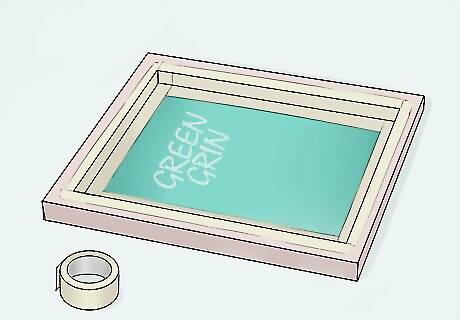
Cover any places that show clear through the screen, such as the borders around the frame. Painter's tape works well for this.
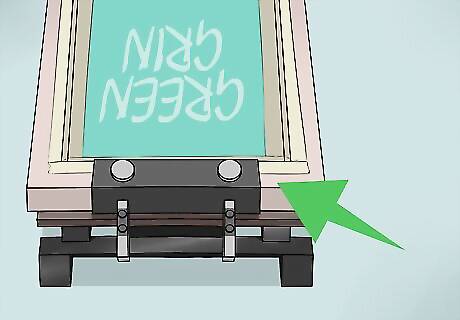
Lock the screen into the printing press.
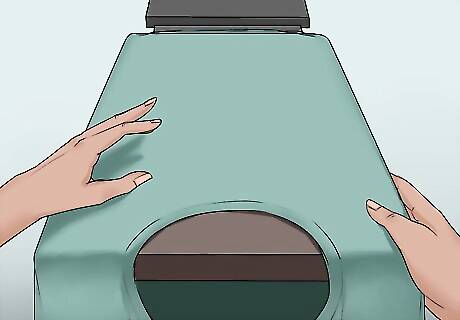
Put the t-shirt on the printing stand. Make sure the material is smoothed out without any creases or folds, as this could ruin the outcome of your printing.
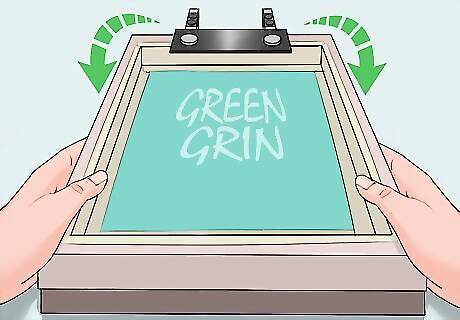
Lower the screen.
Apply Plastic ink to your design.
Pull the squeegee along the screen.

Dry the t-shirt thoroughly with a heat gun. Plastic ink dries at around 340 degrees Fahrenheit (171 degrees Celsius).


Comments
0 comment