views
Enabling Screen Recording in the Control Center
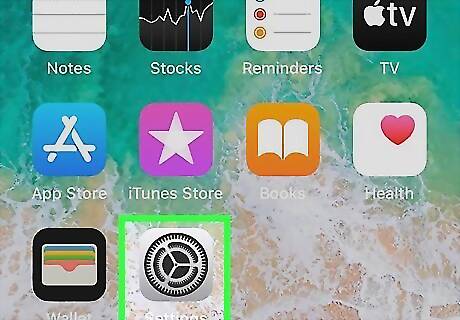
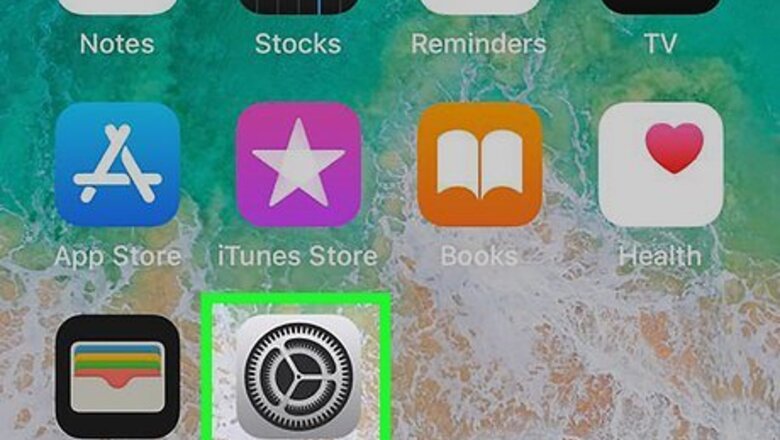
Open Settings. You can open this by tapping the app icon that features a pair of gears on a light grey background. If you already see the Screen Recording icon in Control Center, you can skip this part.
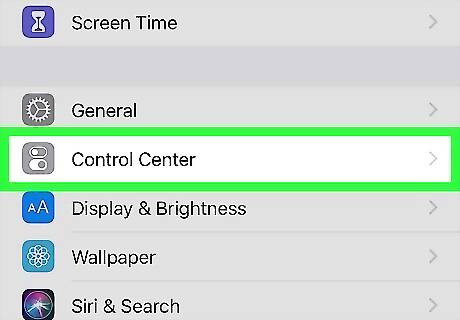
Tap Control Center. It's next to an icon of switches that you'll find in the third grouping of menu options.
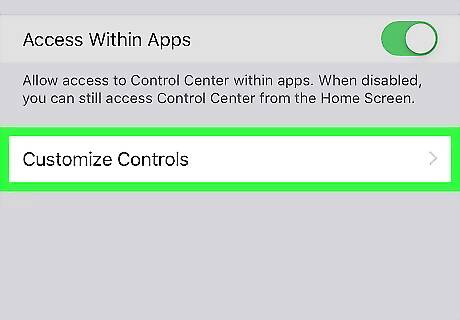
Tap Customize Controls. You'll see it under the toggle for "Access Within Apps."
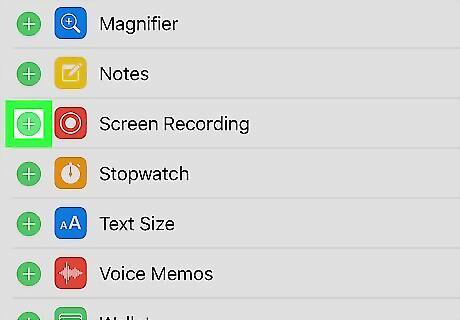
Tap the plus sign next to Screen Recording. It's under the "More Controls" header and will move it up to the "Include" header. Since phone calls and notifications can also be recorded with screen recording, you may want to enable Do Not Disturb before continuing. To enable DND, open Control Center, then tap the moon crescent icon that represents Focus. From there, select Do Not Disturb.
Using Screen Recording
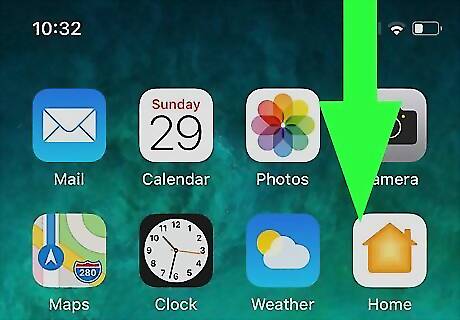
Open Control Center. To open Control Center, swipe down from the top right corner of your screen.
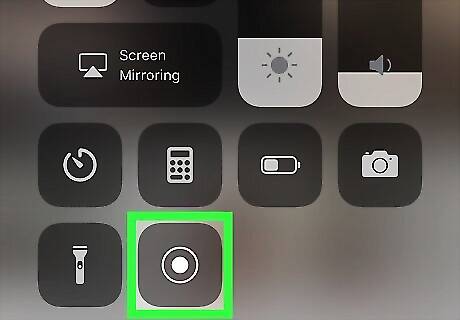
Tap iPhone Screen Recording CC and Start Recording. You'll see this screen recording circle icon at the bottom of the Control Center panel. To also record sound, press and hold the screen recording icon in Control Center and tap the Microphone Off/On button. It'll turn red to indicate that the microphone is recording; a grey icon indicates that the feature is off. When the screen recording is on, you'll see the time stamp in the upper left corner highlighted in red.
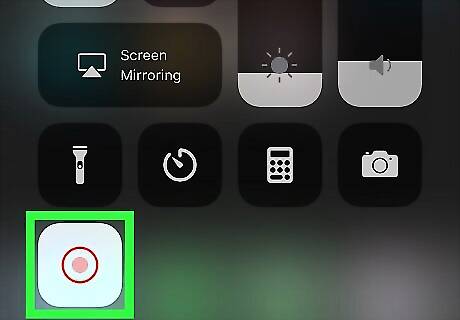
Stop screen recording. When you're done recording, you can either tap the screen recording icon again in Control Center or you can tap the red time stamp in the upper left corner. Tap Stop to stop recording. You'll find your screen recording in the Photos app.



Comments
0 comment