
Seal the backsplash both before and after grouting.
Sealing before grouting prevents the grout from staining the stone. Sealing after grouting protects the grout from water damage or stains. If you haven’t installed the tile already, seal the tile before you start. If you have already installed it, seal it on the wall. Then, seal it again about 12 hours after grouting. The sealing process is the same both before and after grouting.
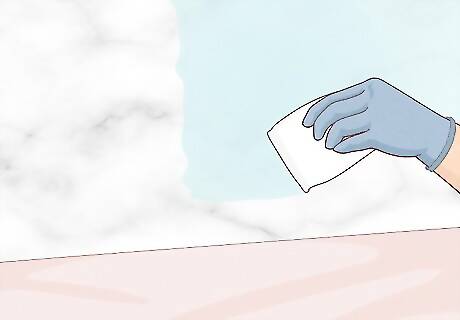
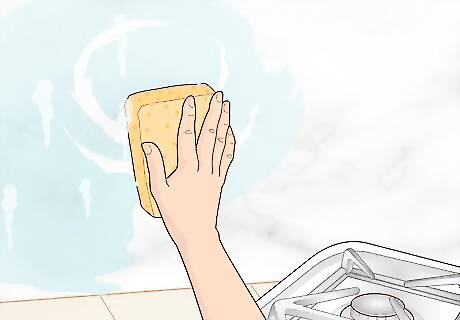
Clean and dry the backsplash if you’re re-sealing it.
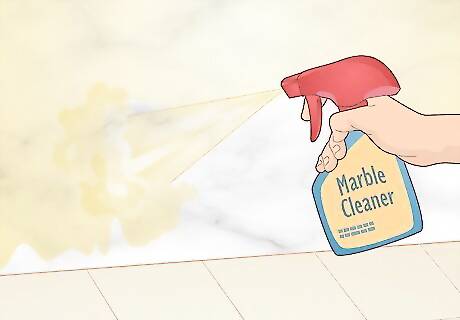
Starting with a clean surface will produce the best seal. Use a commercial marble cleaner to clean the marble according to the directions on the package. Generally, you’ll spray or squirt it onto the backsplash, wipe it off, and let it dry.
Cover your counters and put on protective gear.

Protect any items you don’t want to get sealant on. Move any items on your countertop before you start. Lay down a terrycloth towel to cover your stove, vent hood, counter, faucet, sink, and other nearby surfaces. You could also use a drop cloth or plastic sheeting. Work in a well-ventilated area and put on gloves to protect your hands. Wear a ventilator mask so you don’t breathe in the chemical fumes.
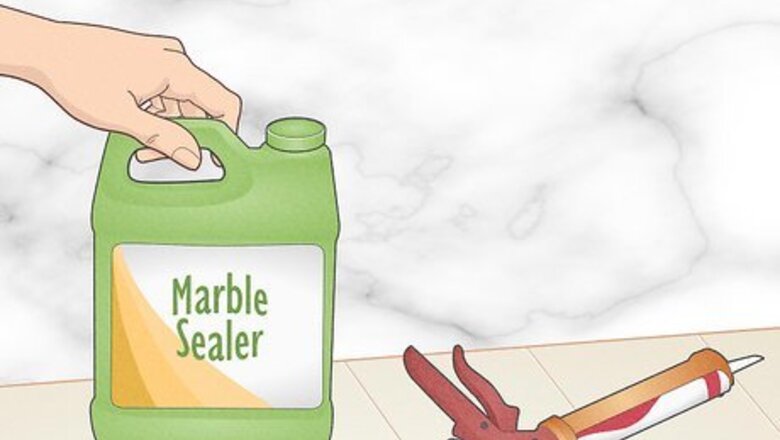
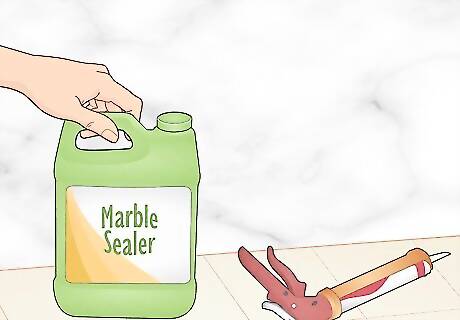
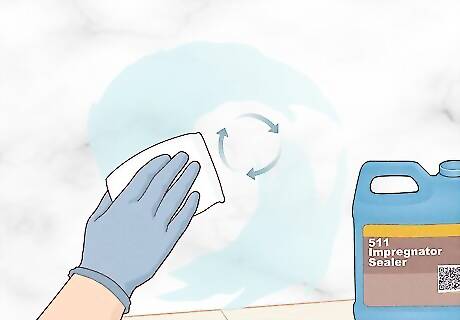
Use the sealer recommended by the tile manufacturer.
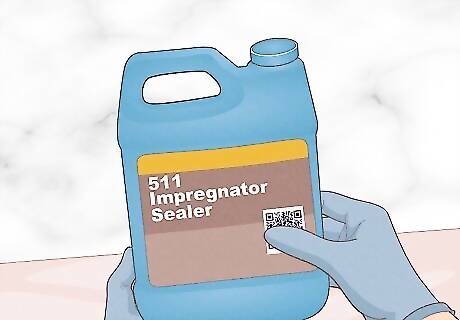
Generally, it’s best to use an impregnator sealer made for marble. Impregnator sealers penetrate the pores of the stone, while surface sealers just cover the surface. Impregnator sealers protect the marble from water damage and stains better than surface sealers. Many pros recommend Miracle Sealants 511 Impregnator Sealer for marble tile. Other great options include Tuff Duck Marble Sealer and Tenax Marble Sealer. Read all of the instructions on the product you’re using before you start.
Apply the sealer to the marble.
Simply wipe the product onto the backsplash in small sections. Use a sealer applicator or a clean lint-free cloth to apply the sealer in an even layer to the marble tile. Alternatively, you could use a paintbrush to apply the sealer. Work in small sections to ensure you’re getting even coverage. The marble will darken a bit while the sealer is wet, so use the color to help you spot any areas you missed. For an easier application, you can put the sealer in a spray bottle, set it to mist, and spritz it on the backsplash. Use a chamois to wipe off any drip marks. Don't worry about thoroughly sealing the grout at this point. While it's fine to spritzer or wipe the sealant on the grout now, you'll go back later and make sure all the grout is sealed.
Buff the excess sealer off the marble after 3-5 minutes.
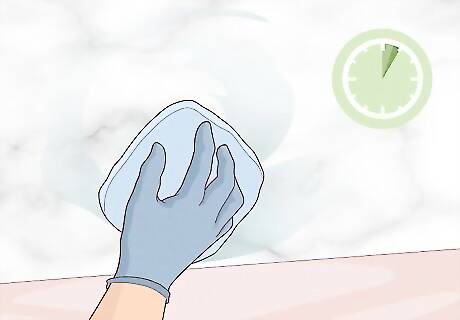
Let the sealer penetrate the marble, then remove the excess. Use a clean, lint-free cloth to buff the backsplash using circular motions. If you wait too long or apply an uneven coat and end up with streaks, just apply more sealer and buff it off immediately.
Apply sealer to the grout lines.
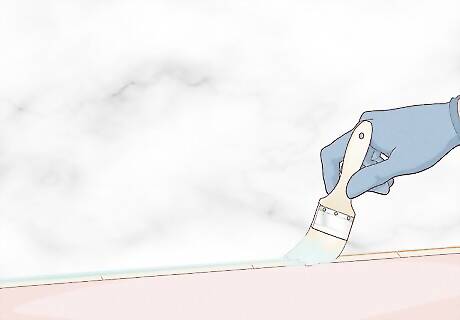
Use a paintbrush to make sure the grout is totally sealed. Dip the brush in the sealer and then coat all of the grout. Wipe any excess sealer off the tiles, but don't worry about buffing the grout itself.
Let the sealer cure for up to 72 hours.
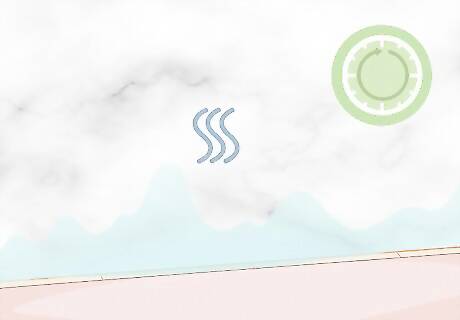
The sealer will be dry to the touch in about an hour, but not cured. Keep your marble backsplash clean and dry in the meantime. After 72 hours, the sealer should be fully cured. Your specific sealer may also require 2 coats, so be sure to read the instructions and apply another coat if necessary.
Caulk the counter seam if you’ve installed new tile.

Use high-quality silicone caulk to seal the joint. Apply a bead of caulk about ⁄8 inch (0.32 cm) wide to the joint between the backsplash and counter to seal it. Let the caulk cure for about 24 hours before getting it wet. Trim the edge of the caulk tube at an angle before you apply the product. This makes it easier to get the caulk right into the groove. It can help to run painter's tape along both edges of the caulk. Once you've applied the caulk, run a wet finger over the product so it goes right into the surface. When you pull the painter's tape away, it'll leave a nice, clean line.
Clean the marble regularly.
Use soapy water for routine cleaning. Fortunately, maintaining a marble backsplash is pretty easy. Just dip a sponge or cloth into soapy water and wipe down the marble tile. Dry it with a clean cloth when you’re done. Avoid using any cleaners with acid or vinegar in them, as they can etch the surface of the marble. Acidic foods or drinks like lemon juice, coffee, and alcohol can also etch the surface of the marble if they aren’t cleaned up right away. Wipe up spills or splashes immediately to keep your backsplash in the best shape.
Reapply the sealer when it wears off.
Some pros recommend sealing every year. Others say you can wait between 4 and 5 years before resealing. To test if your marble backsplash needs to be resealed, splash a little water on the surface. If it beads, then your marble backsplash is sealed! If the water soaks into the stone, wait for it to dry, then reseal it.


Comments
0 comment