views
Turning On iCloud Photo Sharing
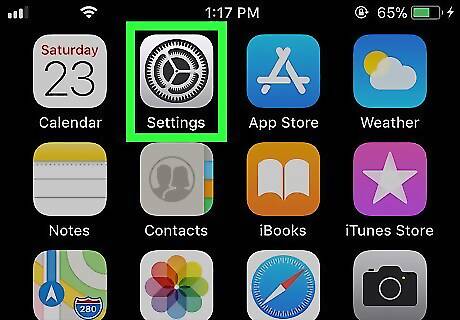
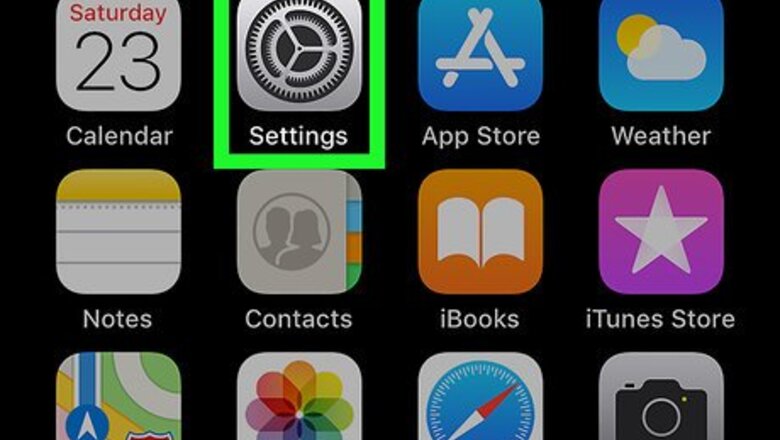
Open your iPhone or iPad's Settings. Find and tap the iPhone Settings App Icon icon on your home screen to open the Settings app.
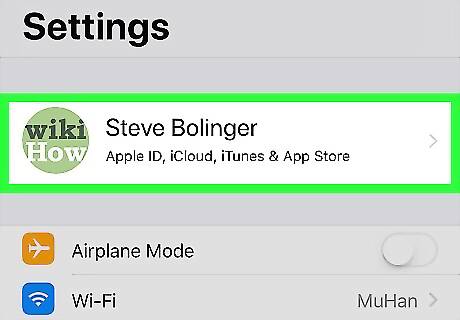
Tap your Apple ID at the top. You'll find your Apple ID name and picture at the top of the Settings menu. Tap on it to open your Apple ID menu.
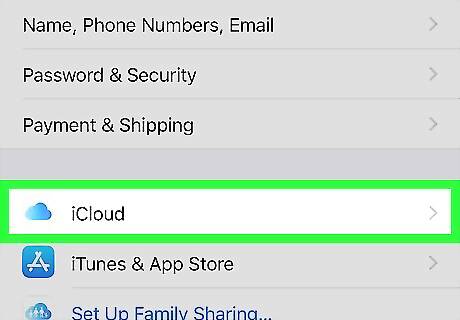
Tap iCloud on the Apple ID menu. This option is listed next to a iPhone iCloud icon. It will open your iCloud settings.
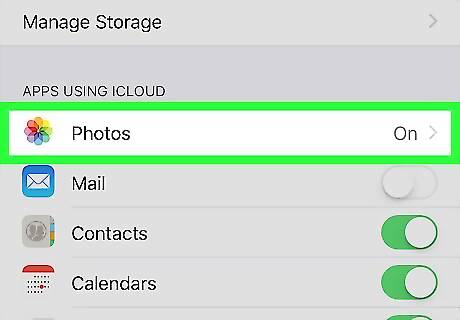
Tap Photos under the APPS USING ICLOUD heading. You can change your iCloud photo settings and preferences here.
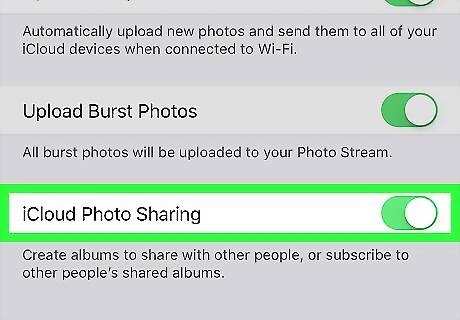
Slide the iCloud Photo Sharing switch to iPhone Switch On Icon. When this option is enabled, you can share photos and images with your contacts on iCloud.
Sharing a Photo
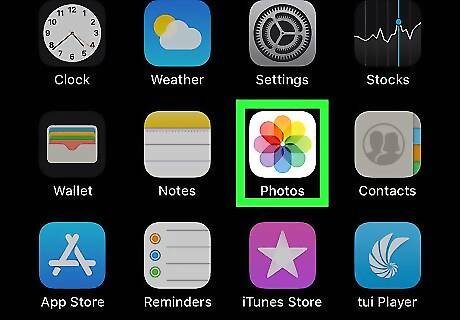
Open the Photos app on your iPhone or iPad. The Photos icon looks like a colored pinwheel on a white background. You can find it on your home screen or in an app folder.
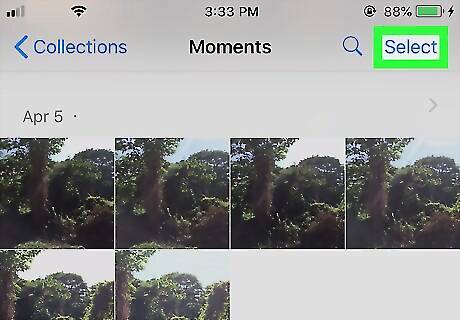
Tap Select on the top-right. This option is written in blue letters in the upper-right corner of your screen. It will allow you to select multiple items to share. If you want to share a single image, you can just tap on it and open it here. You can select and share images from any of the Photos, Memories, or Albums tabs at the bottom of your screen.
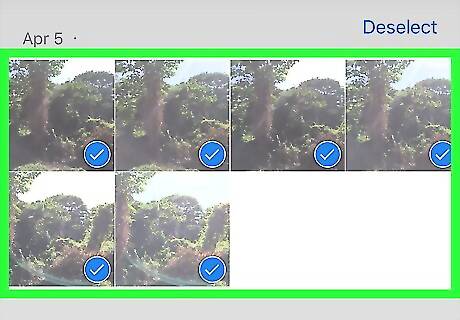
Select all the images you want to share. Tap on an image to add it to your selection. A blue checkmark will show up on your selected images.
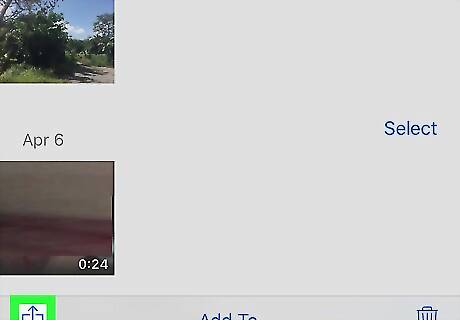
Tap the iPhone Blue Share icon on the bottom-left. This is the Share button. It will open your sharing options on a menu.
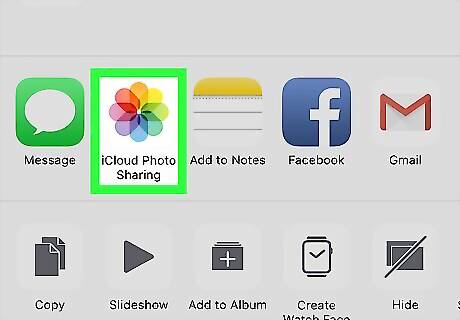
Select iCloud Photo Sharing on the menu. This option looks just like the Photos app icon on the middle row of the Share menu.
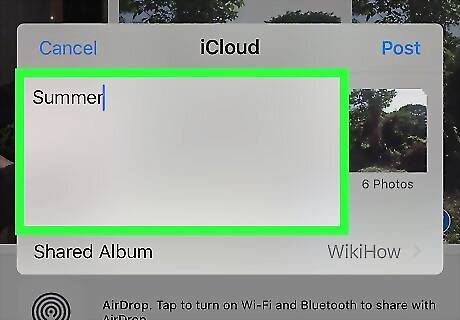
Enter optional image comments in the iCloud pop-up. Here you can type a description, caption or your comments before sharing the selected photos. Adding comments is optional. You can just leave the comment section empty. If you don't have any shared albums saved in your iCloud Sharing list, you'll be prompted to create a new shared album before you can enter your comments and share your photos.
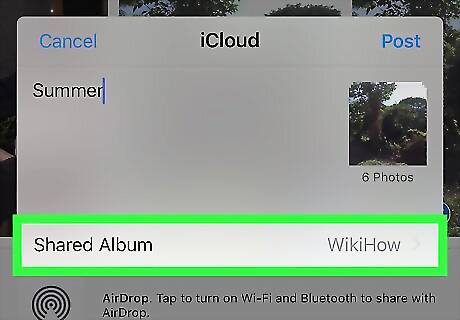
Tap Shared Album at the bottom of the pop-up. This will open a list of all your shared iCloud albums.
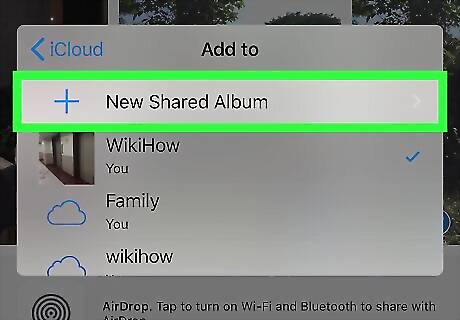
Tap + New Shared Album. This option will allow you to create a new shared image album on iCloud, and select a contact to share your selected photos. Alternatively, you can select one of your other shared albums here. Just tap an album on the list to select it.
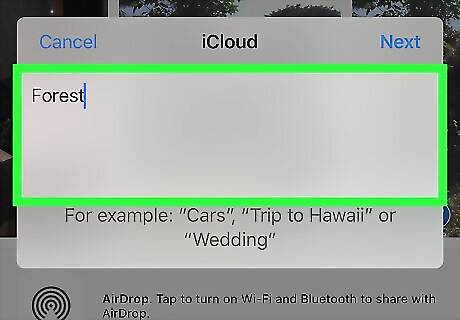
Enter a name for your new shared album. Tap the "Shared Album" field, and enter a title for your album here.
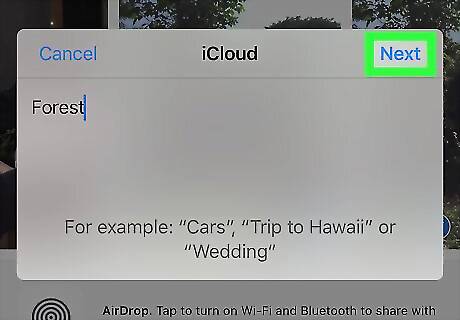
Tap Next on the top-right. This will confirm your new album's name, and prompt you to select contacts to share your album.
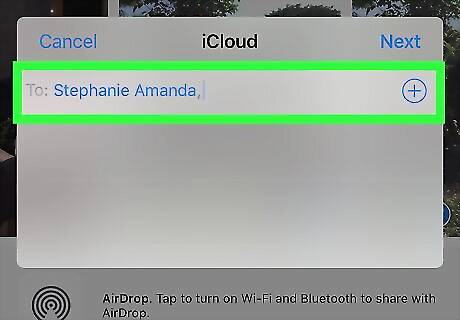
Select a contact to share your album. Tap the "To" field, and enter your contact's name, email or phone number. Matching contacts will show up as you type. You can also tap the "+" icon on the right-hand side, and select a contact from your phonebook.
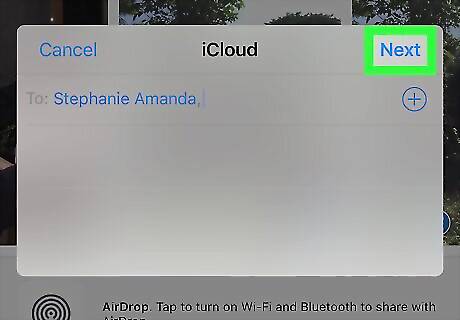
Tap Next on the top-right. This will create your new shared album.
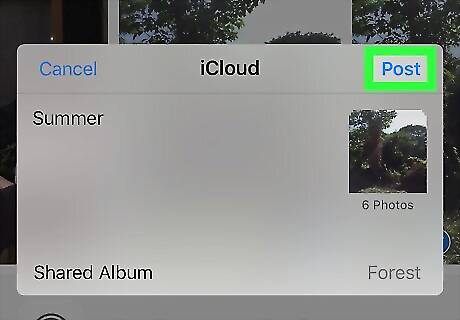
Tap Post on the top-right. This will post the selected images to your shared album. Your contact will now be able to access these photos on their own iCloud account.


Comments
0 comment