views
Preparing and Identifying Supplies
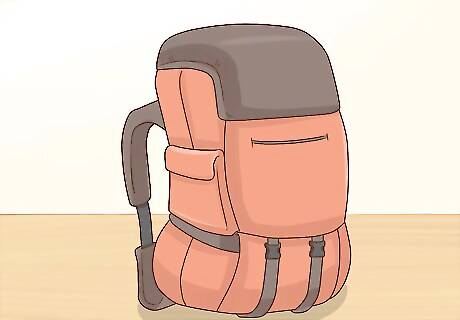
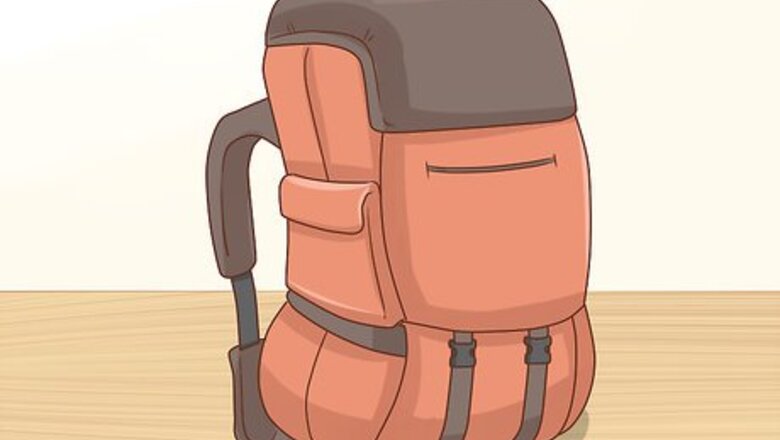
Obtain the specific backpack you will be using. There are multiple different styles of backpacks, such as the classic school backpack or a highly sophisticated hiking pack. Pick a backpack that will be suitable for the needs of your trip. For example, do not bring a big hiking pack for a day trail or don't bring a school backpack for a week-long trip.
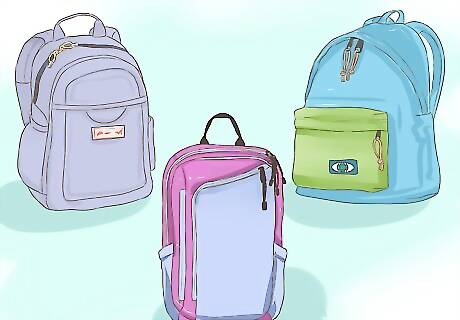
Assess where the shoes can be attached to. Analyze the backpack of your choice that will be used and observe where the laces can be run through securely. Simplistic backpacks have 3 main spots to tie shoes to, the handle or at the base of either shoulder strap. More sophisticated hiking backpacks, meant for longer, enduring hikes, may not offer the handle option. However, these backpacks do provide a wider range of possibilities to tie your shoes to, such as through a strap/band or a clip. Try securing your footwear to a clip or carabiner to hold it on the outside of your backpack.
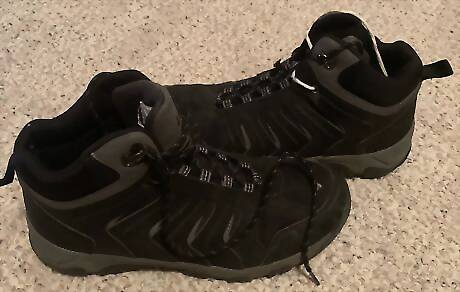
Get the desired footwear you will be using. The footwear can be boots or shoes, both will work the same for the explanation throughout this article.
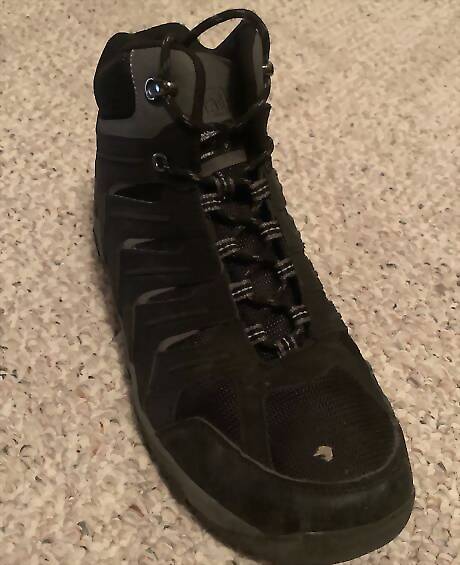
Ensure that the shoes/boots are laced properly. This will allow the method to work well in order to tie them to the backpack. The laces should pass through every loop and binding on the boot.
Using a Clove Hitch Knot
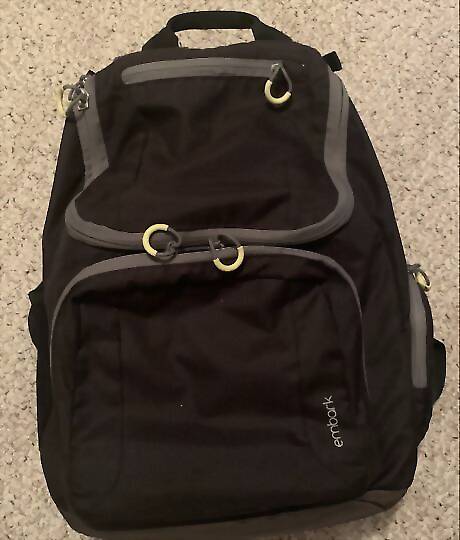
Lay the backpack down on the ground with the zippers and pockets facing up.
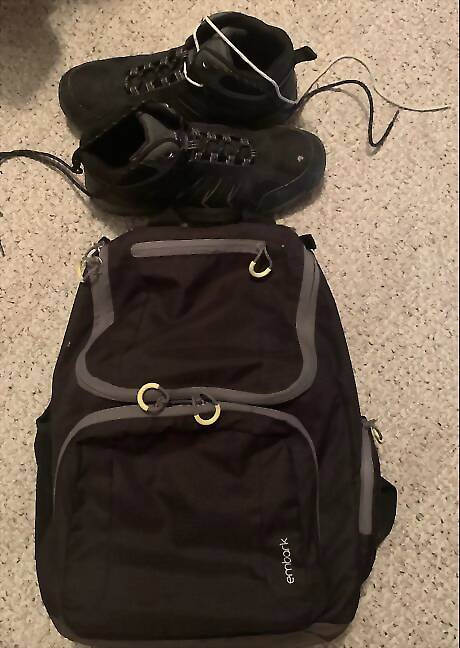
Position the shoes to be next to each other, toe to heel.
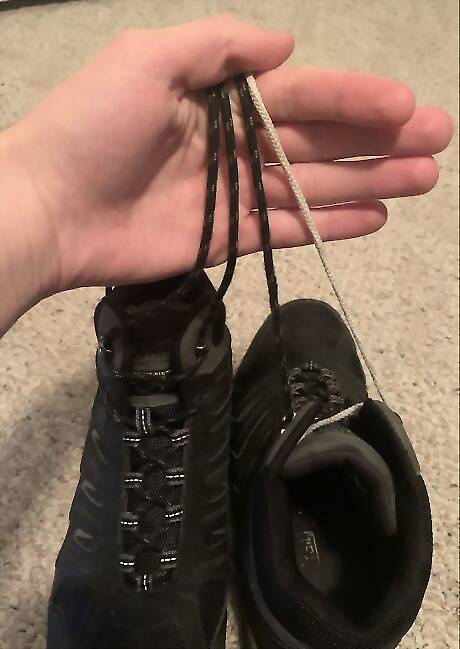
Take all 4 laces in your hand together.
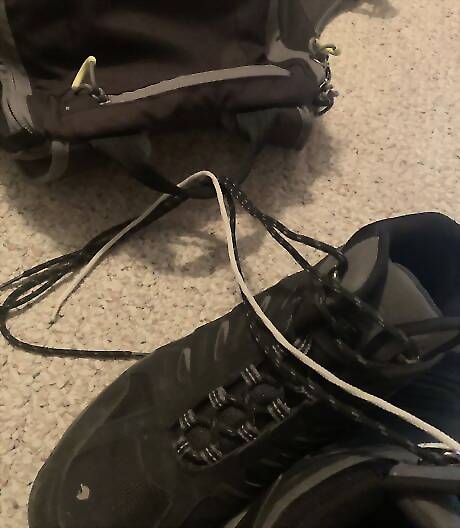
Put the laces through the top of the handle. Pull laces enough to leave 6 inches of lacing between the start of the laces on the shoe to the handle.
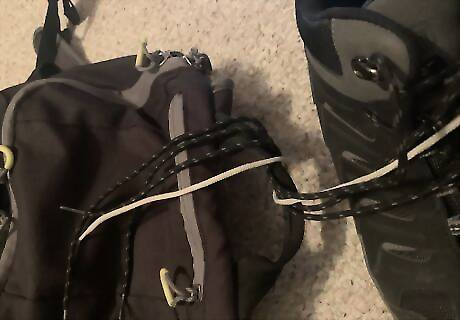
Loop the laces around the handle. Keep the ends of the laces on the outside of the loop.
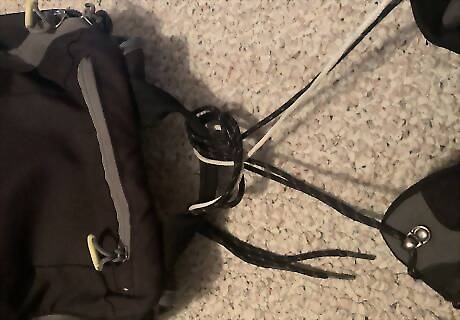
Put the laces through the handle again now on the other side of the handle.
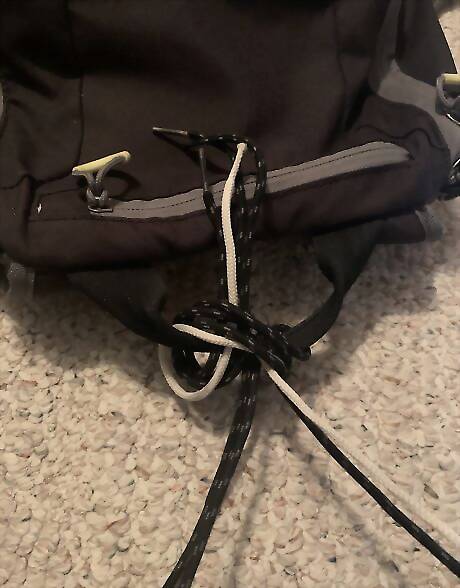
Pull the laces through the hoop created.
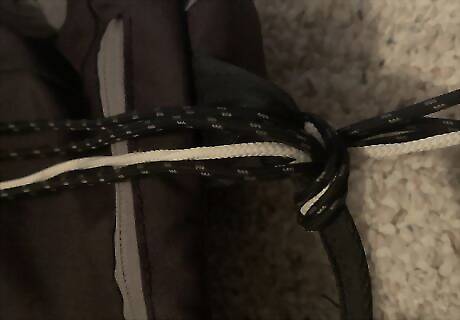
Pull tight to secure the knot. This knot can be done very quickly and easily once learned. It provides a quick and secure option for tying your shoes to your backpack.
Using a Stopper Knot Alternative Knot
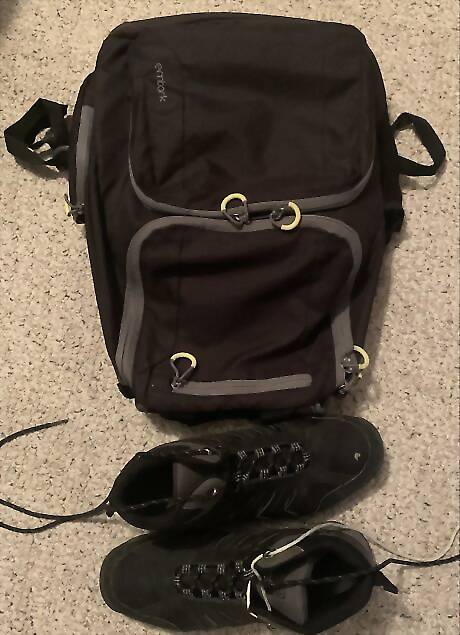
Align both shoes in front of the backpack. Have the shoes next to each other in a heel-to-toe placement.
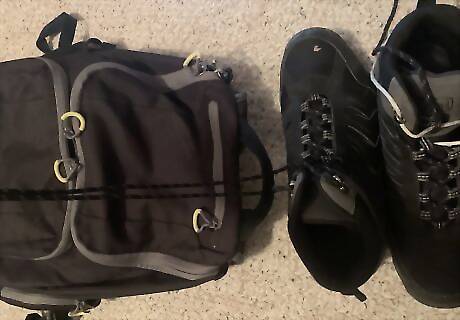
Pull both of the shoelaces on the right shoe through the handle.
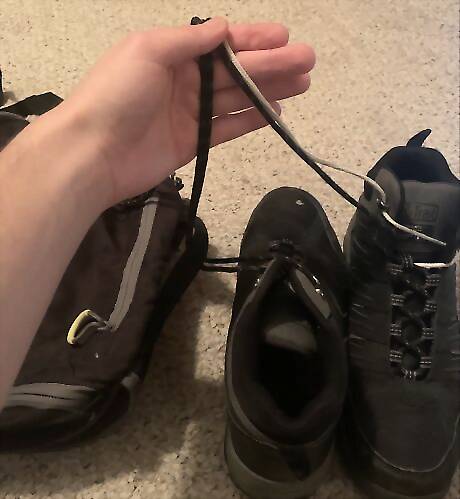
Merge the shoelaces on the left shoe with the right shoelaces. You should end up with all 4 laces side by side. Note that these laces from the left shoe should not go through the handle as the right laces did. They should stay outside the handle. Choke up on the laces as much as possible. This will allow for more lace slack to work with and have the shoes rest near your mid-back once completed.
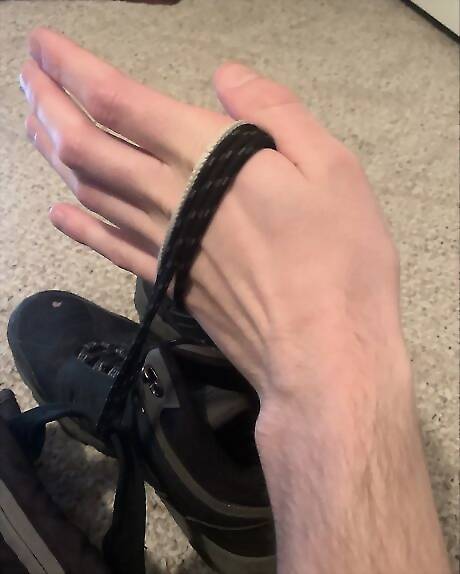
Wrap all 4 laces around your hand. Start with the laces coming from the bottom of your left hand on the backside and bring them to the top.
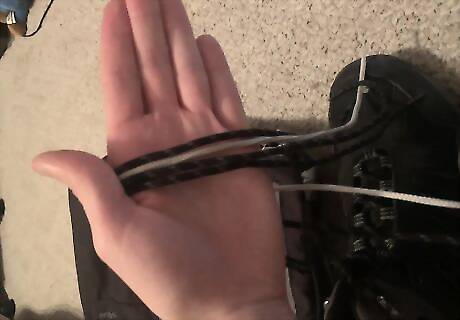
Wind the laces around the backside of your hand. Have the laces come from the bottom of the back of your hand and go over the top of your hand to the front of it. This is the type of winding motion you want.
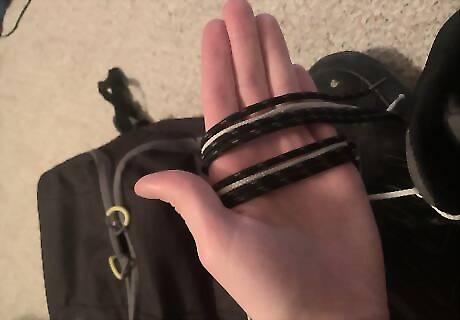
Tuck the laces under the laces from the first loop.
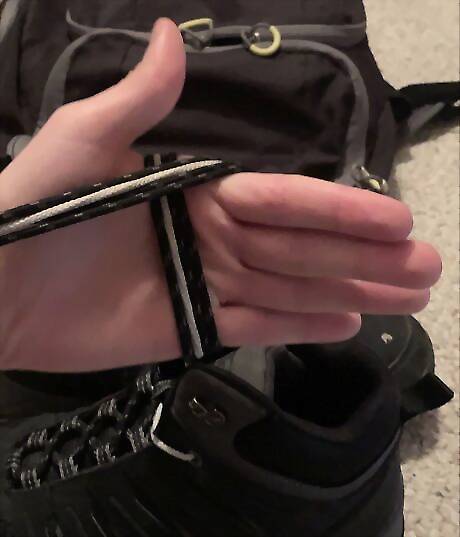
Guide the laces over the first wrap around to the opposite side.
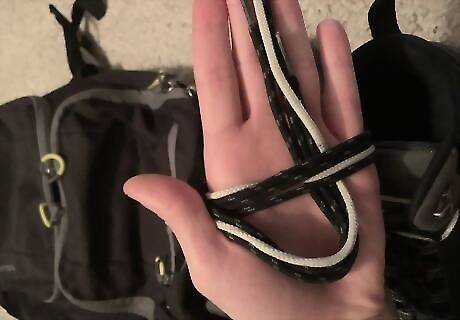
Bring the laces between your hand and the other lace wrap and pull through.
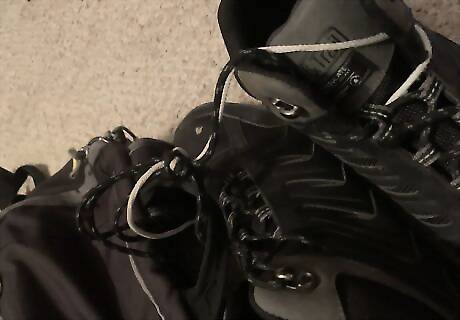
Pull tightly to secure the knot. Place the slack laces in between the shoes and the backpack to avoid them flopping around This knot provides high security for your shoes. This knot will not come undone easily and will provide a sense of safety for your shoes.
Placing Footwear on the Backpack
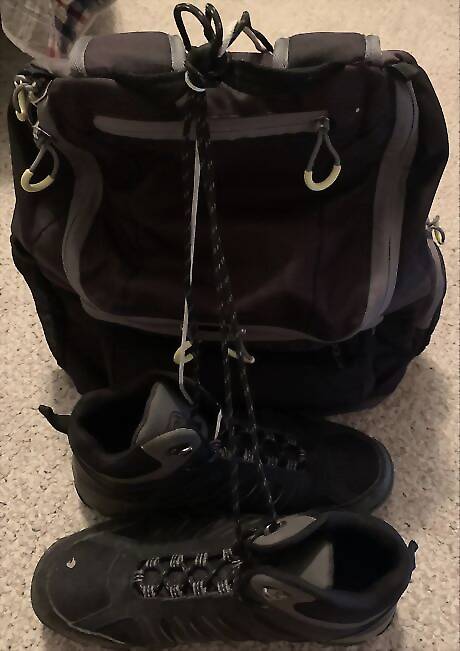
Place the shoes on the back of your backpack once the knot is completed. By putting the shoes in this position, it will significantly reduce the swaying effect you may feel if you were to have them hang loosely on both sides. Remember to maintain the heel to toe shoe positioning The reason for this is to distribute the weight evenly across your backpack/body. Use straps or bungee cords to strap your footwear down so it will stay firmly in place while you're hiking. If your backpack has outer pockets or flaps, you can also tuck the boots into that.
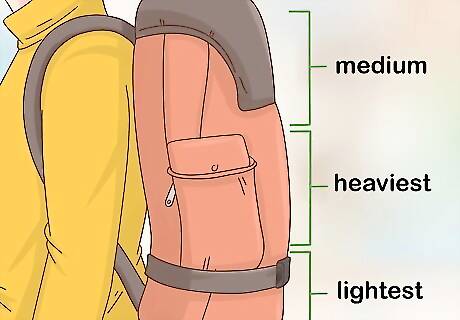
Check that shoes are not hanging too far down your backpack when wearing it. If the shoes hang too far down your backpack, this will make you feel as if the shoes are pulling you down or holding you back. The best placement for your shoes to hang is at your mid-back. If the shoes are at your mid-back, this will eliminate the pulling effect you may feel and reduce, if not eliminate, soreness in your lower back.




Comments
0 comment