views
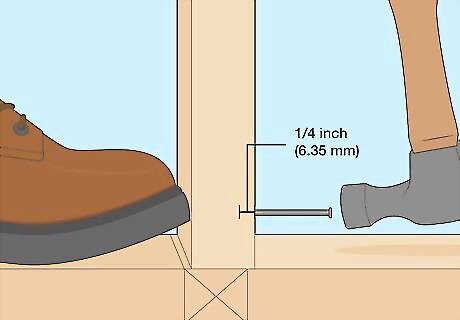
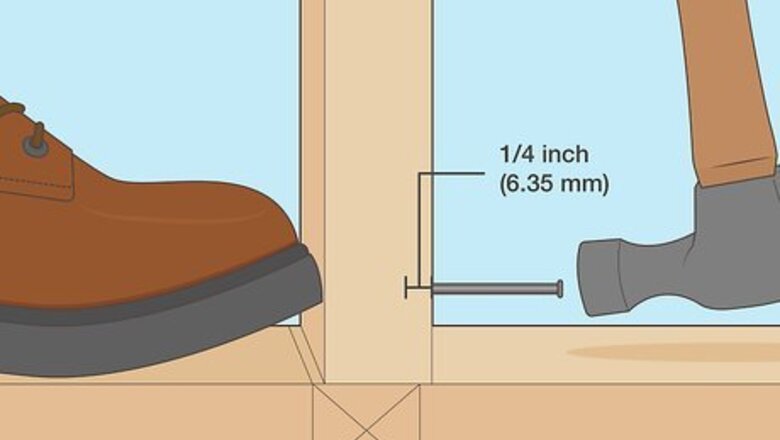
Position the board in front of the layout line and place your toe against the back. Start the nail by tapping it about 1/4 inch (6.35 mm) straight in, not at an angle. Position the board about 1/4 inch from your mark so the nail will drive it to the right spot.
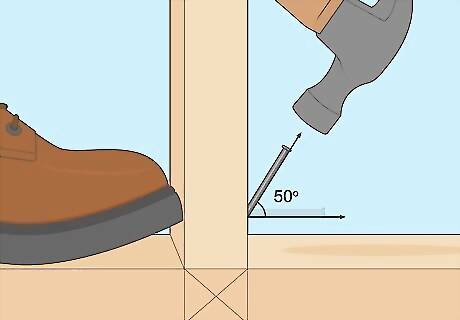
Pull the nail to about a 50-degree angle and set it with a couple of hammer taps. Then let go and drive it in. Brace your toe against the back of the board as you set the nail. It’s okay if the board moves slightly past the layout line. Driving a toenail requires greater hammer control and precision than regular nailing. Hold the hammer at the end of the handle with a firm but relaxed grip. Swing from your elbow with a little wrist snap at the end of the stroke for extra oomph. Luckily, you don’t have to worry about leaving hammer marks when you’re rough framing walls and floors. As the nail gets close to fully driven, adjust your swing ever so slightly away from you so the face of the hammer will contact the nail head off center. Catching the head of the nail with the edge of the hammer face allows you to drive the toenail completely.
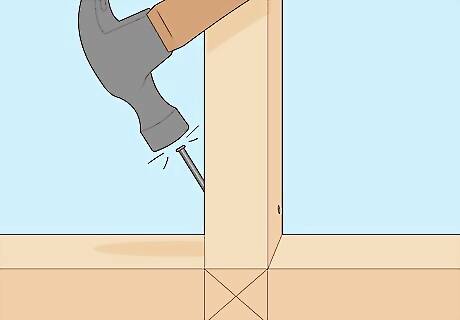
Drive toenails into the opposite side to complete the toenailing, and at the same time drive the board back to the layout line. If the board is twisted, toenail the side that needs to be forced back.
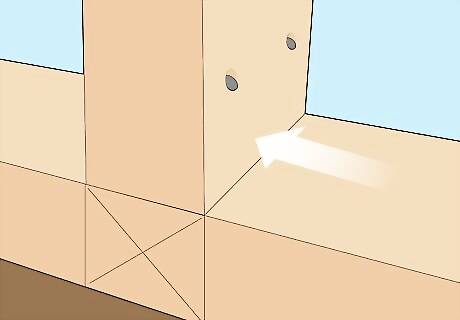
Toenails have an amazing power to move lumber. This power is especially handy when you’re working with framing lumber or decking that’s not as straight as you’d like. Use big nails with big heads like 16d sinkers for these jobs. In fact, if one nail doesn’t do the job, drive another alongside to move the board even farther.


Comments
0 comment