
Setting the Options of Your Brush
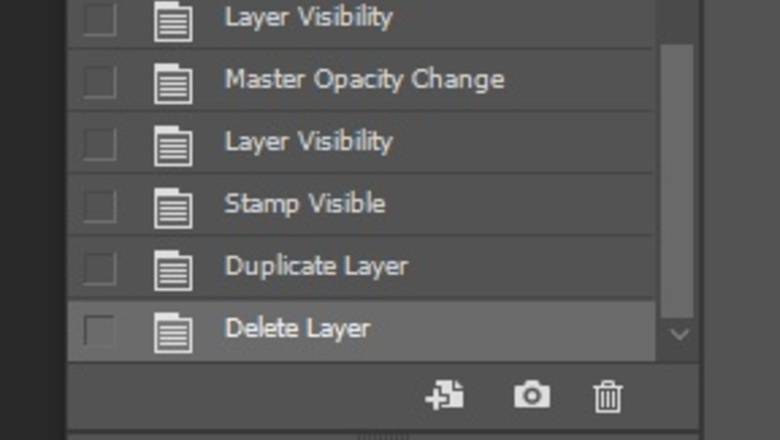
Take a Snapshot. Go to the History panel and click on the snapshot (small camera in the lower right of the dialog box) Y.Snapshot History for PS.jpg

Select the Art History Brush tool.Art history brush icon.jpg
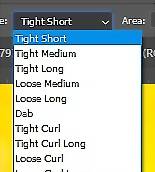
Go to the Options bar across the top. Choose the following options: Select a brush from the Brush Presets picker. Set your desired options for the effect that you want. You can always change it and you probably will. Choose a blending mode. The look of the brush will vary greatly depending on the mode you select. Pick a style that you like. For regular brush strokes, the first few are great. If you want to get 'fancy,' try some of the others. It's all about what you want as an artist. The style controls the shape of your paint stroke.PS styles for the history brush.jpg For the area, enter a value in the dialog box that specifies the are that you want to be covered by paint strokes. Be sure to experiment with different settings. The smaller the area, the less affected the target area will be. Set the Tolerance. This will limit the area that the paint strokes can be applied to. A low tolerance will let you paint an unlimited number of brush strokes, anywhere. A high tolerance will only paint in areas that are considerably different from the color in the snapshot. Again, experiment.
Painting Your Subject
Take a Snapshot of your image. For the Art History Brush to work, you need to have a current Snapshot of your image to be in the History. Remember that Snapshots do not remain with the file once you close it. If you see the 'ghostbuster' icon on your screen, you probably forgot to get the Snapshot that you need.

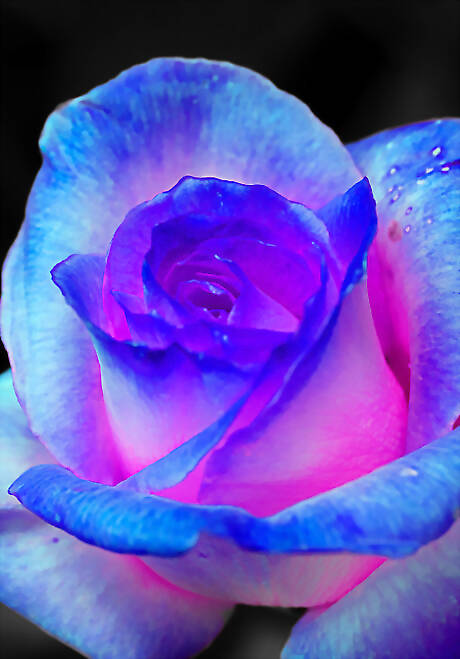
Select the brush size that you want (should be fairly large) and scribble (paint) over the entire image, (three to five hundred (300 - 500px)). You want your colors that are in your image to show up, but no definition.

Reduce the size of the brush. Experiment with what you are doing, specifically, but reducing it by half is a good start. Scribble all over the image again, concentrating a bit more on your subject.
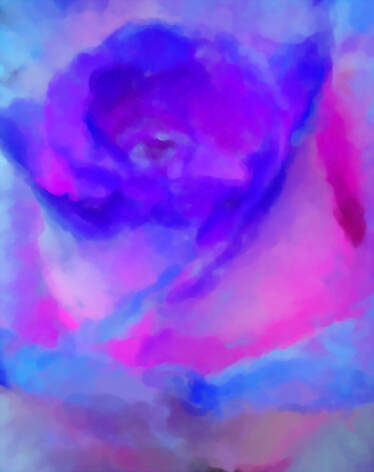
Continue doing this. Concentrating more and more on what you want to bring focus on.
Sharpen up a few places where you want your viewer to focus. As you get down to a 5 - 10px size brush, really focus on the part that you want to be clear and 'in focus'. Again, remember, this isn't a photograph so 'in focus' is all relative.
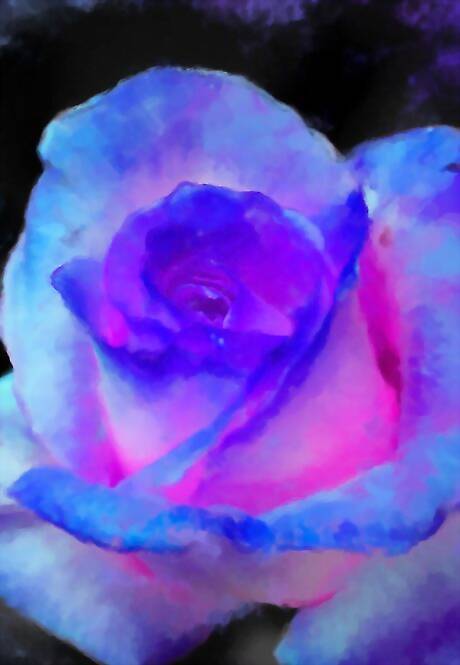
Finish it up with the most clarity where you want your viewer to look.


Comments
0 comment