
views

Visit Custom Search Engine. Open a new web browser tab or window, open Google and search for the Google Custom Search Engine page.
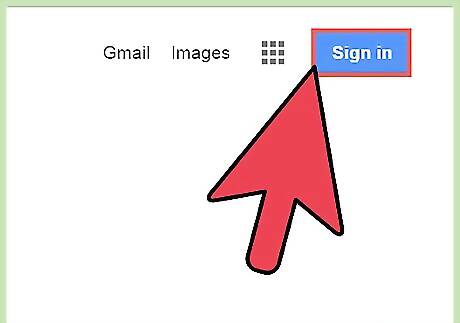
Sign in. Click the “Sign in to Custom Search Engine” button at the top right corner of the page and enter your Gmail email address and password into the fields. Click “Sign in” to continue.
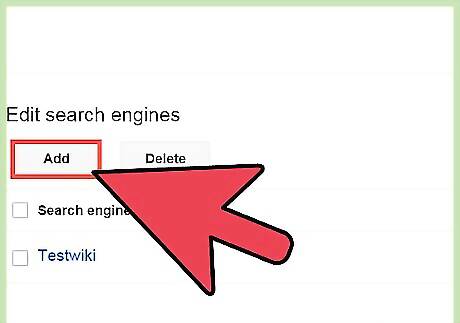
Create a custom search engine. After signing in, you will be directed to a page containing the fields for a new search engine. Fill the fields in the page, such as your website address, language, and name of the search engine (Google) by following the instructions given over the page. When you’re done, click the “Create” button at the end of the page. You will receive a “Congratulations!” message to confirm the successful creation of your custom search engine.
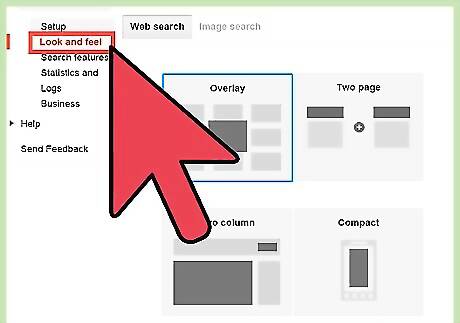
Customize the search bar. You can now customize the search bar with a variety of options to make it blend in with your website. To change the layout of the search bar, you can click the “Look and feel” button present in the “Edit Search Engine” drop-down menu at the left side of the page. Select the layout you would like to use among the various options present, and then click the “Save” button at the end of page. Similarly, you can change the Themes, Customize, and Thumbnails using the options present in the “Look and Feel” menu. After customizing each option, make sure you save your changes.
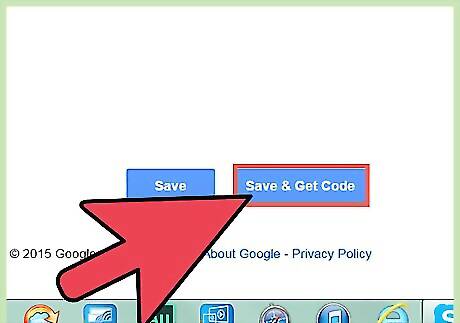
Get your custom search engine code. Do this by clicking the “Get Code” button beside “Add it to your site” in that same page. The code will appear in a pop-up window. Copy the entire code (Ctrl+C for Windows, Cmd+C for Mac).
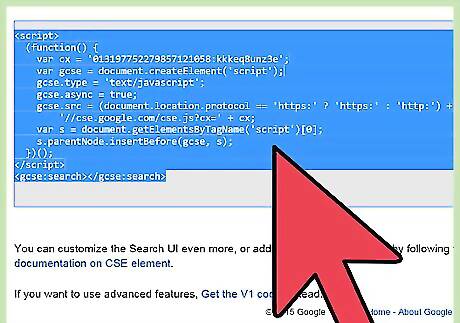
Embed the custom search bar. Go to your website editor, navigate to the area or page where you want the custom search bar to appear, and paste the code in the area. Save when you’re done.
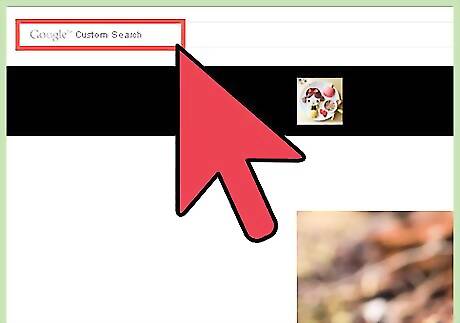
Test the search bar. Open the website where you embedded the custom search bar code. The search bar should be on the page. Try it out; enter a keyword to search, and press the “Search” button.


Comments
0 comment