views
Learning the Proper Technique
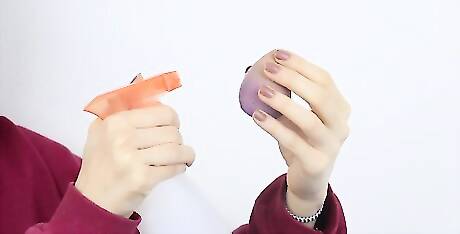
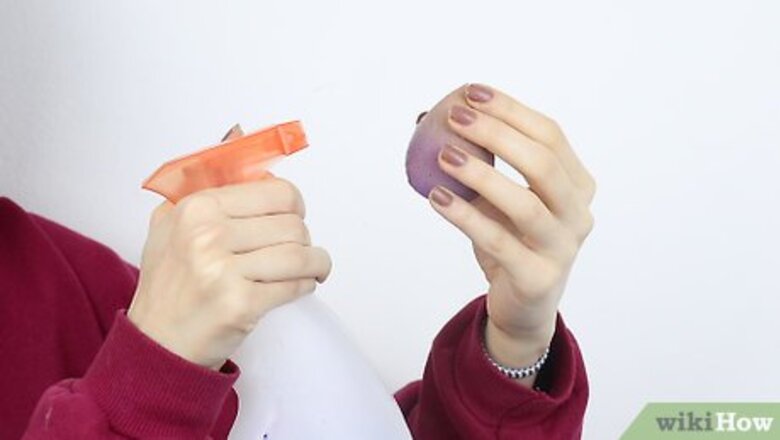
Wet your sponge. Pancake makeup needs to be activated with water, and should be applied with a dense sponge. The great thing about pancake makeup is that you can control the amount of coverage you get by adding more or less water (less water means less diluted makeup and heavier coverage). For regular coverage, soak your sponge with water and then squeeze out the excess so the sponge is damp. For lighter coverage, soak the sponge and then give it a gentle squeeze so it’s not dripping wet. While using more water allows you to thin out the coverage, using too water much can lead to an uneven finish and streaks. Because pancake makeup can provide such heavy coverage, you can actually use a shade that’s two or three shades lighter than your skin tone.
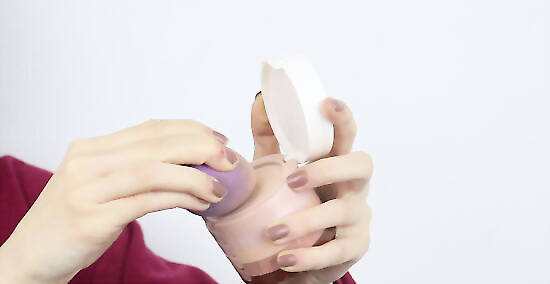
Rub the sponge into the makeup. Use gentle pressure as your rub to cover one side of the sponge with makeup. For lighter coverage, don’t use any added pressure: the weight from the water will press the sponge into the makeup enough to pick up the right amount.
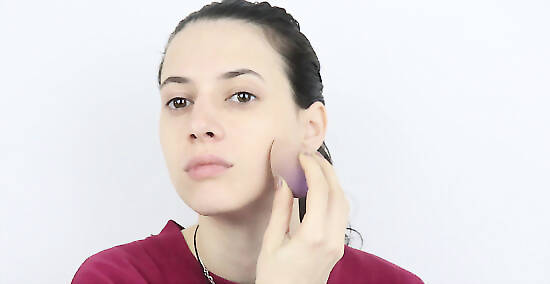
Apply the makeup to your face. With the amount of pancake you have on the sponge, begin applying the makeup to your face. Cover as much of your face as possible before going back for more. When you run out, rub the sponge into the makeup again and continue covering your face. Apply the pancake to your face, cheeks, nose, forehead, and even eyelids. If you're using thick coverage in a shade that’s noticeably different from your natural skin tone, also cover your entire throat and neck as far back as your ears. For lighter coverage, use light and quick strokes to apply a thin layer of pancake. When you're applying your foundation, be careful not to apply too much or too little product. Also, it's best to use high-quality products, since you'll get a better color payoff.
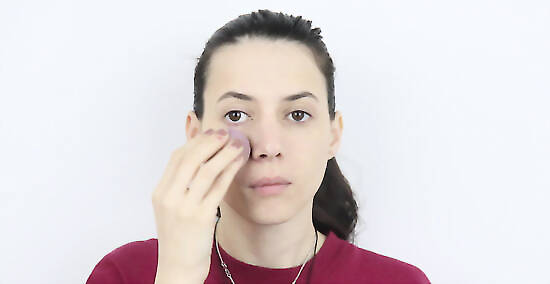
Blend the makeup. When you have covered your face, squeeze the excess water from the sponge and turn it to the clean side to begin blending. Use gentle pressure to blend the makeup into your skin. Don’t forget the areas between your eyes and the corners of your nose, mouth, and eyes. When blending, focus on making the coverage even and removing streaks.
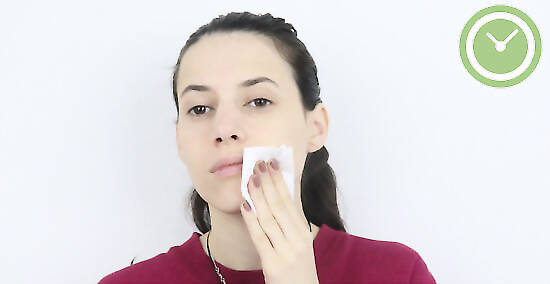
Let the makeup dry. Once you’ve finished blending, give the makeup a few moments to dry. If you're going for lighter coverage, blot your face with a cloth or tissue while it’s still moist to absorb excess makeup and water.
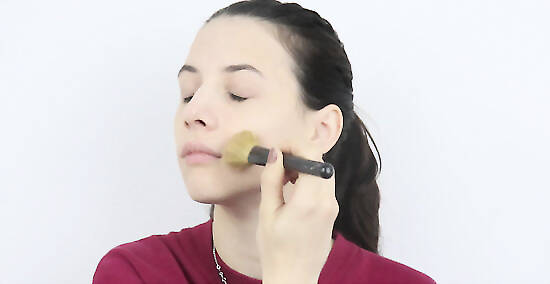
Powder your face. Use a brush, puff, or clean sponge to apply a thin layer of setting, finishing, or foundation powder over top of the pancake. Remove excess powder and smooth out the finish by buffing the face with a sponge or puff. Make sure the pancake is completely dry before applying powder.
Applying Contoured Pancake Makeup

Understand contouring. Contouring is a way of applying darker and lighter makeup to different areas of your face in order to highlight and de-emphasize certain features. For instance, you can use: Darker makeup under your cheekbones to make your face look longer and thinner. Lighter makeup on top of your cheekbones to make them stand out. Darker makeup on your jawbone to make your face look narrower Both types of makeup to make your nose look narrower. Make your eyes stand out more.
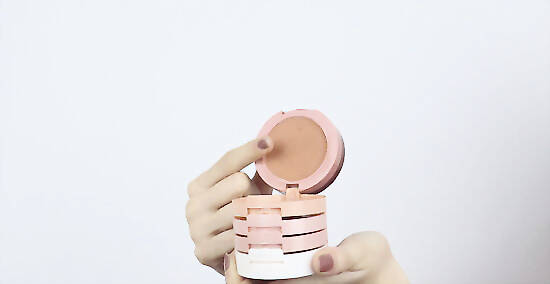
Pick your makeup shades. The process of applying contoured pancake makeup is the same as with regular foundation, only you use multiple colors to highlight and shade different features. You will need your regular pancake makeup (that matches your skin tone), a pancake for highlighting, and a pancake for darker contours. When you're matching your foundation, make sure the undertones match your skin tone. For instance, if you have a pink undertone and you use a neutral-cool foundation, it's going to oxidize and look yellow on your skin. For the contour, choose a shade that’s a couple shades darker than your regular pancake. For the highlighter, opt for a pancake that’s a couple shades lighter than your regular pancake. If you want the pancake to also cover red or dark spots, choose a greenish shade.
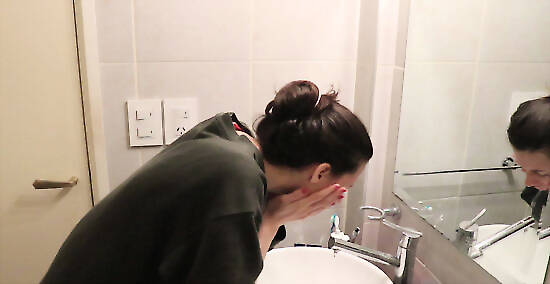
Wash and moisturize your face. Wash your face with a gentle cleanser to remove oil, sweat, and dirt. Pat your face dry and apply an oil-free moisturizer or toner. Let the moisturizer absorb for about five minutes. Pancake makeup won’t adhere to your skin properly if there's water, oil, dirt, or sweat on your face, which is why you have to start with clean and oil-free skin.
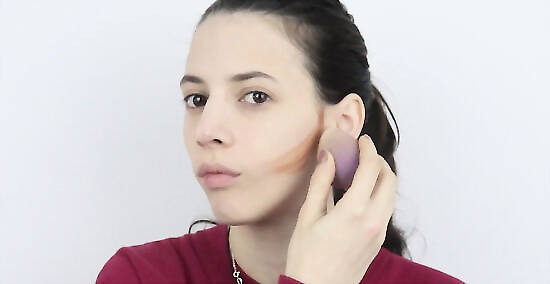
Contour to make your cheekbones stand out. If you want to make your face look narrower and your cheekbones more prominent, you can contour your cheekbones to do this. Remember that when you're contouring with pancake makeup, you will have to work a little faster than you would with regular makeup, because you will have to blend everything once you’ve applied all the makeup. Using a thin makeup sponge that’s damp with water, apply: A thin line of highlighter pancake above the cheekbone, from the middle of your cheek to the spot where your eyebrow ends. A finger-width line of darker pancake below the cheekbone, from the ear toward the corner of the mouth. Don’t extend the line beyond where your pupil is. Be sure to use a separate sponge for each color.
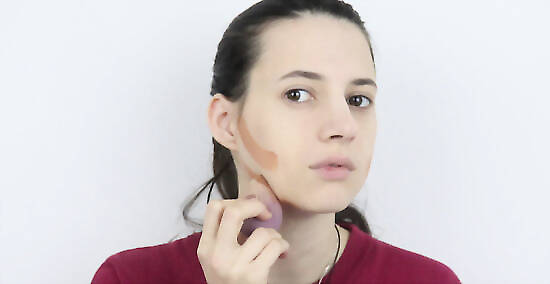
Give yourself a chiselled jawline. This can give you more definition around your jaw, and help hide extra fat under your chin. With the darker pancake and the sponge, apply pancake to your jawline and the area just under it. On both sides of your face: Start at your ear and follow the jawline all the way to your chin. To make your chin look narrower, taper the makeup as you approach the chin so that you don’t follow the curve of your chin. To hide extra fat underneath the chin, follow the jaw under your chin with the pancake as well.
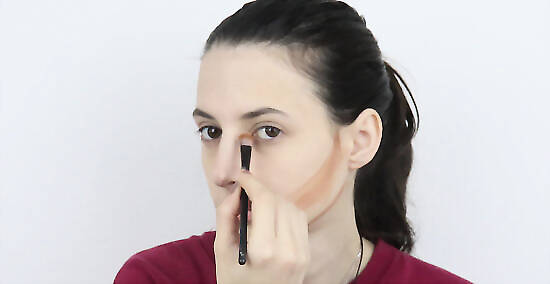
Make your nose look narrower. Apply a line of highlighter pancake down the center of your nose, from between your eyebrows right down to the tip. With the darker pancake, draw a line down either side of the center of your nose, from the inner end of each eyebrow all the way down to the tip of your nose. At the tip of your nose, taper the makeup slightly inward.

Give your forehead more definition. With the darker pancake, apply a thin line of makeup across your forehead, just below your hair line. Make the line a little thicker in the area above the natural curve of your eyebrows.
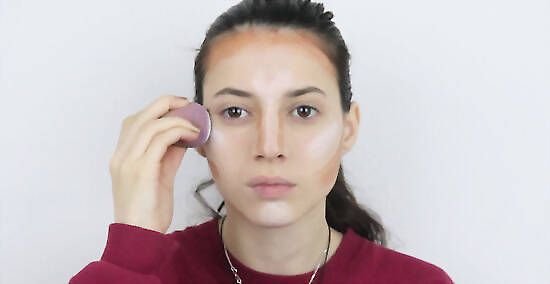
Make other features pop. You can make other features stand out by applying a small amount of highlighter. This includes dabbing a circle of highlighter to the center of your chin, drawing a small V shape in between your eyebrows, and putting a dab of highlighter at the Cupid’s bow (the top center of your upper lip). To make your eyes pop, apply a semicircle of highlighter under each eye.
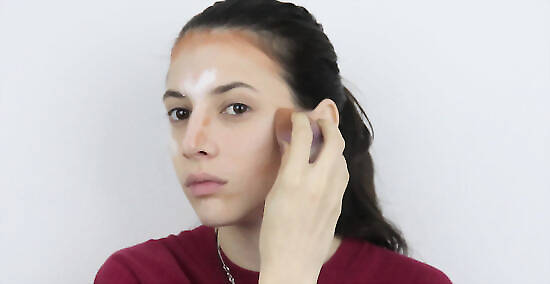
Apply the regular pancake and blend. Dampen a regular (not thin) makeup sponge and use this to apply your regular pancake to the remaining areas of your face where you didn’t put highlighter or contour. When you're finished, turn the sponge over and immediately begin blending the makeup so there are no harsh lines, uneven spots, or abrupt changes in color.
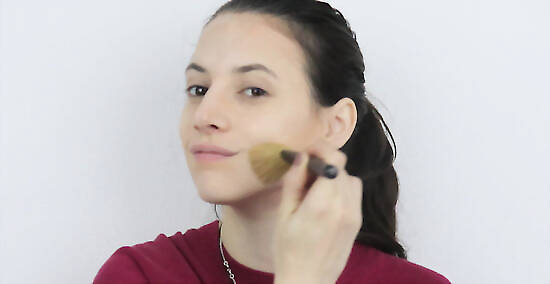
Apply a powder. Once you’ve blended the three colors together, allow the pancake to dry and then apply a finishing, setting, or foundation powder over top. Use the brush or sponge to blend the powder in as well.




Comments
0 comment