

Removing the Old Caulk
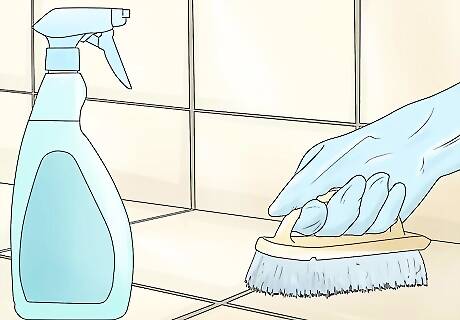
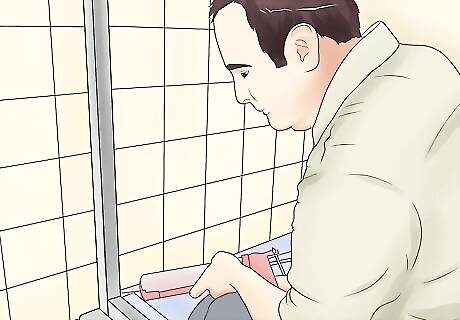
Scrub the work area using a bathroom cleaner that will remove soap scum.
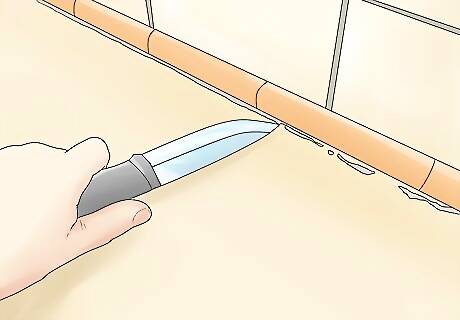
Remove the old caulk using a utility knife or a razor blade. Be careful not to scratch the surface of the shower enclosure. If the caulk will not scrape off, then blow hot air against the surface using a hair dryer to loosen the seal. You can even use a caulk removal tool.
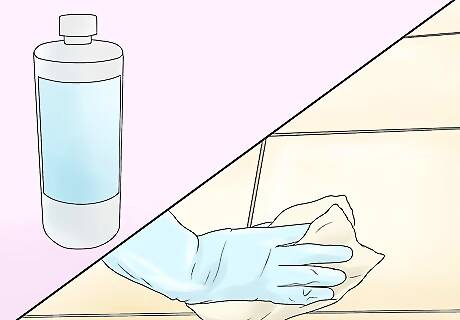
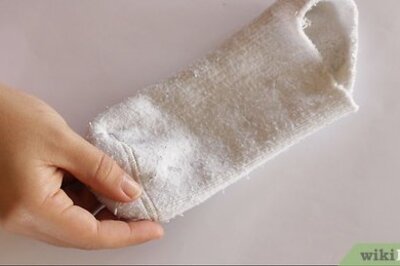
Wipe off. When all visible caulk is removed, wipe the areas that you are joining with a towel that has been dipped in denatured alcohol. The alcohol will remove any residual soap scum and will loosen any remaining caulk. You want to make sure the area you caulk is clean and dry.
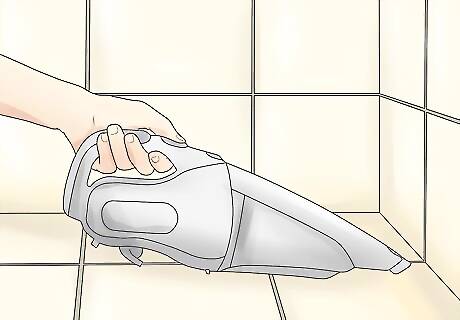
Use a vacuum cleaner with an attachment to vacuum the joint. This will remove any residual caulk that you may have missed during the scraping process.
Allow the shower to sit overnight without being used. This will ensure that the surface is fully dry, which will help the caulk to adhere.
Applying the Caulk

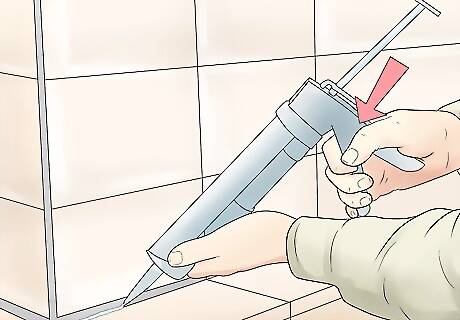
A caulk gun is an inexpensive tool that will make caulking your shower enclosure faster and easier. You will need to buy specially designed tubes of caulk to fit into your caulk gun. Load the caulk tube into the caulk gun, pulling the pressure rod back and sliding the bottom of the tube into the device.
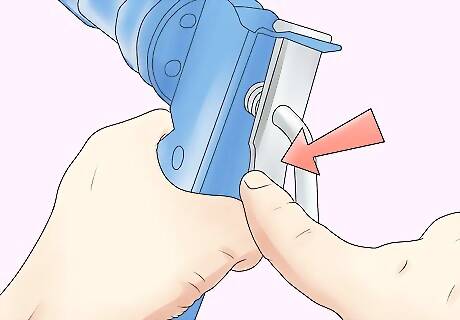
Squeeze the trigger gently until the pressure rod makes contact with the base of the caulk tube.
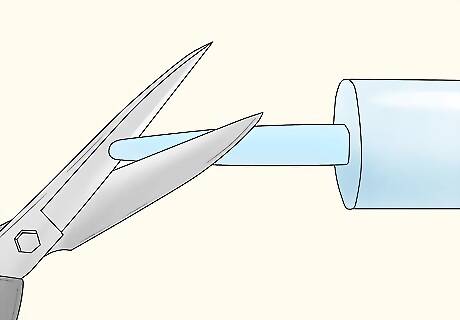
Cut the tip of the tube at a 45-degree angle using a pair of scissors. Keep the opening narrow so that you don’t push too much caulk from the tube as you work. Make sure that the opening is in alignment with the base of the gun for easy application.
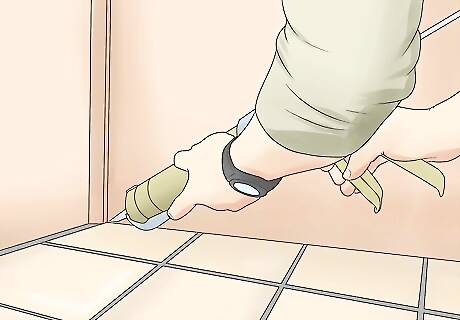
Rest the opening of the tube against the point where one of the vertical seams of the shower enclosure meets the ceiling or the soffit. Caulk the vertical seams and the corners of the shower enclosure first.
Squeeze the trigger gently and pull down slowly on the caulk gun, guiding the nozzle along the joint and squeezing out a steady stream of caulk. Avoid frequent stopping and starting so that you produce a smooth surface.
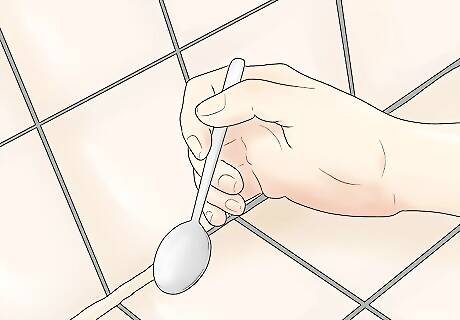
Rest the curved tip of the back of a plastic spoon at the beginning of your caulk line. Push gently on the spoon so that you are pressing the caulk into the seam while smoothing the top of the caulk’s surface. Pull the spoon down the seam slowly until you have smoothed the entire application.
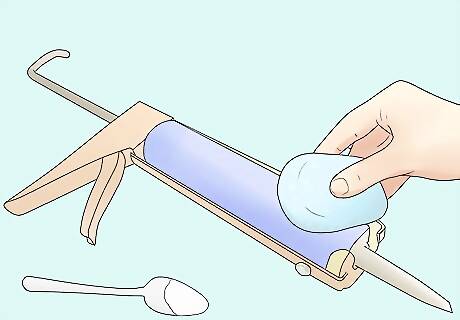
Wipe the exterior of the caulk tube and the spoon with a damp sponge. This will keep caulk from drying on the surface and interfering with the smoothness of your application.
Move on to the next joint to be caulked and repeat the steps until you have caulked all of the shower joints. Again, caulk the vertical seams and corners first, the horizontal seam along the back of the shower second and the horizontal seams on the sides of the shower third. Caulk between the shower door and the edge of the enclosure last.
Allow the caulk to cure for 24 to 48 hours before you use the shower again.


Comments
0 comment