
- To display your Switch on your PC, dock it and use it in TV Mode.
- You can also use a video capture card and capture software to connect the Switch to your PC.
- Only games compatible with TV Mode can be played on your PC. You can look for incompatible games on your PC or download a Switch emulator to play them.
Using a Capture Card
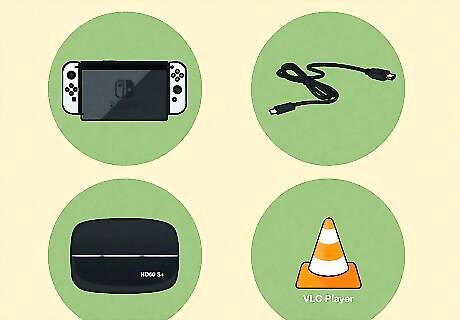
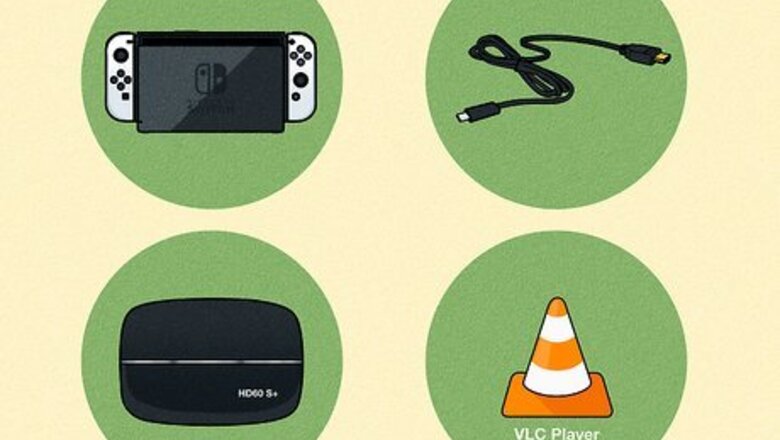
Gather your software and supplies. This method is best for running both the display and sound from your Switch to your PC, which is especially useful for Twitch and Discord streamers, or anyone who wants to record gameplay. Connecting your Switch to your PC is easy, but it will require a few pieces of equipment and video capture software. Prepare the following: Nintendo Switch and Dock. Your Switch must be placed in its Dock to use TV Mode. Note that TV Mode (and therefore this method) is unavailable on the Nintendo Switch Lite. An HDMI cable. Used to transfer video signal between your PC and Switch. A video capture card. Most PCs only have an HDMI-out port. You will need a video capture card to send an HDMI signal from your Switch to your PC. Unless you plan on using the capture card to stream, you do not need to invest in an expensive one. A video capture program. Install a video capture program onto your PC in order to play the video from your capture card. There are free programs designed for gaming such as Game Capture HD, or you can use a common media player such as VLC Player.

Unplug your Nintendo Switch from your TV. If your Switch is currently connected to your TV, remove any cables connecting the two devices.

Place the Switch in its Dock. Be sure to remove the Joy-Con controllers from each end of the Switch before doing so.

Connect the Dock to the capture card via HDMI. Plug the HDMI cable into the HDMI Out port on your Dock, and then plug the other end of the cable into the HDMI port on your capture card. If you haven't already, be sure to plug the Switch power source into a wall outlet. Close the back panel of the Dock when you are done.
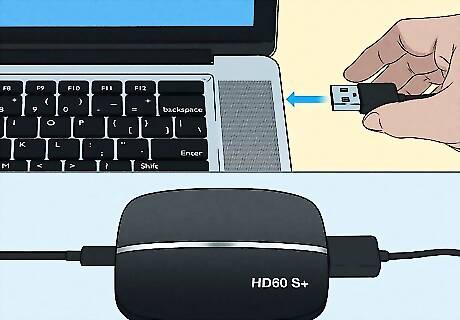
Insert the capture card into a USB port on your PC. The card likely came with a USB cable for this purpose. We recommend plugging a laptop into a power source during this process, as it can be rather power-intensive.
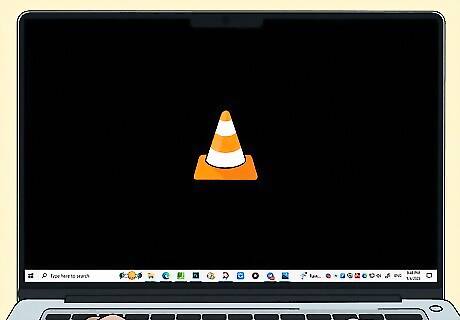
Open your capture software on your PC. To display your Switch screen on your PC, you will need to configure your capture software to display your capture card. The steps vary across different software, but it should be simple. On VLC Player, navigate to Media > Open Capture Device and select your device name from the drop-down menu.

Power on your Switch. With the console still docked, turn it on and control its interface using one of the wireless controllers. If you did the last step correctly, you should see its interface appear on your PC. Be sure to put your capture software into fullscreen mode so your Switch display will take up the entirety of your PC's screen.
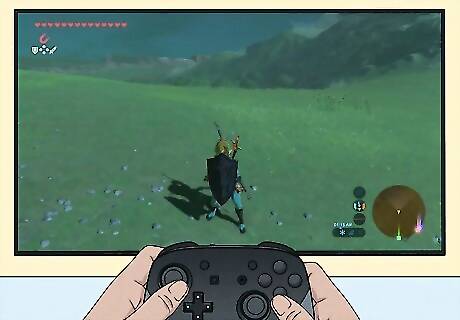
Play a game. You can now start gaming on your PC! Look for the TV Mode icon next to a game to ensure it is compatible with this method. Games displaying a greyed or slashed-out TV icon are unavailable in TV Mode. If there is a certain game you want to play and it is incompatible with this mode, consider seeking out a Nintendo Switch emulator online. You may also purchase the game for your PC and play it directly on the device!
Using PC Monitor as TV

Find an HDMI cable. If you strictly want to use a PC monitor as the display for your Nintendo Switch, you can easily do so via HDMI. Secure an HDMI cable in addition to your monitor, Switch, and Dock.
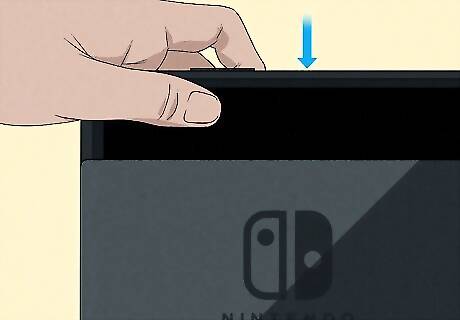
Place the Switch in its Dock. Be sure to remove the Joy-Con controllers from each end of the Switch before doing so.
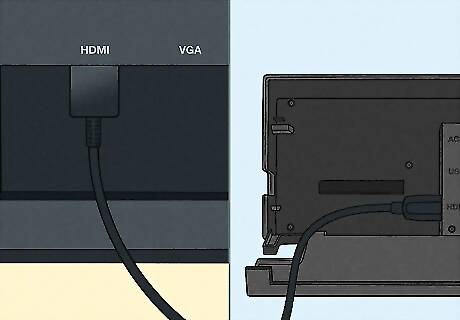
Connect the Dock and your monitor via HDMI. Plug one end of the HDMI cable into the HDMI-out port on your Nintendo Switch Dock. Then, plug the other end of the cable into the HDMI-in port on your PC's monitor.

Power on your Switch. With the console still docked, turn it on and control its interface using one of the wireless controllers. If you did the last step correctly, you should see its interface appear on your monitor.
Play a game. You can now start gaming on your PC! Look for the TV Mode icon next to a game to ensure it is compatible with this method. Games displaying a greyed or slashed-out TV icon are unavailable in TV Mode.
Transferring Files from Switch to PC

Power on your Switch. The Nintendo Switch has a built-in feature that allows you to transfer screenshots and gameplay videos to your computer. Turn the Switch on to get started. For this method, do not keep the Switch in its Dock.
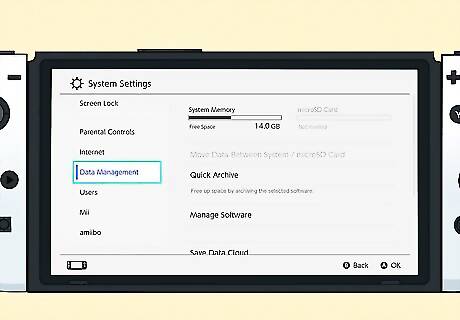
Navigate to Settings > Data Management. From the Switch's HOME menu, select Settings and then navigate to Data Management.
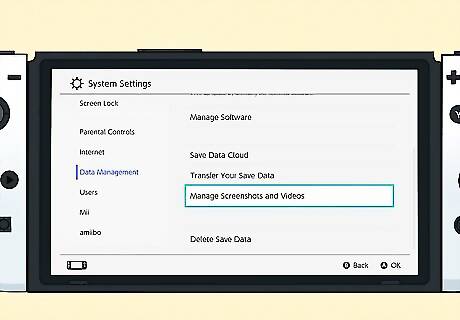
Select Manage Screenshots and Videos.

Select Copy to a Computer via USB Connection.
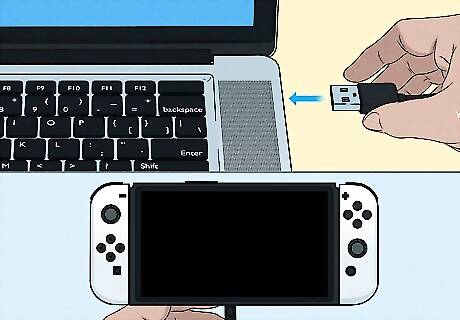
Connect your Nintendo Switch to your PC via USB. Retrieve a USB-to-USB-C cable. Connect the USB-C end to your Nintendo Switch and the other end to a USB port on your PC. The USB cable can only be connected to the port at the bottom of the Nintendo Switch console. The USB ports on the Dock do not support this feature.
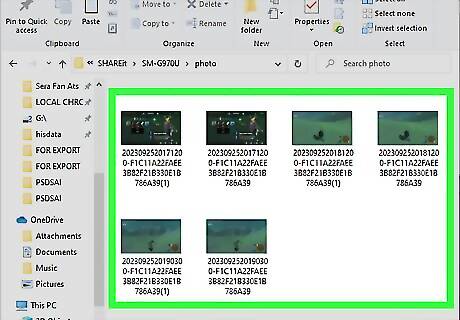
Select the media you want to transfer. Your PC's File Explorer will open, recognizing your Switch as eligible for media transfer. Copy or move files to your PC like you would with a flash drive or mobile device.


Comments
0 comment