views
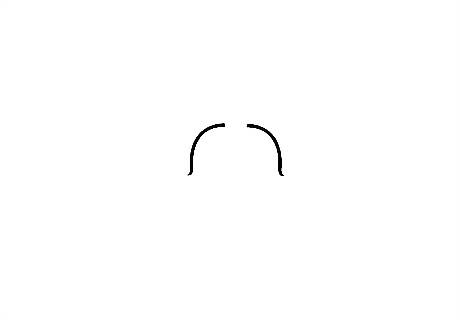
First you will need to draw an outline of the violin's "body." Using a pencil, lightly draw two "semi-arches", one facing the right and the other facing the left.
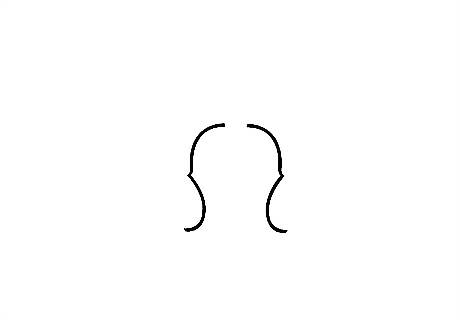
When you get to the middle, make two arches connecting the "semi-arches", again one facing right and the other facing left.
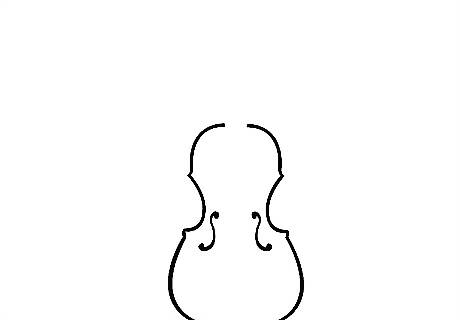
Now, draw lines connecting a larger arch underneath. In the center of the shape you just drew, draw a backward slanted sort of s in the right and a frontward slanted sort of s in the left. Be sure to leave space for the fingerboard.
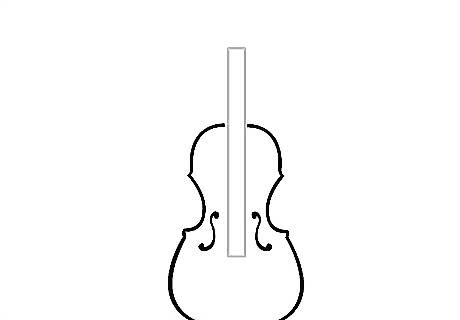
To draw the finger board, place a ruler straight in the middle of the paper, between the two s'. Trace the sides of the ruler until right above the two s'. Draw a horizontal line to make a sort of a rectangle.
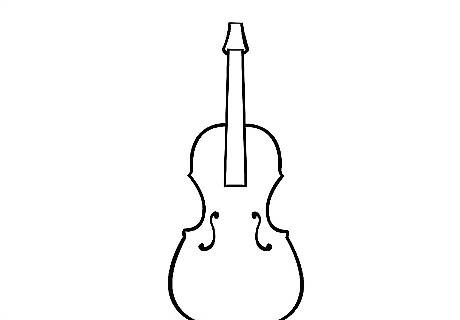
Now draw two sets of parallel lines that are as far apart from each other as the fingerboard's width.
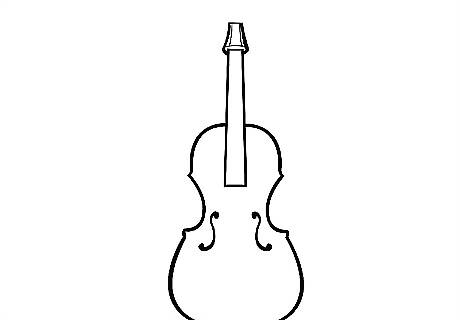
On top of that, you will draw the scroll. This may be very tricky for some people, so you will need to pay close attention. First draw a small line in the space above the parallel lines. Then draw slightly arched lines on the two sides of the center line. After that, draw a smaller horizontal line alongside each of the slightly arched lines that you just drew.
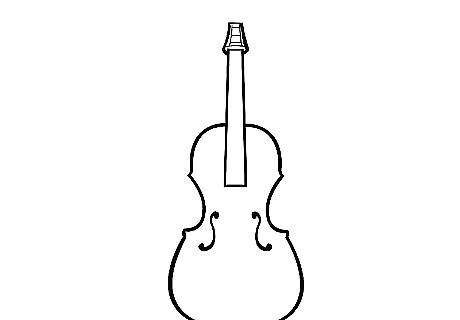
Now you will need to draw rather thick, curved lines on each side of the horizontal lines. The thick curves should be facing outward.
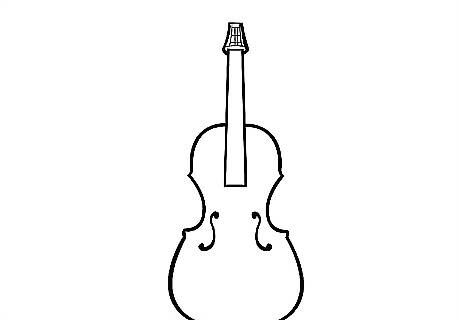
Draw two small vertical and horizontal lines connecting the thick curves. Whew!
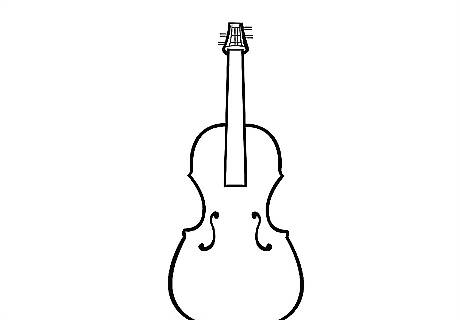
After that, we will draw the pegs. Draw four sets of horizontal lines inside the parallel lines we drew in step #5.
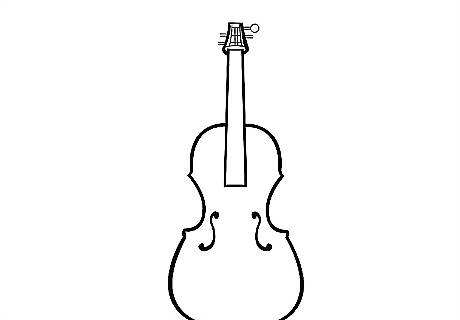
To the right of the parallel lines, draw two horizontal lines that are even with the first set of horizontal lines inside the parallel lines. Now draw a small circle that will fit on the horizontal lines you just drew.
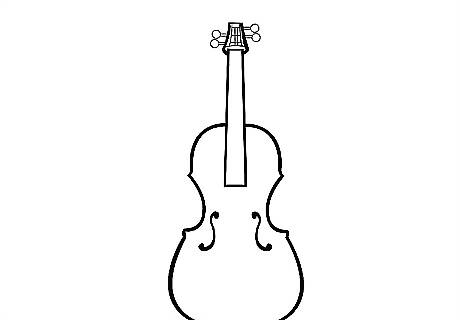
Repeat on the left with the next peg, on the right with the one after that, and then the left again.
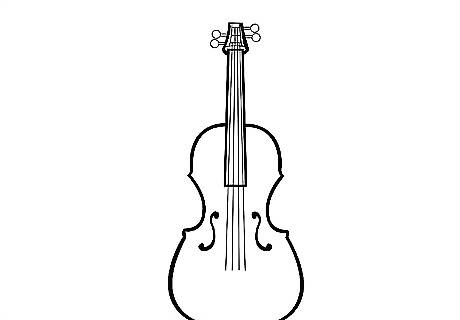
Since the pegs are finished, we can start drawing strings. The E string, or the string furthest right, will wrap around the third peg (inside the parallel lines from step #5). Then draw it straight down like a regular string that you are probably familiar with. Repeat with the other strings, the second furthermost right string (A string) wrapping around the first peg, the string to the left of the A string (D string) wrapping around the second peg, and the string left of the D string (G string) wrapping around the fourth peg.
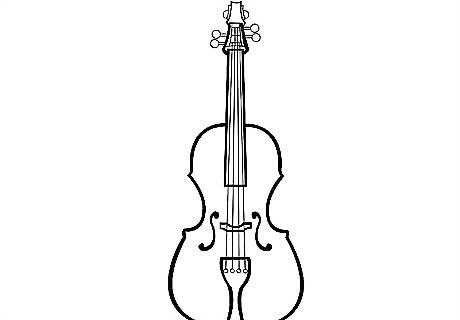
Draw the bridge between the two s', making it a slightly curvy rectangle. Next, draw a sort of triangular shape connecting with the strings and reaching the bottom of the violin. Draw four small circles on the triangular shape. These will be the fine tuners.
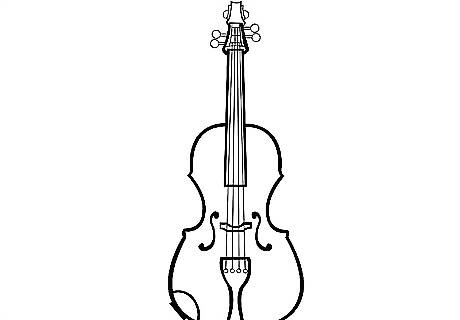
At the bottom left of the violin, draw a semi-circle connected with a small rectangle at the bottom.
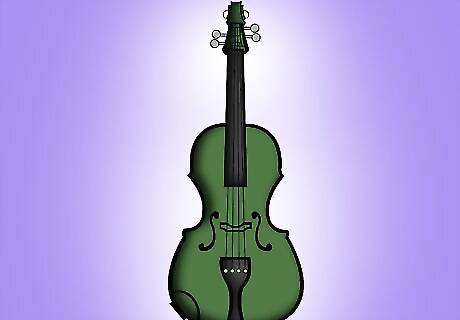
Finally, color in your violin and you are finished!


Comments
0 comment