views
Casting Off for Beginners
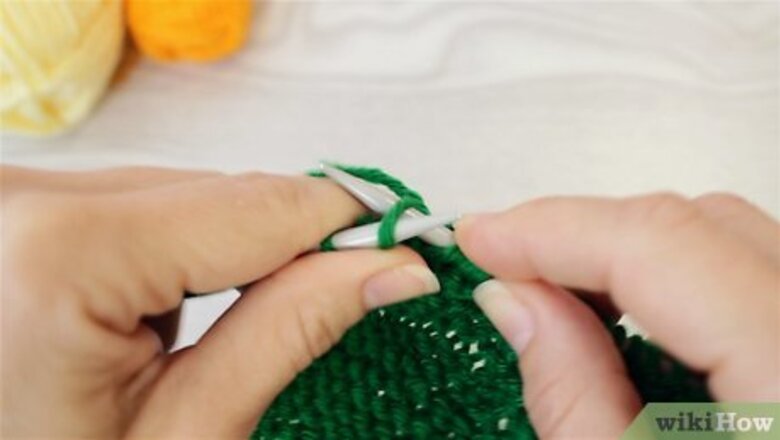
Complete the final row of stitches according to your pattern. Follow your knitting pattern to make whatever it is you're working on like a scarf, blanket, or dishcloth, for instance. When you reach the end of the pattern, it should say something like "Cast off" or "Bind off." This just means that it's time to secure the stitches so you can take the item off of your needles. You don't need to switch yarn or needles when you start to cast off. You're essentially working new stitches and slipping them over each other.
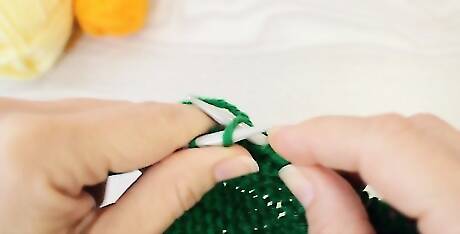
Knit 2 stitches to start casting off. Keep the stitches loose so it's easier to slide them over each other. You'll now have 2 stitches on your right needle and the rest of your project on your left needle. If your pattern directed you to slip the first stitch of each row, don't slip it for your cast off row. Just make 2 knit stitches.
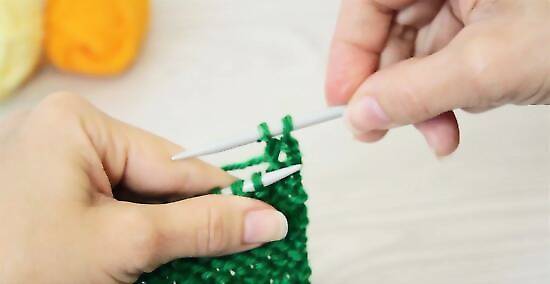
Insert the left needle under the first stitch on your right needle. Slip the tip of the left needle under the stitch that's closest to you on the right needle. Insert the left needle through the front of the stitch instead of the back. Don't worry about the other stitch on your right needle. This is the stitch you'll be slipping over.
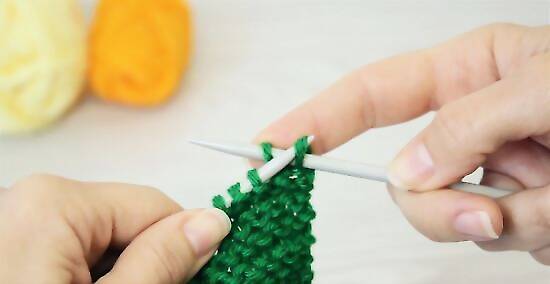
Bring the first stitch over the second stitch on the right needle. Keep your left needle under the first stitch and slowly bring the stitches towards the tip of the right needle. Pull the left needle up to slip the first stitch over the other stitch that's on your right needle. Then, pull the left needle out to drop the stitch. At this point, you've cast off 1 stitch and you have just 1 stitch remaining on the right needle. As you continue doing this, you're reducing the number of stitches that you have, all the way to the end.
Knit 1 stitch and slip the first stitch over it. In order to cast off another stitch, you need 1 more stitch on the right needle so knit a stitch. Once you have 2 stitches on the right needle, lift the first stitch over the stitch you just made and drop it off the needle. Remember to keep your knitting loose as you cast off. If your stitches are tight, you'll have a hard time lifting the first stitch over the second stitch. A tightly cast-off edge also makes your project pucker up at the bottom.
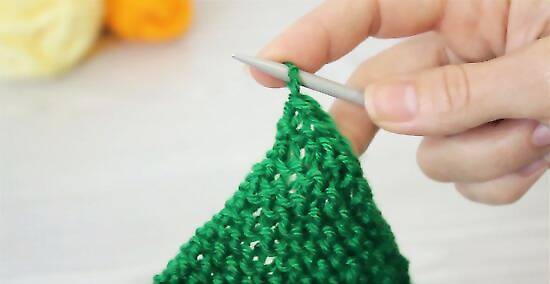
Continue to cast off the stitches until you have just 1 on the right needle. Keep knitting 1 and casting off 1 until you've made it across the entire row. Stop casting off when you have only 1 stitch left on your right needle.
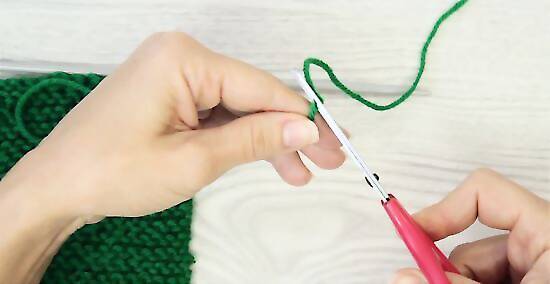
Cut the working yarn to leave a 10 in (25 cm) tail. You're almost done casting off! Once you have just 1 stitch left, cut a long yarn tail so you can tie off the last stitch. It's really important to secure the final stitch or your project could unravel.
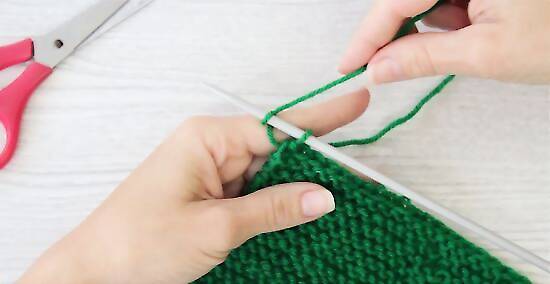
Wrap the tail around the needle and pull it through the stitch. To secure your last stitch, bring the yarn tail counterclockwise around the needle above the stitch. Hold the tail with 1 hand so it doesn't slip away and use your other hand to pick up the final stitch. Pull it to the tip of the needle and over the loop you just wrapped. Then, pull the tail through the last stitch and tighten it. At this point, your project is off of the needles! You'll see a yarn tail at the end that you just cast off and a tail at the opposite end of your project where you cast on.
Weaving in the Ends
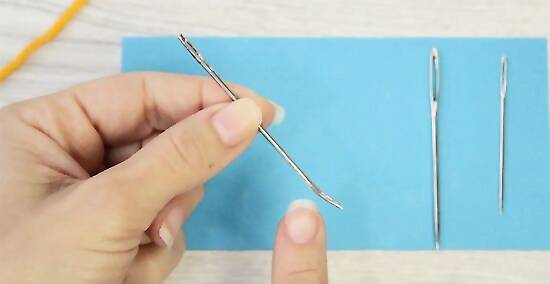
Thread a yarn tail through the eye of a tapestry or darning needle. You can find plastic or metal tapestry needles at local craft supply stores. These have a blunt end and a wide eye, which makes it easier to thread yarn through. Take 1 of your yarn tails and thread it through the eye of your needle. Tapestry needles have slightly curved tips. Play around with straight darning needles or these curved tapestry needles to find which style you prefer.
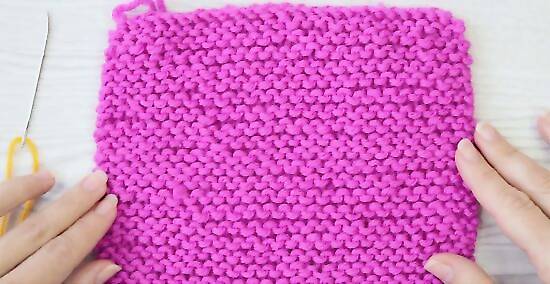
Lay your project so the bumpiest side faces up. If you're weaving in a tail on a garter stitch pattern, you'll see bumps from the stitches on both sides, so you can weave on either side. If you're finishing a stockinette stitch project, turn it so the wrong side with the bumps faces up. Garter stitches are made by knitting every stitch for all the rounds. Stockinette stitches are made by alternating knit and purl rows.
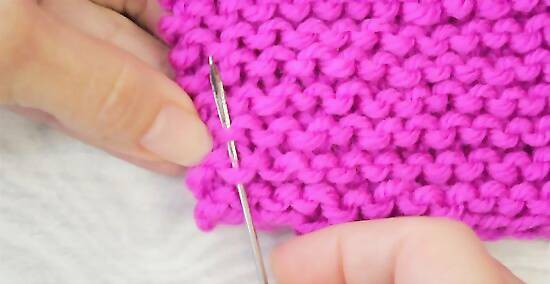
Insert the needle vertically through the bumps of 2 stitches. It doesn't matter which 2 stitches you use as long as they're close to the base of the yarn tail. Push your threaded needle under the bump of a stitch that looks like a smile or U. Bring the needle under the bump that's above it, which is shaped like a rainbow. It's easier to hide the tail if you begin weaving close to the base of the yarn tail.
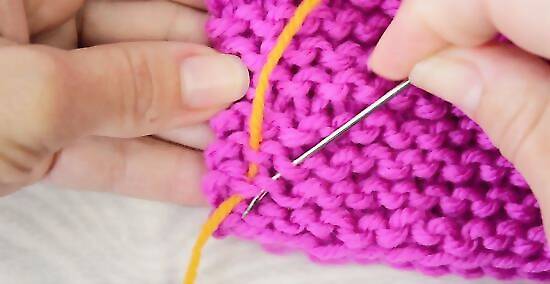
Slide your needle under the next horizontal stitch and bring it down. Once you've sewn up, it's time to weave down. Insert your needle down through the stitch that's to the right. Instead of going down vertically through another stitch, turn your needle to the left and weave it through the side of the earlier stitch. Then, pull the yarn gently to secure the tail. This makes a curved shape with the yarn. If it helps you to remember, you're going down through a smile or U-shaped bump and diagonally under a rainbow bump.
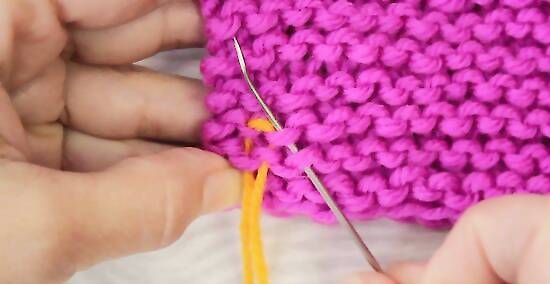
Put your needle into the stitch to the right and up through a horizontal stitch to the left. It might seem tricky, but you're essentially weaving a curved shape that looks like folded ribbon. Slide your needle under the bump that's to the right and angle it to the left so you can bring it through diagonally.
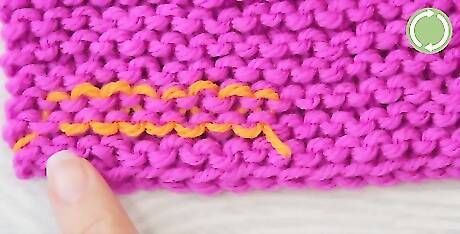
Weave through a few more stitches and trim the excess tail. You can continue weaving in the tail going up and down in a curved pattern as long as you like. Aim for weaving back and forth at 4 times before you cut the excess yarn tail close to the project.
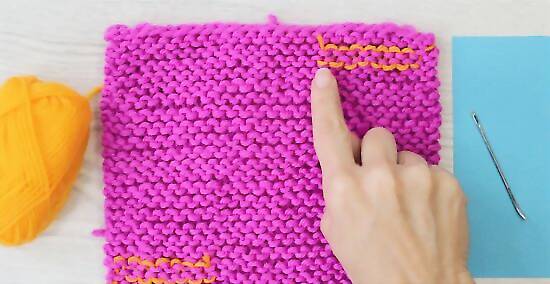
Thread the other yarn tail and weave it into your project. Since you have a yarn tail when you cast on and bind off, you'll always have at least 2 yarn tails to weave in. You might have even more if you had to change colors or add a skein of yarn. Remember to check your work for tails and weave each of them in the same way.
Block the project if you want it to hold its shape. If you're making a large blanket or loose scarf, it fine to begin using it right away. However, if you're making a knitted garment and you'd like it to keep its shape, steam the fabric or soak it in warm water. Squeeze out the moisture, then spread the knitted piece flat on a soft surface like an ironing board or a towel. Arrange your project so the edges are straight and leave it to dry. In addition to helping the piece hold its shape, blocking your project will help even out the tension in the stitches. If you're worried that the fabric will curl in as it dries, stick a few sewing pins through the fabric near the edges and corners so the material holds its shape.


Comments
0 comment