views
Planting Swamp Hibiscus
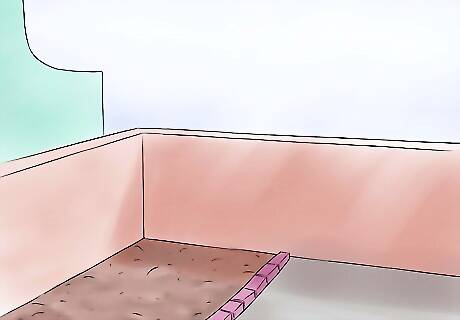
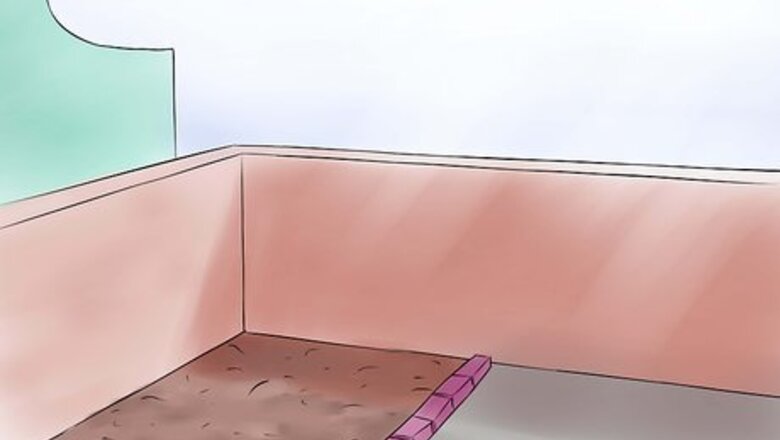
Look for a sunny, boggy spot to plant your hibiscus. Swamp Hibiscus is a tall perennial that favors a sunny spot with lots of water. Unlike many plants, it prefers a boggy spot where water collects. If you have a marshy patch in your garden that gets plenty of sun, consider planting your swamp hibiscus there. Swamp Hibiscus prefers a mildly acidic soil but this isn’t critical. The main thing is to provide the plant with plenty of boggy soil. In hotter areas this plant will tolerate partial shade for some of the day but generally favors sunny spots. This plant will also do well next to a pond or stream.
Prepare the soil where you will be planting your hibiscus. Incorporate some well-rotted manure or other organic matter such as compost into the ground ahead of planting. Mix up the soil and organic matter to provide the plant with the nutrient it will need to grow. Swamp Hibiscus can grow up to nine feet in height, so long as the soil is rich.
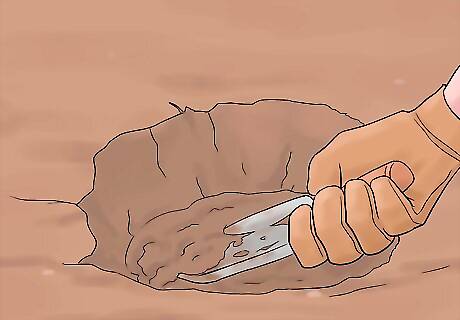
Dig a hole for your hibiscus plant. Dig a hole twice the size of the pot that the hibiscus came in. Put the plant in the hole and fill the hole with soil. Water the plant and soil around the hole to help settle the soil and remove air bubbles. Continue to water the plant so that the soil remains soggy.
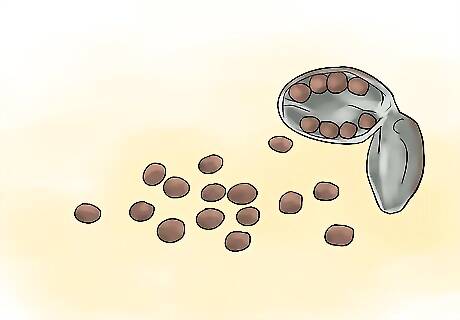
Consider growing a swamp hibiscus from seed. Swamp Hibiscus can be grown from seed if you do not want to purchase a potted plant to put in your garden. If you are harvesting seed yourself, do so in the late spring when the pods are hard and dry. You’ll need to break them open to collect the seed. Seeds need to be scraped with sandpaper or a nail file to get them to germinate. Alternately, try making a tiny cut with a sharp knife or prick with a pin. Soak the seeds in warm water for an hour, then dry them on a paper towel. Plant them as soon as the last frosts are over.
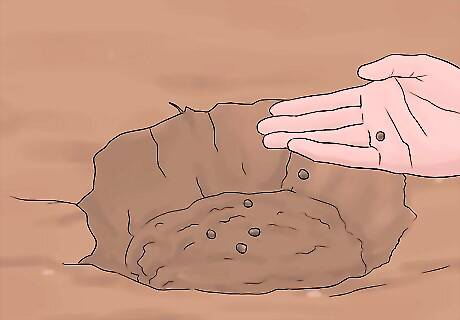
Put your seeds in the ground. You can plant the seeds directly into the ground, or you can start their growth in a pot. Plant the seeds a quarter of an inch down in the soil and cover them up. Mist the surface with water. If you are using a pot, cover the pot with a clear plastic bag or plastic wrap and put it in a sunny place such as a south-facing windowsill. Germination, or when the sprouts begin to show, takes about two weeks. Keep the soil moist until germination and continue to water it every day for a few months until it is established. Because swamp hibiscus is a rapid growing plant, your will generally get blooms within the first year.
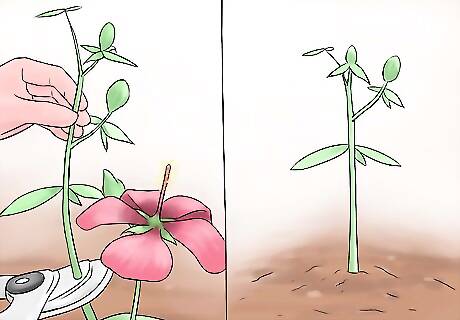
Grow your hibiscus from a cutting if you do not want to purchase the plant or seed. To take a cutting, select a healthy stem about a quarter inch wide and cut off the top 6 inches (15.2 cm). Remove the lower leaves and dip the cut end into rooting hormone. Fill a pot with a good cutting compost. Make a hole that is at least two inches deep and plant the cut in the hole. Keep the soil moist and put the plant in an area that is bright but does not get direct sunlight. You can also use a sand and compost mix. Roots should set after a few months, at which point the new plant can be planted outside.
Caring for Swamp Hibiscus
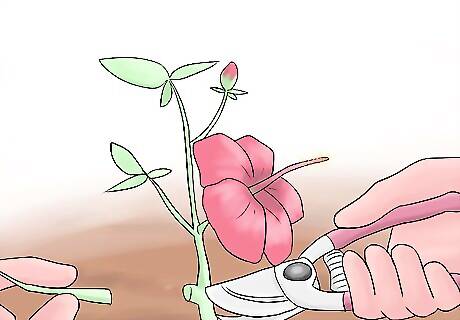
Prune your ‘leggy’ swamp hibiscus. Swamp Hibiscus can grow a bit too leggy and look straggly. Pruning and pinching can promote bushier growth and flower production. Once the plant gets to be about two feet in height, pinch off the growing tips so that the plant height is cut in half to about one foot. When flowering starts, you should pinch off the dead flowers. This will be covered in the next step.
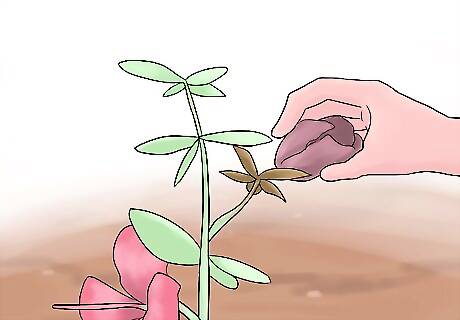
Remove withered flower heads. Each flower of the swamp hibiscus will generally only last for one day. Try to remove dead flower heads every few days to help your plant produce the most flowers it possibly can. Doing this will keep seeds from forming, rather than flowers. If you want to collect hibiscus seeds later in the year, leave a small number of dead flower heads on the plant so that the seed pods can eventually form. They will need to mature and turn brown on the plant before the seeds can be harvested.
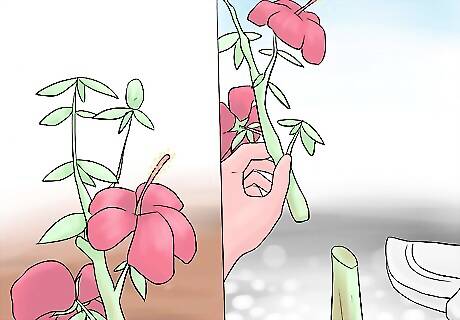
Cut the plant back at the end of the flowering season. Cutting the plant back will help the plant to continue flowering into the fall. Right at the end of winter, cut the whole plant right back to the ground. The remaining stalks will be woody. Next year’s growth will emerge on fresh shoots so it is fine to remove the old ones around December. Make sure to use a sharp blade to cut the plant back. Pruning shears work well.
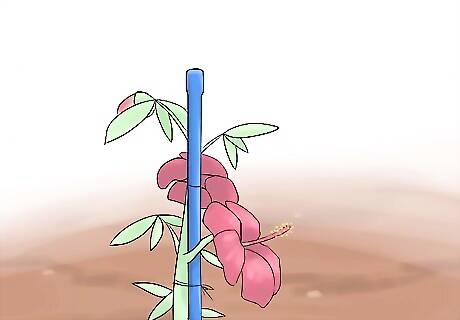
Put a stake next to your plant if the hibiscus is leaning too much. You can stake the plant if it is leaning too much. To do this, use a sturdy garden cane. Drive the stake deep into the soil and loosely tie the plant to it using string or garden ties. Don’t tie the plant too tightly against it and try to allow for some movement on a windy day. Swamp Hibiscus can also get support from a tree, post or fence.
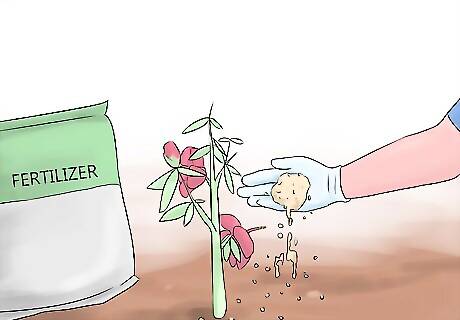
Feed your plant during the growing season. A swamp hibiscus generally does most of its growing in the spring, summer, and fall. You can use a general all-purpose garden fertilizer. Try to use a water-soluble fertilizer along with your regular watering schedule.
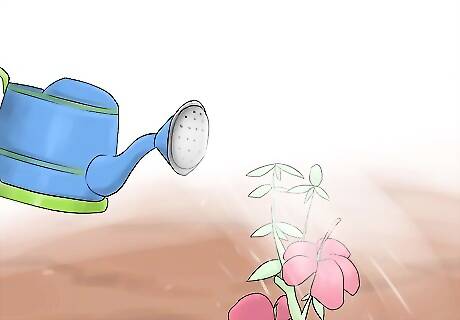
Reduce the amount that you water your plant as the plant gets more established. More established plants won’t need as much watering as younger plants do. However, you should still check your plant regularly; if you notice that the soil is getting dry, water your plant right away. It is particularly important to keep an eye on the soil in dry seasons. Swamp hibiscuses do not do well without boggy soil.
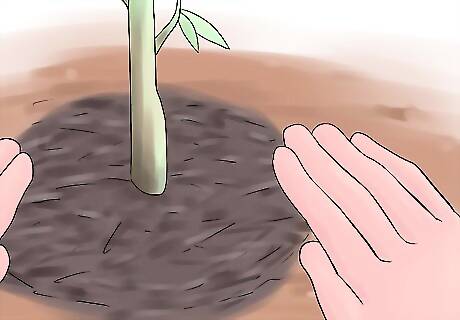
Apply mulch to the area when the growing season is over. At the end of the growing season, apply mulch to the area so that it covers the base of the plant. This will help to protect the plant in the winter and stop weeds from growing. Well-rotted manure or leaf mold are suitable mulches.
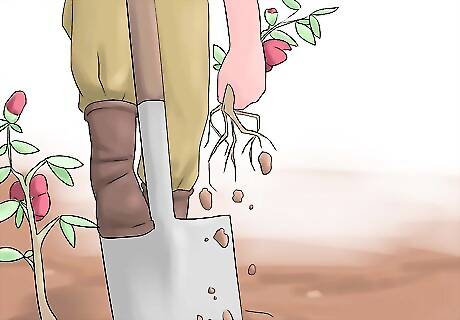
Divide your swamp hibiscus every decade or so. Many gardeners like to divide these plants at the roots every decade or so. This is a good way to get more plants and share with neighbours. Divide plants in the late winter when the plant is dormant. The new root crown should be planted about three inches below the soil surface.




Comments
0 comment