views
Hanging the Banner on a Wall

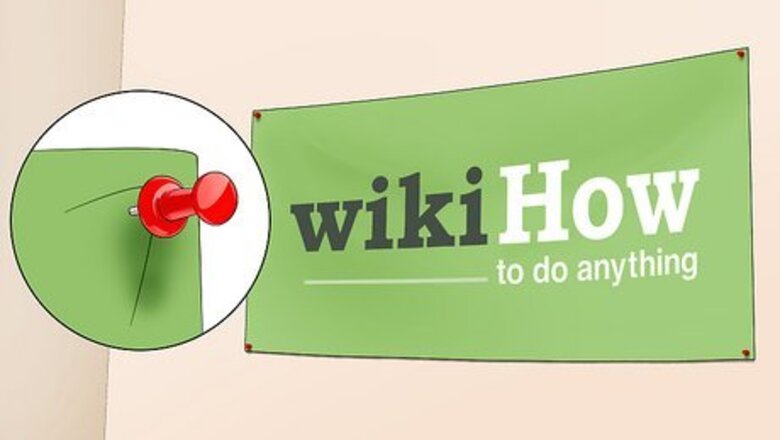
Tack the corners of the banner with push pins if they stick in the wall. Start by pushing the pin through one of the top corners to make an anchor point. Pull the banner tight so the opposite corner is at the same height before putting a push pin in it. Secure the bottom corners of the banner with 2 more push pins. If you’re hanging a banner made of vinyl or heavier material, pin along the edges of the banner every 6 inches (15 cm) so it doesn’t fall down. Push pins will leave small holes in your banner and wall once you remove them. Use a level to check if your banner is hanging crooked.

Use plastic suction cup hangers if the wall is smooth. Press one of the suction cups onto the wall so it doesn’t fall off. Put the hook on the suction cup through the grommet, or metal ring, in the top corner of your banner. Stretch the banner so it’s level and taut before placing another suction cup in line with the other corner’s grommet. Suction cups are a good alternative if you don’t want to damage your walls, but they don’t stick to every surface. Test a suction cup on your wall first to see if it stays. If you’re working with a heavier banner, put at least 1 suction cup in the top center of the banner. Suction cup hangers can be purchased at any big box store.
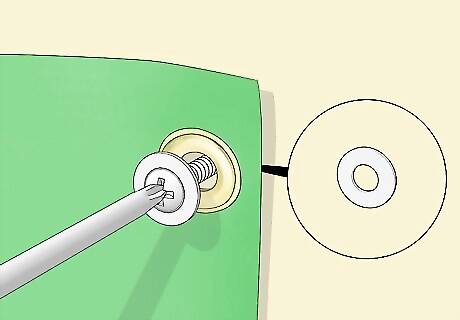
Screw the banner into the wall for a permanent solution. Hold the banner up where you plan on hanging it, using a pencil to mark the location of the corner grommets. Feed a screw through each grommet hole and place a washer on the backside so you don’t damage your wall. Use a drill with a screwdriver attachment to secure your banner in place. This method is the most secure way to hang a heavy banner, but it will leave marks on your wall. Check to see if the corners are even using a level or straightedge.
Tying the Banner between Posts
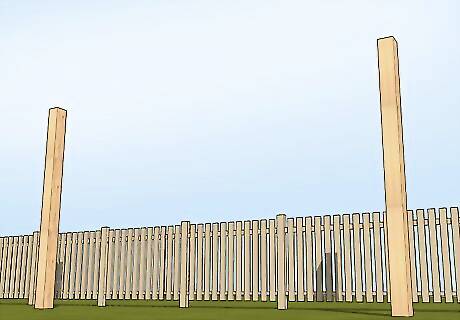
Set up or find 2 posts the same distance apart as the length of your banner. Measure the length and height of your banner so you know how far to set your posts. Look for areas between trees, pillars, or fences that are at least the same distance apart. If you need a banner in an open area, use L-shaped banner stands. The posts can be further apart as long as you have enough rope to reach around them on both sides.
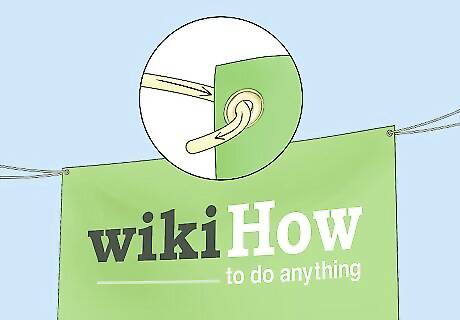
Loop ropes through the grommets in the corners. Feed one end of the rope through the hole and pull it through. Make sure the rope on the front and back of the banner is the same length when you’re finished pulling it. This will make it easier to tie the knot around the post. Repeat the process with another rope on the opposite side. You don’t need to tie the bottom corners of your banner if you are not worried about the wind. Alternatively, hook the end of a bungee cord through each grommet. Put carabiners or snap hooks in each grommet if you want a cleaner look to your banner. Then loop the rope through the carabiner or hook.
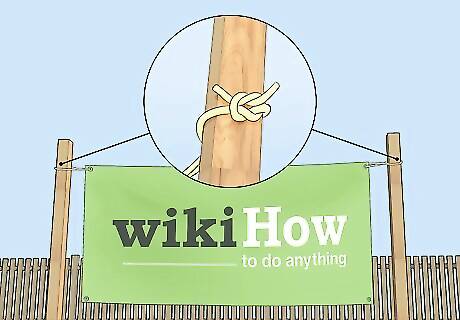
Tie the ropes around the posts using square knots. Wrap the right piece of rope over the one on the left piece like you’re tying a pair of shoes on one side of the banner. Then cross the rope again, feeding the right rope under the left to form a loop. Pull both ends of the rope to tighten the knot. Tie a knot at each corner. Have a partner tie the opposite corner of the banner at the same time so it’s taut and wrinkle-free. If you’re using bungee cords, hook the opposite end of each cord to the post. If the post is too thick to hook around, wrap the cord around the post and hook it to itself.
Installing Grommets
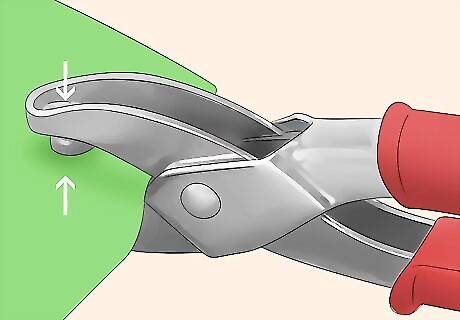
Punch a hole in each corner of your banner. Use a hole punch large enough so the male end of the grommet, the one with the raised cylinder, can fit through it. Make the holes in the same place in each corner so the banner will hang straight. Many grommet installation kits will come with a hole punch attachment. Grommet installation kits can be purchased at your local crafts or hardware store.
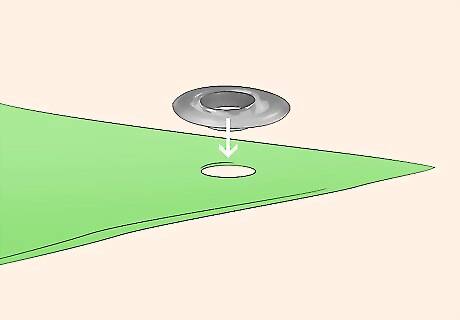
Feed the male end of the grommet through the front of the hole. Push the raised cylinder on the grommet through the hole you made. Make sure the cylinder is poking out through the back of your banner and the ring is on the front. Grommets prevent rips or tears in your banner when you feed a rope through the hole.
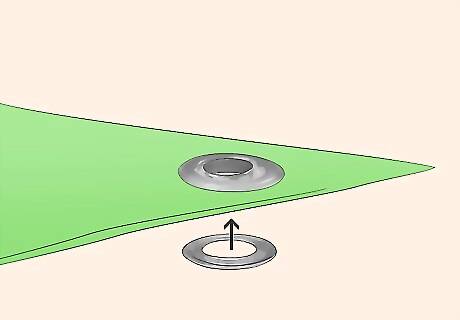
Set the female end on the backside of the banner. Flip your banner over and place the ring over the male end’s cylinder so the convex side faces up. Place a female end over each grommet you’re installing.
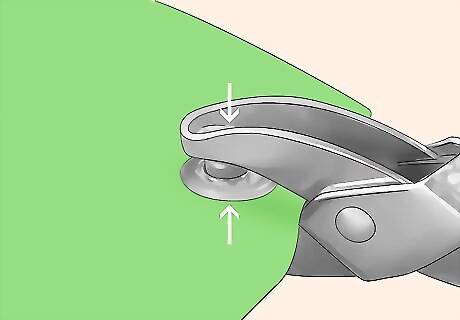
Use grommet pliers to snap the grommet in place. Hold the pliers so they line up with the grommet on the front and back of your banner. Squeeze the pliers together to secure the grommet in place. Repeat the process for each corner. The grommet pliers bend the edge of the cylinder to hold it tightly against the ring on the back.


Comments
0 comment