

Creating the Base Texture
Start Photoshop with a 500 X 500 square. (It can be any size really.)

Go to Filter >> Noise >> Add Noise.
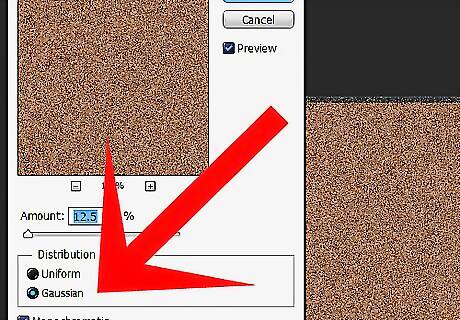
Select Gaussian Blue and Monochromatic and set the number to about 10. The Monochromatic helps strengthen the effect.
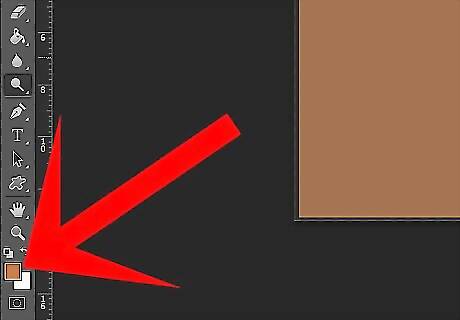
Check to make sure that you have the brown as the foreground and the white as the background.
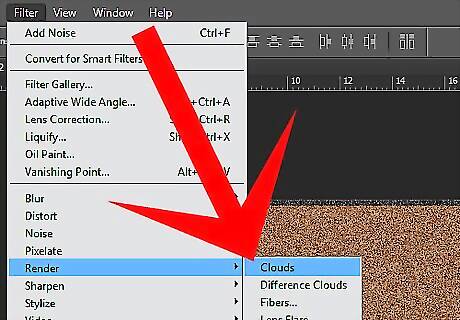
Go to Filter >> Render >> Clouds.
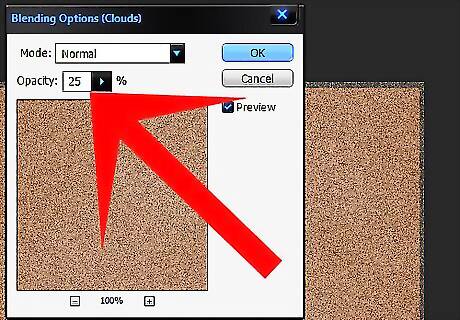
Go to Edit >> Fade Clouds. Change the opacity to 25%.
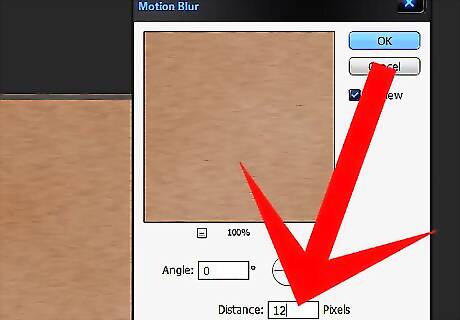
For an extra depth of realism, you can go to Filter >> Blur >> Motion Blur with a blur of around 12 pixels.
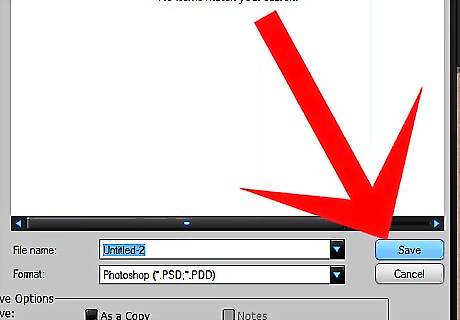
Save your base texture.
Making the Wood Grain
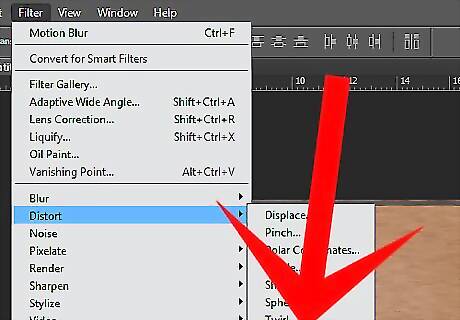
Go to Filter >> Distort >> Wave. A good starting point for your texture is: Number of Generators: ~ 514Make Wood Texture in Photoshop Step 9Bullet1 Version 2.jpg Wavelength: 10 / 402Make Wood Texture in Photoshop Step 9Bullet2 Version 2.jpg Amplitude: 5 / 181Make Wood Texture in Photoshop Step 9Bullet3 Version 2.jpg Scale: 1 / 28Make Wood Texture in Photoshop Step 9Bullet4 Version 2.jpg Type: SineMake Wood Texture in Photoshop Step 9Bullet5 Version 2.jpg Undefined Areas: Wrap AroundMake Wood Texture in Photoshop Step 9Bullet6 Version 2.jpg
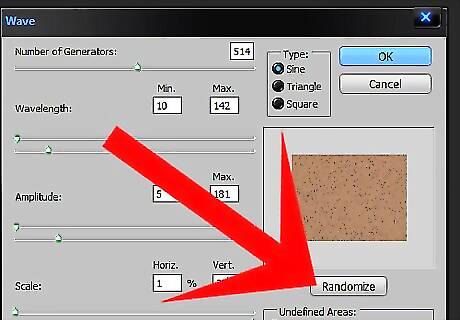
Select Randomize. Although the image is small, if you don't like the appearance of it, click on Randomize.

Select OK.
Making Mahogany Wood Grain
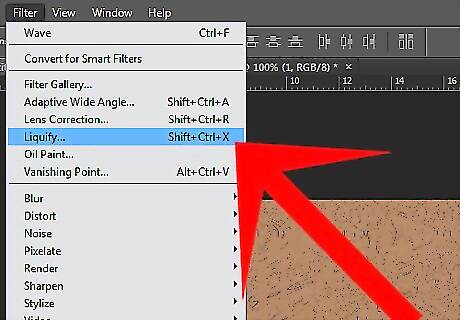
Go to Filter >> Liquify.
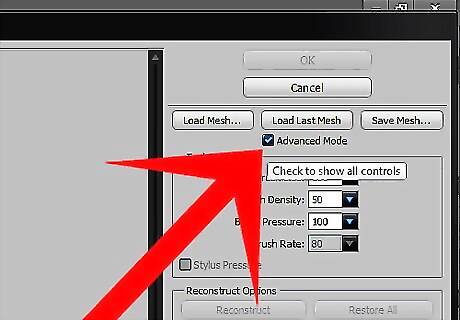
Click on Advanced Mode.
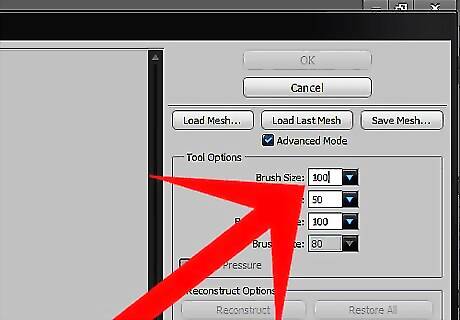
Make your brush around 100 or so. Use the following effects to change the look. Forward WarpMake Wood Texture in Photoshop Step 14Bullet1 Version 2.jpg TwirlMake Wood Texture in Photoshop Step 14Bullet2 Version 2.jpg BloatMake Wood Texture in Photoshop Step 14Bullet3 Version 2.jpg
Move things around until you like the way it looks.
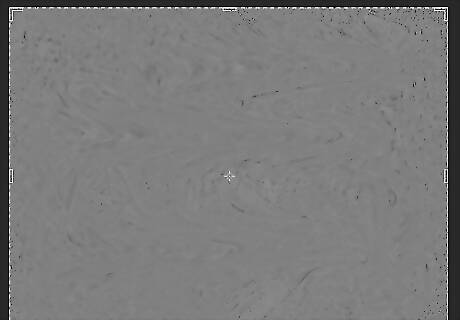
Duplicate the texture layer and desaturate it (CTRL + Shift + U).
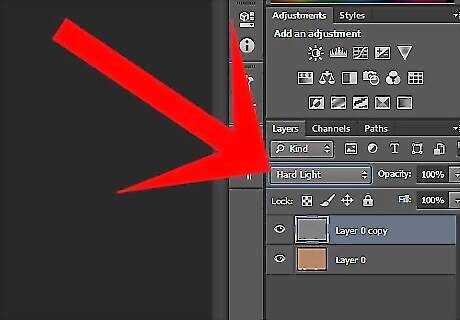
Change the blend mode to Hard Light.


Comments
0 comment