
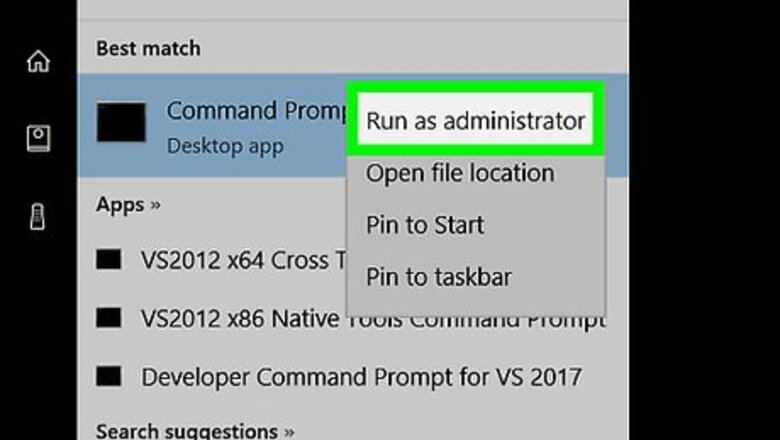
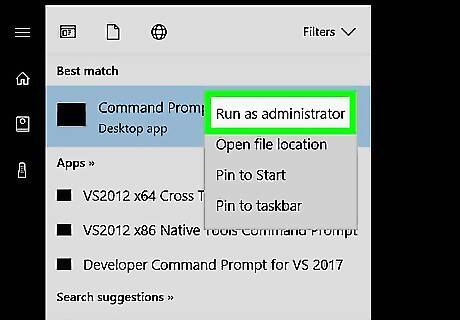
Open the Command Prompt in administrator mode. Right-click the Start Windows Start button at the lower-left corner of your screen. Choose Command Prompt (Admin) from the black context menu that appears.
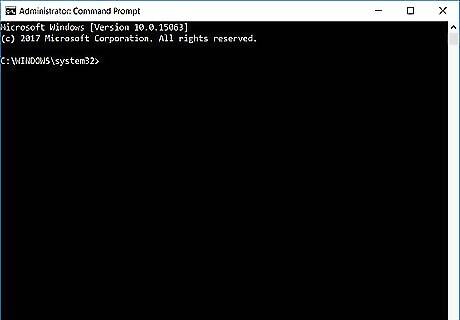
Confirm the User Account Control window, if prompted. Select Yes from the popup window. You might need to enter the password to an admin account.
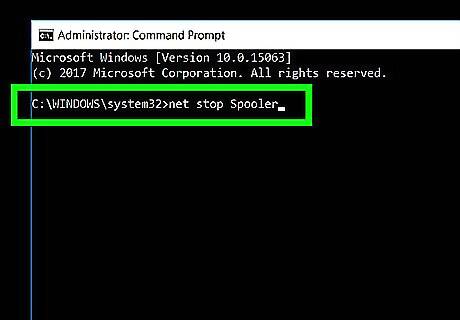
Type net stop Spooler.

Hit the ↵ Enter key. This will submit the command to Command Prompt.
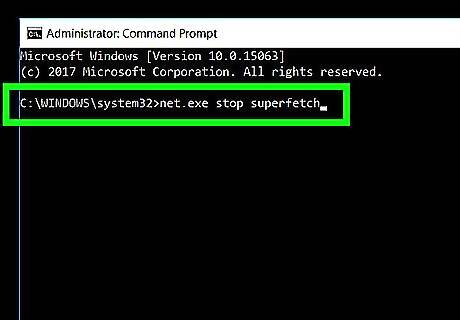
Type net.exe stop superfetch.
Hit the ↵ Enter key. This will submit the command to Command Prompt.

Restart your computer. The changes you made via Command Prompt will be applied.
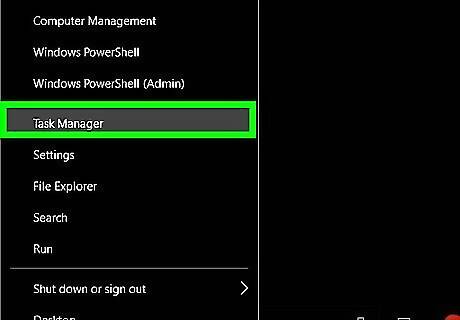
Open Task Manager. This can be done quickly by right-clicking an empty space on the taskbar and choosing Task Manager. The option is towards the bottom of the context menu. Alternatively, press Ctrl+⇧ Shift+Esc together.
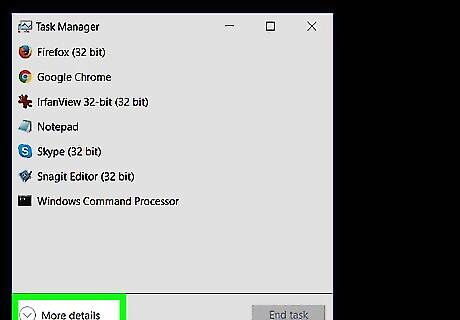
Ensure you're in the advanced view. The advanced view has tabs at the top of the window. Click "More details" at the bottom-left of Task Manager if you're in the simplified view.
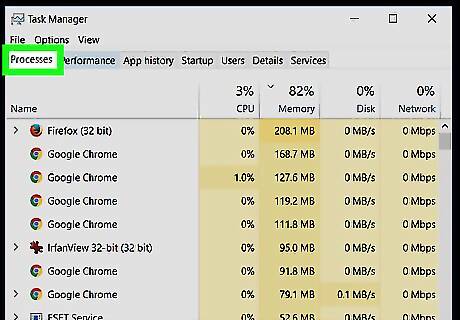
Ensure you're on the Processes tab. It's the one to the far left.
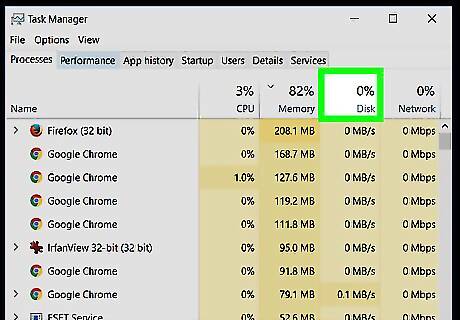
Observe the disk usage right above the "Disk" column. The usage should be reduced. In case it's missing, right-click on "Name", "CPU", "Memory", or "Network". Choose Disk from the bottom of the context menu.


Comments
0 comment