views
Loosening the Adhesive
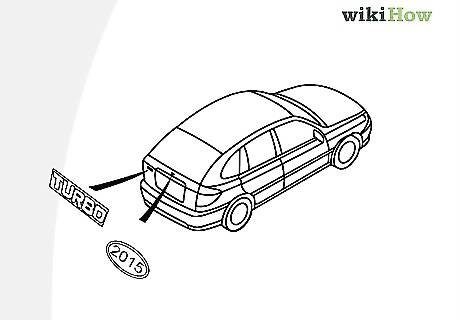
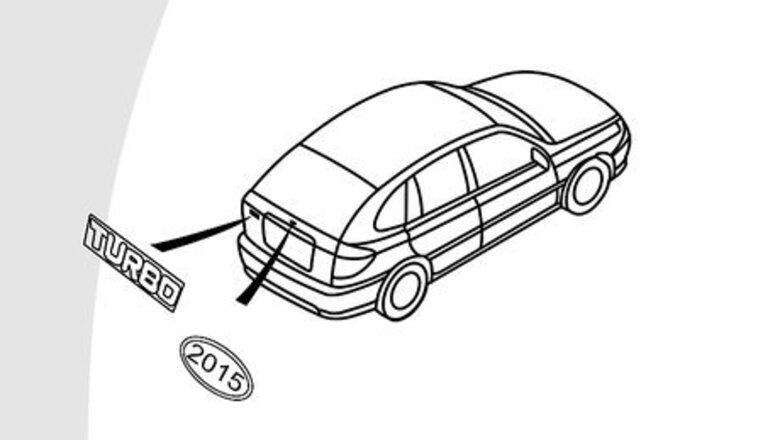
Determine how the emblems are attached to the vehicle. Emblems or badges can be attached to your vehicle in a few ways. Most emblems are held in place by using a strong adhesive, but some are secured from the inside via a hole in the body of the vehicle. If there is a hole, you will need to have the hole filled by a professional mechanic, then have the entire area of the vehicle repainted. Try referring to the service manual for your specific year, make and model vehicle to see how the emblems are replaced to see how they are fastened. You can also try using an internet search for your specific car, followed by “shave emblems” or “remove badges” to see pictures of other people removing theirs so see how they are secured. If the emblems are not secured with adhesive, you will need a professional body shop to remove them.
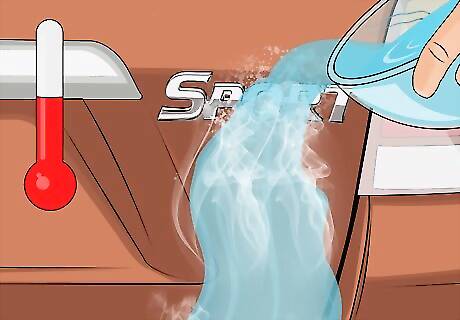
Use hot water to soften the adhesive. To soften the glue securing the emblem to the vehicle, try pouring hot water directly onto the body of the car just above the emblem itself. The water does not need to be boiling, but should be as hot as possible without risking burning yourself. Microwave a bowl of water for a minute, then pour it onto the body of the car above the badge. Pour the water above the emblem so it runs along the body and into the glue behind the emblem.
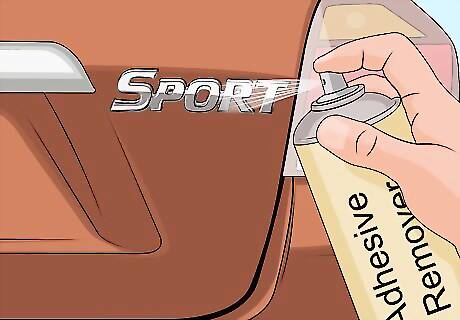
Spray adhesive remover onto the glue. Instead of hot water, you can also try using an adhesive remover. Spray the adhesive remover onto the body of the car just above the emblem, then spray it around the rest of the edges of the emblem to soften the adhesive on all sides. Adhesive remover can damage the clear coat on the paint, so avoid spraying it too liberally around the vehicle. Leave the adhesive remover on as you remove the emblems to help eat away at the adhesives.
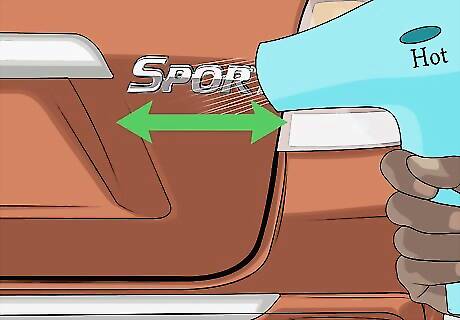
Use a hair dryer to warm up the glue. You can also loosen the grip of the adhesive by warming it up using a hair dryer. Plug the hair dryer in and set it to the hottest setting. Point the hair dryer directly at the badge and sweep it back and forth along the length of the badge if it’s longer than the nose of the hair dryer. Keep the hair dryer on the emblem for a few minutes, or until the adhesive begins to get tacky. Check the strength of the adhesive by running a fingernail along the edge of the emblem. If you can press your fingernail into the adhesive, it is warm enough.
Removing the Emblems
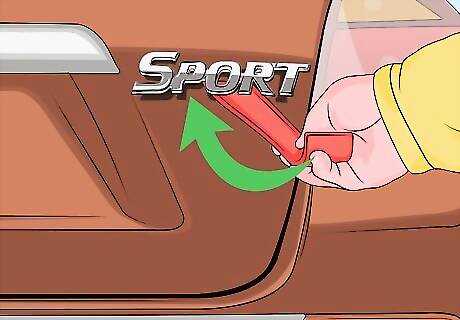
Use a plastic wedge to pry the emblem off. Place a thin plastic wedge against the body of the vehicle directly above, below, or to the side of the emblem. Slide the wedge beneath the badge and into the glue. You may need to do it from multiple angles to loosen the emblem sufficiently. You can then either pry the emblem off, or use another method to cut through the adhesive in the middle. If you pry the emblem off, it may break. If you intend to throw the emblems away after, this method is fine. If you would like to keep the emblems, try using another method to cut through the glue in the middle.
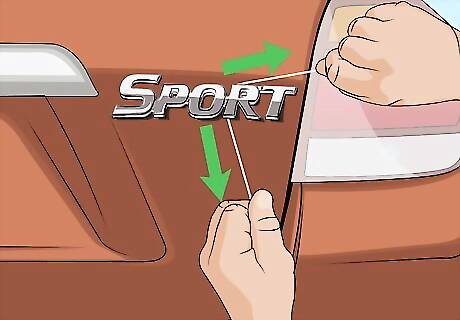
Cut the adhesive with dental floss or fishing line. Cut a length of fishing line or dental floss that is about eight inches long. Wrap each end around the index fingers on each of your hands, then press the line against the body of the vehicle. Slide it down behind the emblem and pull the line to the left and right in a sawing motion as it passes beneath the emblem and through the adhesive. This method offers the best chances of removing the badge completely intact. If the dental floss breaks, cut another length of it and repeat the process until you are through.
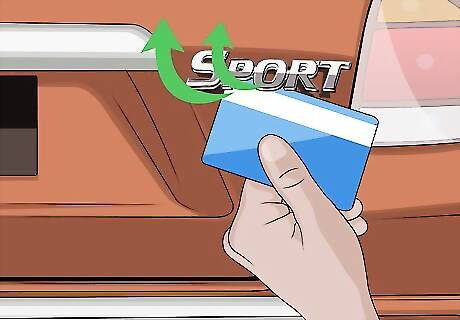
Remove the emblem using a credit card.. You can also use a credit card in place of a plastic wedge or wire. Slide the credit card behind the emblem and continue to work it through the softened adhesive until it is loose enough to remove. Make sure to face the credit card out, toward yourself, so the letters don’t scratch the paint. If you would like to keep the emblem, try to remove as much glue as possible before pulling the emblem off.
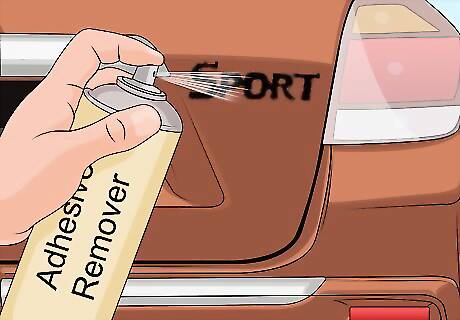
Spray adhesive remover on the leftover glue. Once the emblem is off of the vehicle, spray adhesive removed on the bits of glue that remain on the body of the car. Allow the adhesive remover to sit for a minute, then wipe the area clean with a rag. You may need to apply adhesive remover more than once to remove all of the glue.
Cleaning and Waxing the Paint
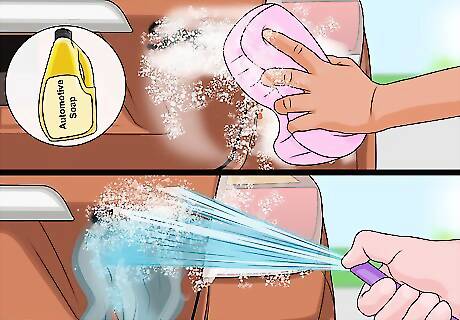
Use soap and water to wash the area. With all the glue removed, fill a bucket with water and automotive soap. Spray the area with a hose, then wash it thoroughly with a sponge and the soapy water. Once done, rinse the area again. You want to be sure you remove all of the adhesive remover you sprayed onto the paint. Do this step soon after removing the glue to ensure the adhesive remover doesn’t damage the paint.
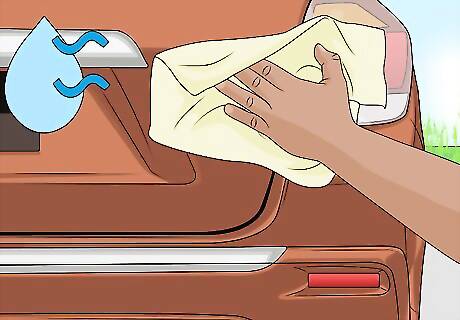
Wait until the area is completely dry. After you washed the area thoroughly, allow it to dry completely. You may speed the process along by using a towel to dry it, but be sure there are no water droplets or moisture left or it can make it take longer to wax. It can take a few hours to dry if you don’t dry it yourself.
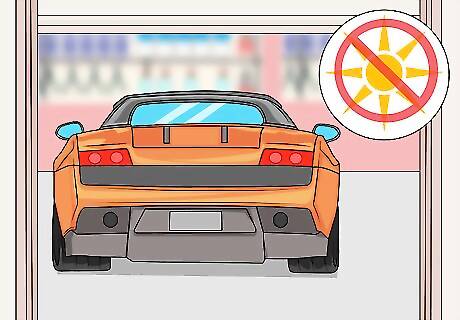
Keep the vehicle out of direct sunlight. You should never wax a vehicle in direct sunlight, so you may need to move the vehicle so the area you wax the car is under shade. Sunlight can dry the wax to the paint too quickly. Parking the vehicle in a garage is the best way to do this, but if necessary, you can just park it so the area you removed the emblem from is under shade. Because the area beneath the emblem has no wax and likely limited clear coat on it, you will need to apply wax to protect the paint.
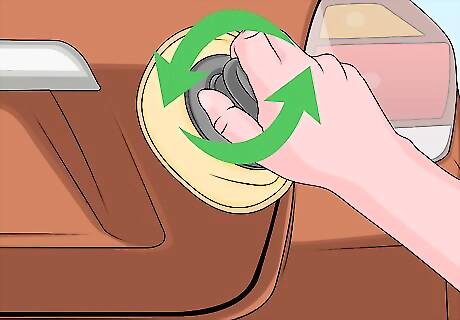
Use a circular motion to apply the wax. Use the supplied wax applicator sponge to apply the wax to the area the emblem used to be. Use a circular motion when applying the wax and ensure you cover any part of the paint that the adhesive remover was sprayed onto or may have dripped on. You may choose to wax the entire portion of the car to ensure the wax cover is uniform. You don’t need to apply too much wax, just a light coat.
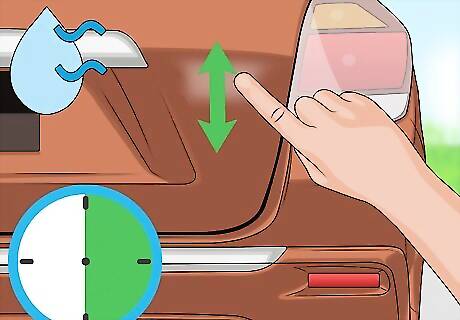
Allow the wax to dry completely. It may take anywhere from thirty minutes to a few hours for the wax to dry completely. Check the dryness of the wax periodically by touching the area with your finger. If the wax rubs off easily under a single finger, it is dry. Many waxes will turn white as they dry, making it easier to determine if it’s ready to be buffed off.
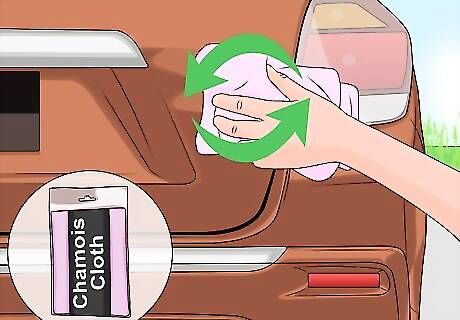
Buff the wax off with a chamois towel. Once the wax is dry, buff it off of the paint using a chamois towel. Be sure to buff off all of the wax completely. Beneath the wax, the paint will be shiny and protected from the elements. Be sure to use a chamois towel. More abrasive towels can scratch the wax coating you just applied to the paint. You can apply another coat of wax if the area still isn’t as shiny as the rest of the car.


Comments
0 comment