
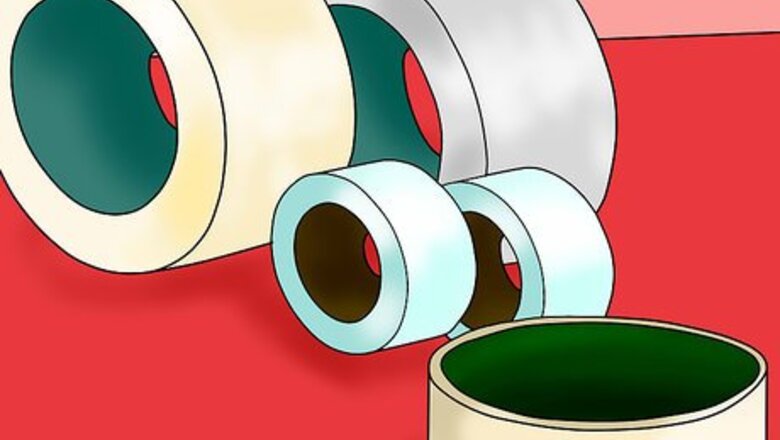
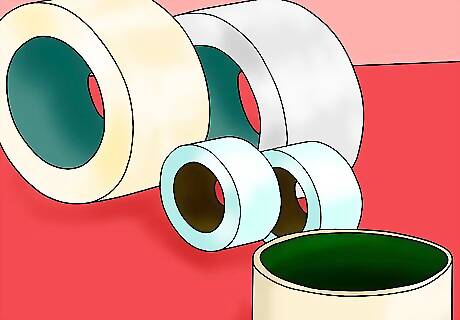
Pick the tape of your choice. There are a variety of tapes available depending upon usage. You can choose from a wide variety. Glossy transparent tape or matte finished "invisible" tape with width ranging from 1cm to 5cm. Double sided, double stick tape, sticky on both sides transparent tape. Colorful tapes available in any color of your choice. You can use these to make a beautiful border on your project or chart paper. Fabric tapes with various prints like cartoon figures, flowers, superheroes on them etc. You can use these tapes to hold images together by generously taping the images from either all four sides or just the corners.
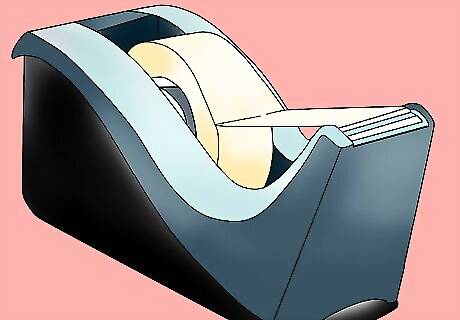
Replace scissors with a refillable tape dispenser. You can get these tape boxes with a pre-attached blade on them. All you have to do is open it and place the tape in it with a little tape pulled out till its blade. To use it, all you have to do is pull as much tape as you need and press it against the blade carefully. To avoid any cuts to your fingers while cutting the tape, you must make sure your fingers are away from the blade and only the tape swipes through the blade. This tape dispenser also allows you for greater control and creativity as you can fasten or hold your decorative material on paper with one hand and ready the tape with another hand.
Gather the other material to be used. Assemble everything you need to make your school or work project. You can fix the base material or a chart paper if that is the main surface to add all the other material on and fix it on a sturdy table.
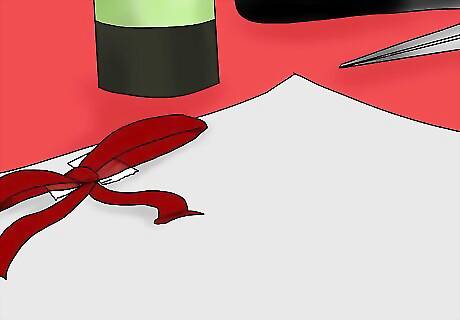
Tape the ribbons. Place the ribbon of your choice on paper, pull a small portion of the tape to hold the ribbon in place. Once the ribbon is in place you can cut longer strips of tape to cover the entire surface of the ribbon. Remember to cover the ribbon with the tape which if you don't, the in between gaps may get tangled with something and eventually rip the ribbon off.
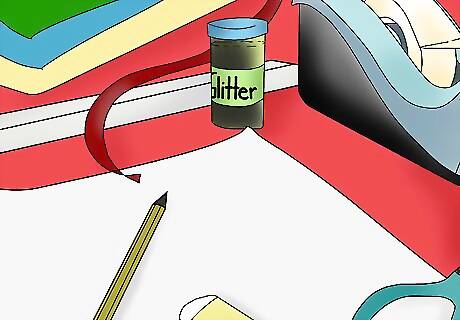
Stick glitter. To stick glitter (or powdered color) on surface, all you have to do is place the glitter on the surface in any pattern of your choice. You can use a stencil to form beautiful shapes.. To place the tape without distorting the glitter, all you have to do is placing a bigger tape than the size of the design and stick it on the design starting from one end to another. While sticking glitter, you must be careful of two things - To use the glitter only as much as needed and not as much to make a lump. After taping it, press the corner or the ends slightly to remove air gaps inside the tape.
Use thicker tapes for bigger designs. To avoid using more layers of tapes on a single item, you can opt for the broader tapes and stick the object in one go. Do not fret if the tape creases in between as it won't show very clearly. In case of bigger portions of tapes being stuck elsewhere, you can either cut it off or conceal it with a design on it and then taping that as well. Using tapes leaves you with many possibilities to cover errors creatively.
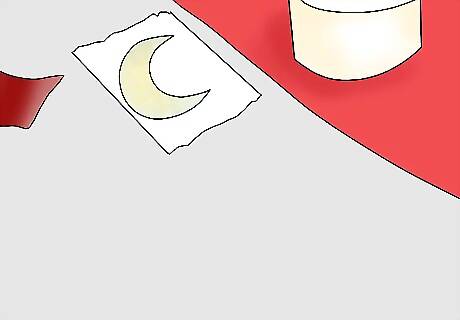
Tape the paper cutouts. Place the cutout in the desired place. You can either tape on it directly without fixing it temporarily with a small tape underneath the cutout or after fixing it in place for your ease. If the cutout is bigger than the tape, you can use two or more strips of tape. Remember, it won't look messy because it leaves a transparent and shiny look while rendering your work water proof.
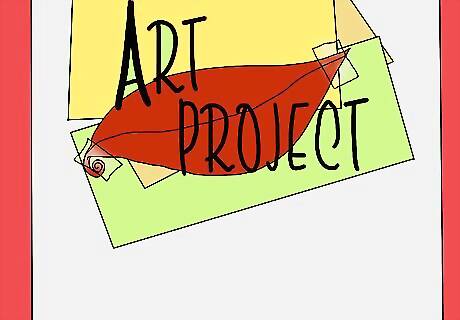
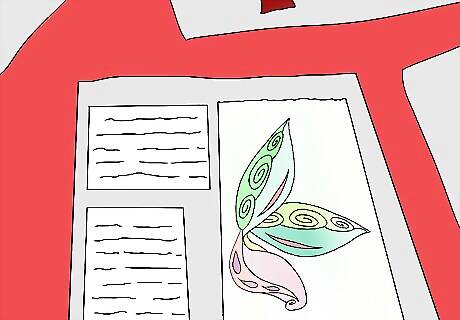
Highlight the title of your project. You can highlight a key point, a heading and the title of your project by writing on another colorful sheet and taping it aesthetically on your project.
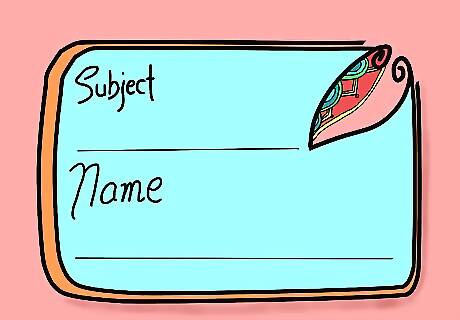
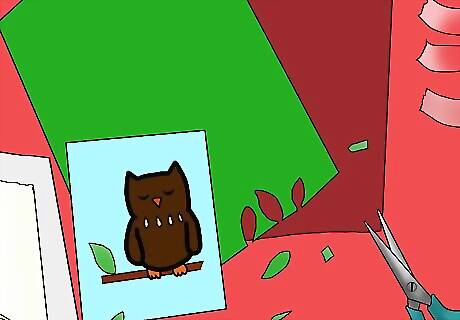
Make a customized nameplate. Make your project or assignment stand out with a customized nameplate instead of a regular label. Place a cutout of any color or material of your choice and tape it on all ends. You can use this method to write your name on your school supplies or stationery if you tend to lose them often. You can write on the tape with a permanent marker. You can also beautifully write your details on a colorful cutout and stick it to add two layers to the nameplate.


Comments
0 comment