
Back up all personal information on your tablet to another storage location. Rooting your tablet will wipe all personal data from the device. Sync your information with Google’s servers, copy files between your tablet and computer, or save all your data to a third-party cloud storage service from Google Play Store.
Verify that the battery life on your Acer tablet is at least 80 percent. This will help prevent your tablet from powering down unexpectedly and causing data loss during the rooting process.
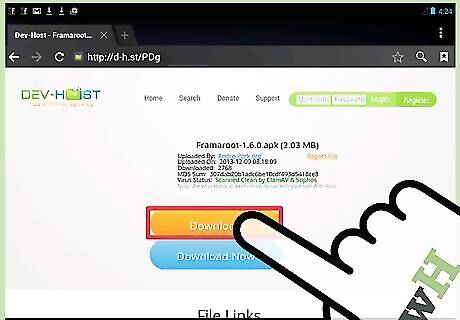
Click on the following link to download the Framaroot .apk file to your device: http://forum.xda-developers.com/attachment.php?attachmentid=1952450&d=1368232060. The Framaroot app is not available from Google Play Store.
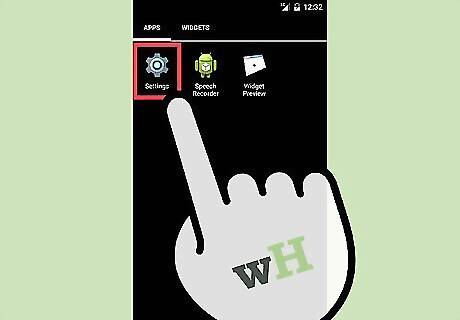
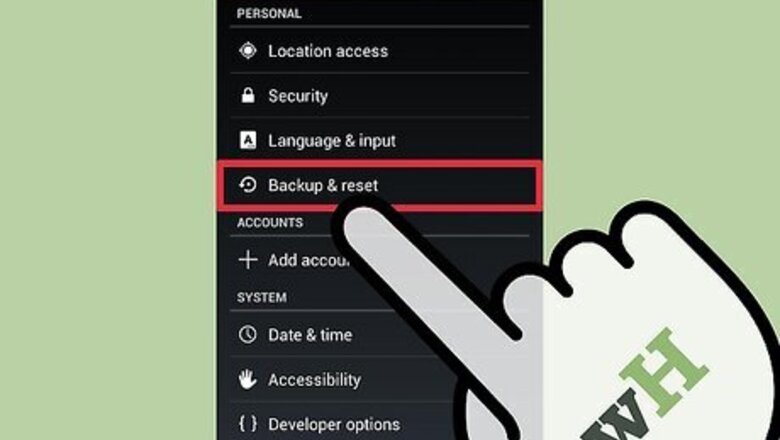
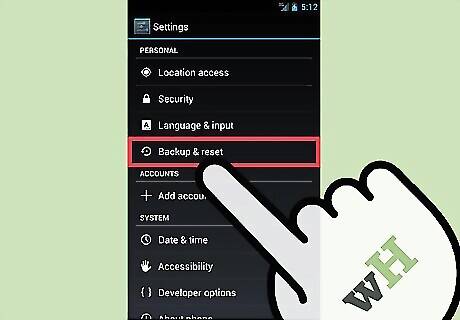
Tap on “Menu” and select “Settings” on your Acer Iconia tablet.
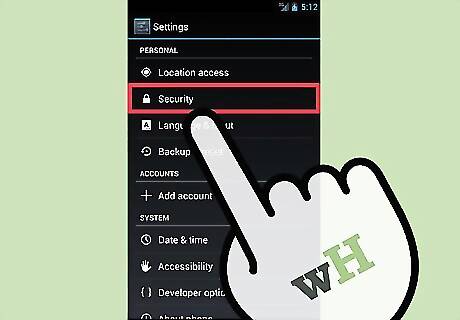
Tap on “Security,” then tap on “Device Administration.”
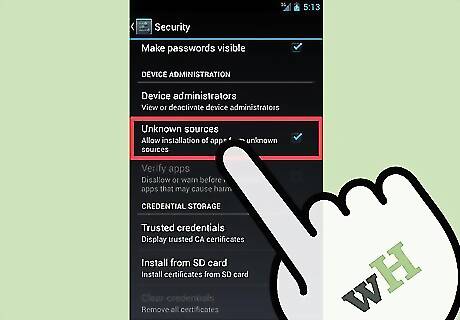
Place a checkmark next to “Unknown sources.” This setting will allow your tablet to effectively perform the rooting process.
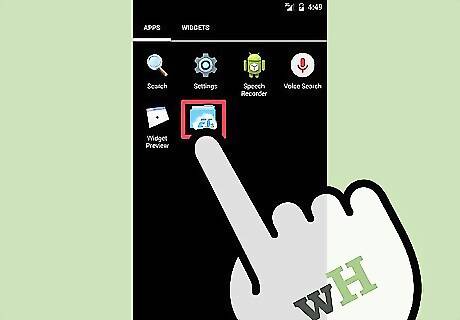
Open any file manager on your tablet and navigate to the folder in which you saved the Framaroot .apk file. If you do not have a file manager app installed on your device, launch Google Play Store and download the file manager app of your choice, such as Solid Explorer, ES File Explorer File Manager, and AntTek Explorer.
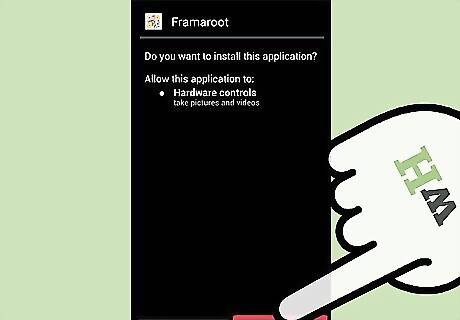
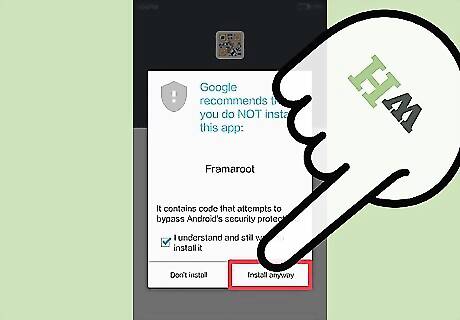
Tap on the .apk file, then tap on “Install.” Your tablet will begin the installation process.
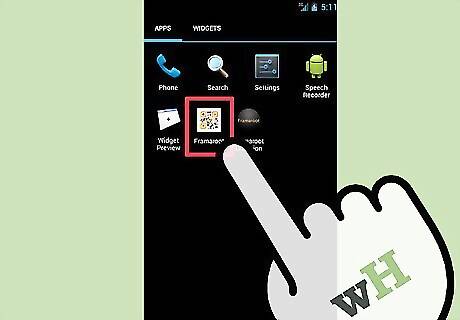
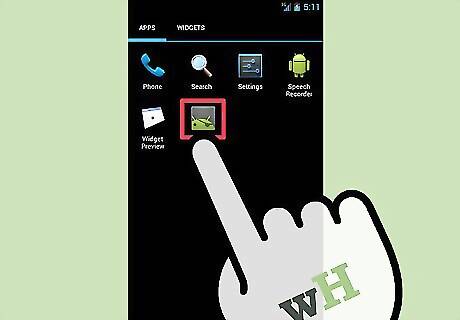
Tap on “Open” after Framaroot has completed installation. The Framaroot app will launch.
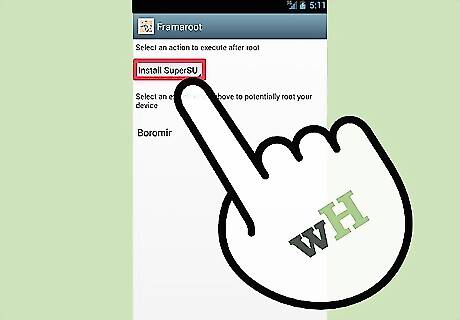
Tap on “Install SuperSU” or “Install superuser” from the dropdown menu in Framaroot.
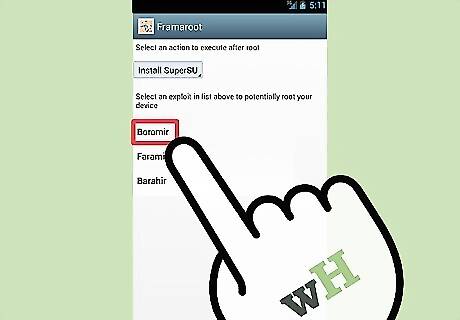
Tap on “Boromir,” “Faramir,” or “Barahir” from the list of exploits displayed on-screen. If your selection results in the “failed” popup message, tap on another exploit until you choose an exploit that results in the “success” popup. Your tablet will begin the rooting process.
Tap on “OK” after your tablet has completed the rooting process, then restart your Acer A1-810 at the prompt.
Verify that “SuperSU” displays in your App folder. Your tablet is now rooted and ready for use.


Comments
0 comment