views
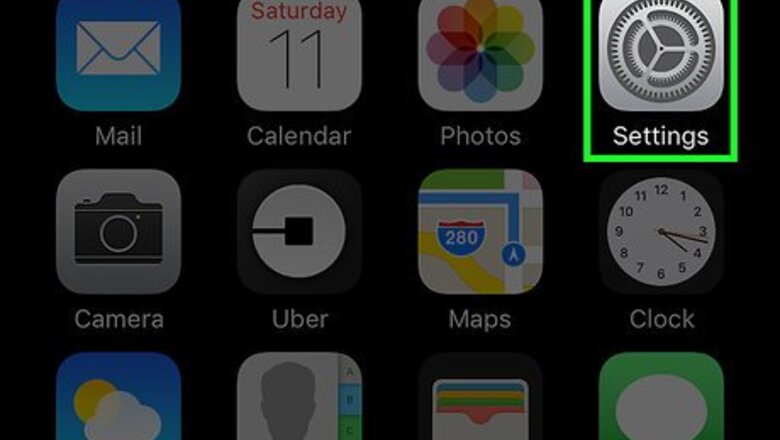
Open your iPhone’s Settings.
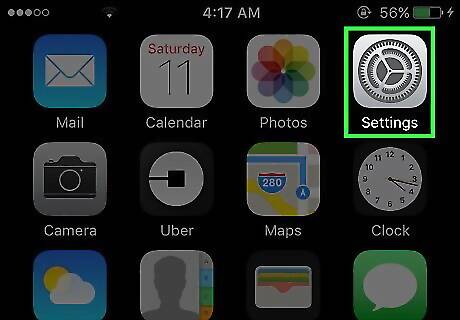
It’s a gray gear icon that will be on the Home Screen. If you don't see it there, you'll find it in the App Library.
Select the "Mail" settings option.
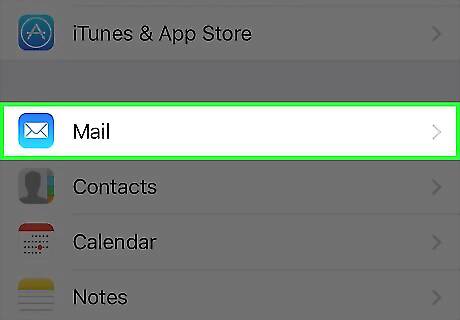
Scroll down and tap Mail. It’s in the fifth set of options. This button will be called Mail, Contacts, Calendars in iOS 9 and earlier.
Select "Accounts.
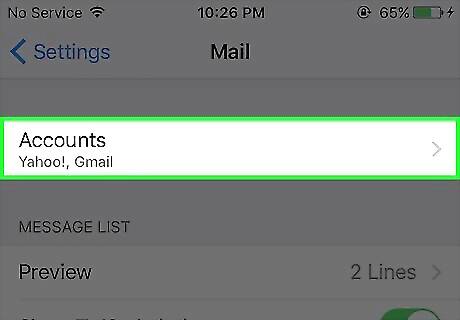
This option appears in the Mail settings. This will not be required in iOS 9 and earlier, as your email accounts will already be listed after the previous step.
Select an account.
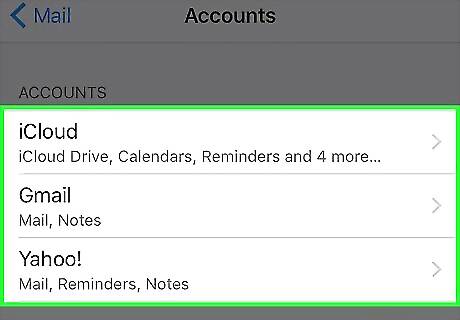
Tap the account you want to change. Settings for this account will appear.
Tap your email address.
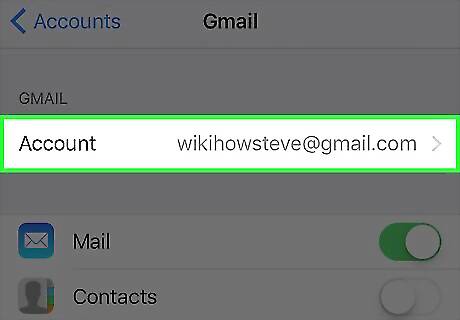
Now you'll see all of your mail settings for this address.
Tap "SMTP."
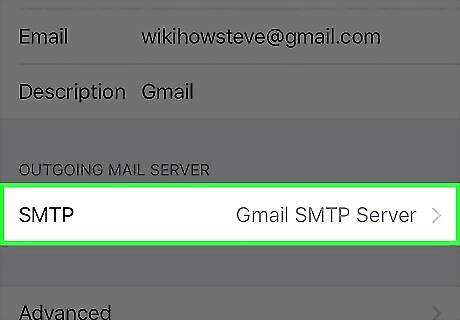
The name of your current SMTP server appears here. You can now update it easily.
Tap "Add Server."
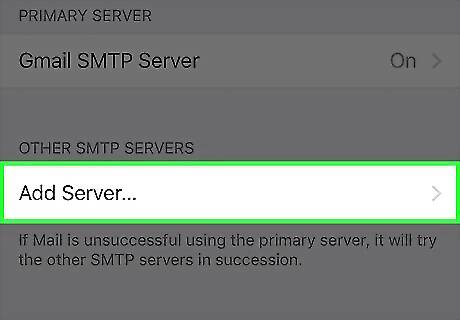
This opens a new field into which you can type your SMTP server address.
Enter the required information.
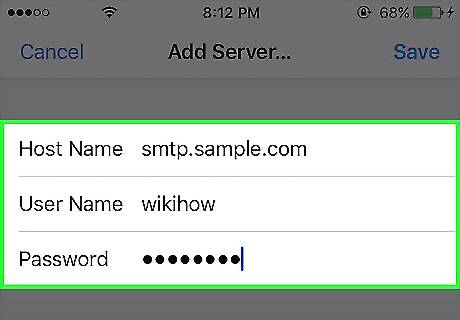
Type your SMTP host name, username and password. This information will be provided to you by your email provider. The username and password will be the same as those tied to your account. If you do not know the host name, then you will need to look it up or find it out from the provider. It is worthwhile to learn the SMTP port, as well, since some internet service providers may block the default one.
Tap "Save."
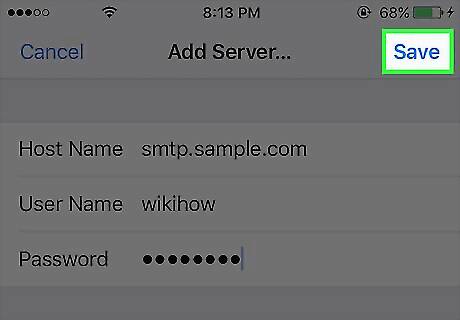
This saves your settings. Your new SMTP server will be added to your email account.






Comments
0 comment