views
Freezing Your Boots

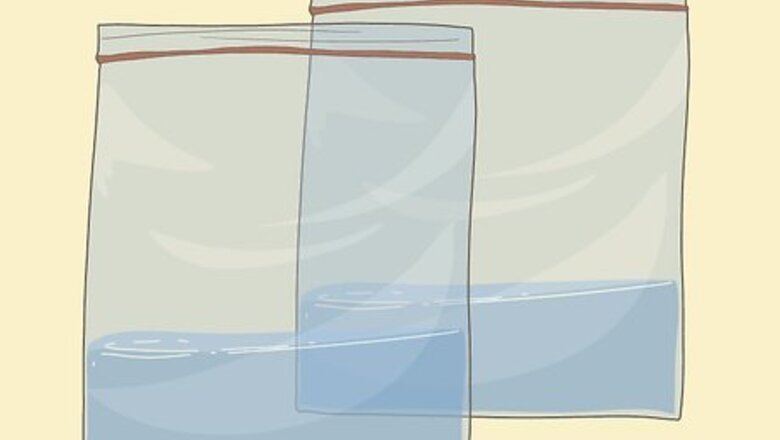
Fill 2 sealable plastic bags ¼ full water. Use 1 gallon (3.8 L) bags so there’s plenty of room for the water to expand and stretch out your boots. Pour cool water into each of the bags so they’re about ¼ of the way full. Use clean bags without leaks to keep the inside of your boots from getting wet or dirty.
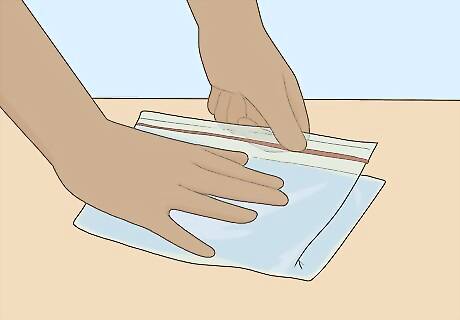
Squeeze the air out of the bags and seal them shut. Connect the plastic seal at the top of the bag and seal it until it’s almost completely sealed. Use your hands to press on the bags to remove as much air from them as you can so they’ll fit into your boots more easily. Once you’ve pressed the extra air out of them, seal the bags completely. Hold the bags upside down to make sure they’re fully sealed and water won’t leak out of them.
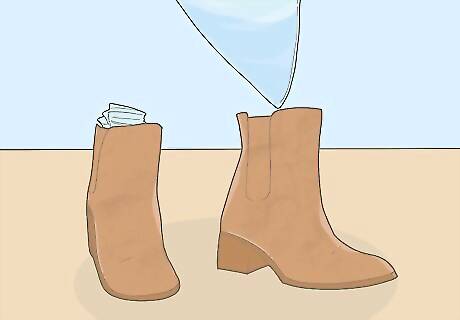
Place a bag in each of your boots. Take 1 of the bags and roll it up so it’s narrow and slide it all the way to the front of the toe of the boot. Adjust the bag so it rests evenly along the bottom of the boot. Then, add the other bag full of water to the other boot.
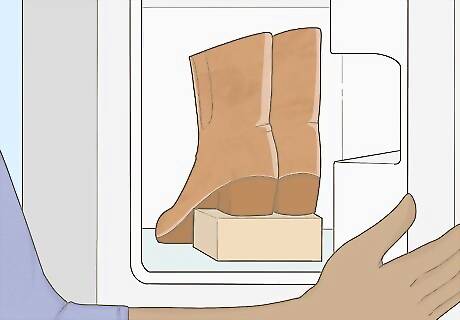
Put the boots in the freezer overnight. Place your boots at a slight forward angle so the bags stay in the front of the toe. Store them in your freezer overnight or for at least 8 hours so the water can fully freeze and expand inside of the boots. Then, take them out of the freezer and let them thaw for a few minutes. Clear out a space for your boots in the freezer so they don’t contaminate any food or other items in there.
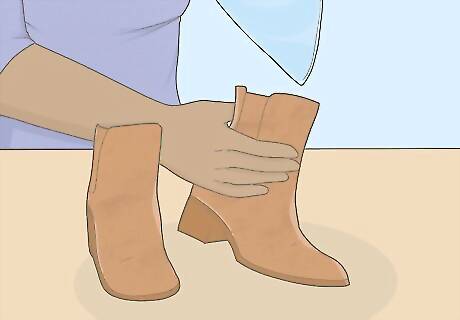
Remove the bags of frozen water from the boots. Reach into 1 of your boots and take hold of the bag of water. Carefully pull it out of the boot so you don’t tear or scratch the inside of the boot. Then, remove the bag from the other boot.Tip: If the bag is stuck on the inside, don’t yank it out or you could damage the boot. Instead, wait a few more minutes for the ice to thaw, then try pulling it out again.
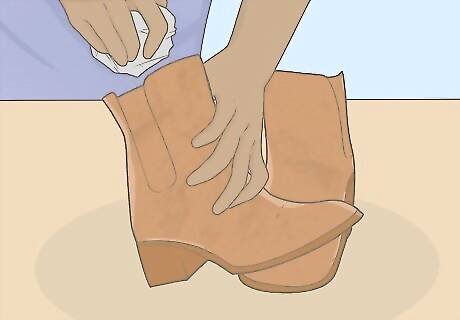
Stuff the boots with newspaper to keep the stretch. Once the rubber material of the boots is stretched out and the frozen water has been removed, try them on to see how they fit. If you’re satisfied with the stretch, stuff them with newspaper, scraps of fabric, or other material so they’ll retain their shape. Add enough of the material to stuff the inside of your boots so there isn’t any extra space. If the boots still aren’t stretched enough, you can try the process again to expand them even further. Leave the boots filled with newspaper until you plan to wear them.
Heating the Boots
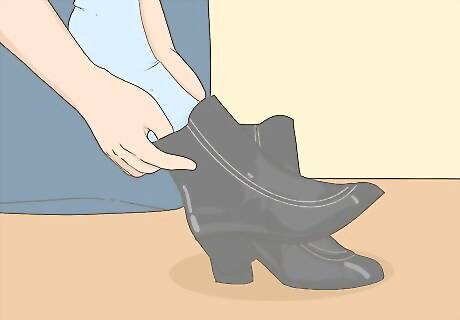
Wear a pair of thick socks and put on the rubber boots. Use a really thick pair of socks to help stretch out the rubber material when you heat them up.Put on the boots so you can flex your feet and walk around in them after you heat them up. If the boots are so tight that you can’t wear a pair of thick socks and put them on, wear a pair of thin socks instead.
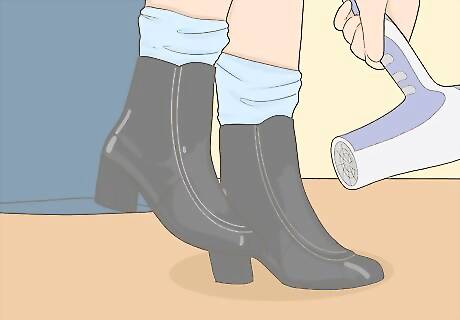
Run a blow dryer on high-heat over the boots to loosen the material. Take a blow dryer set to high-heat and hold it about 6–8 inches (15–20 cm) away from the surface of the boots. Keep the blow dryer constantly moving over the boots to heat up and loosen the rubber material so they stretch out. Keep heating the boots until they loosen up enough to feel comfortable. Focus on particularly tight areas such as the toe or the heel so they fit more comfortably. Avoid getting the blow dryer too close to the rubber so you don’t singe or melt it. Don’t heat them up for longer than 30 minutes at a time.
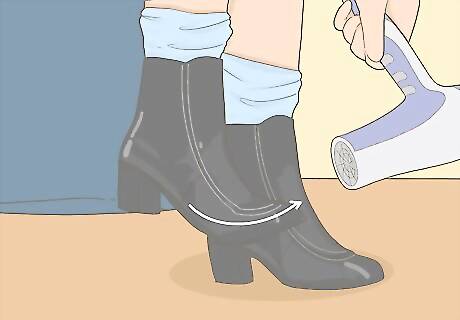
Flex your feet as you hold the blow dryer over them. While you’re moving the blow dryer back and forth over the surface of the boots, raise your toes and flex your heel to help the material stretch out to form a more comfortable fit. As the rubber warms up, the material will loosen and become more comfortable as you move.Tip: Have a friend aim the blow dryer at your boots while you stand in them and flex your feet and heels so you can stretch them for a more natural fit.
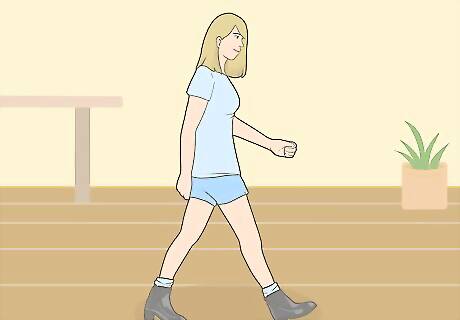
Take a 30-minute walk to stretch out the rubber material. Once the boots feel looser and more comfortable, go for a nice long walk to help break them into their new fit. As the rubber cools, it will start to harden and retain its new shape and fit.
Using a Boot Stretcher
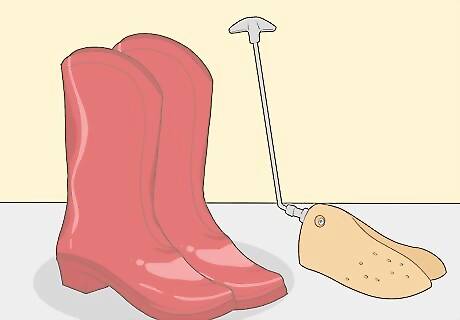
Insert a closed boot stretcher into the toe area of the boot. A boot stretcher is a device with a wooden block shaped like the inside of a boot and a handle that rotates to open the block. Make sure the stretcher is completely closed and slide it all the way into the boot so it’s in the toe at the front of the boot. You can turn the handle counterclockwise to close it all of the way. Look for boot stretchers at your local cobbler, leather supply stores, or by ordering 1 online.
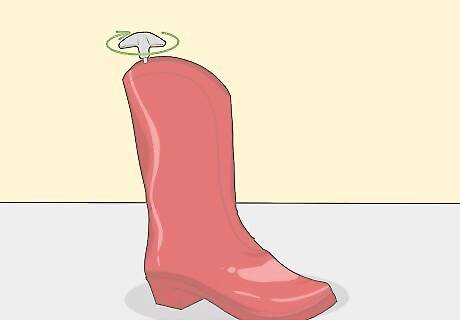
Rotate the handle clockwise to open the boot stretcher until it’s tight. Once the stretcher is fully inserted into the boot, turn the handle to the right to start opening it. When the boot stretcher feels really tight and the handle becomes difficult to rotate, give it 2-3 more good turns to really stretch out the rubber. Rubber is flexible but it can tear if you stretch it too much too quickly. Avoid turning the handle more than 5-6 times once it becomes difficult to rotate.
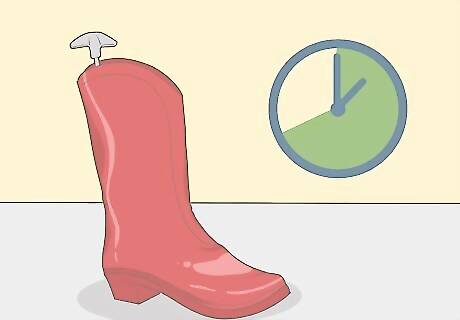
Leave the stretcher in the boot for 8 hours. Place the rubber boot on a flat surface so it continues to stretch evenly. Leave it undisturbed overnight or for at least 8 hours so the material can loosen and retain its shape.
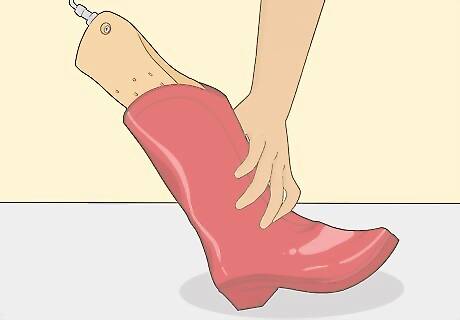
Remove the boot stretcher and put on the boot to see how it fits. Rotate the handle to the left slowly to gently close the boot stretcher. When you can’t rotate it anymore, slide it out of the boot. Put on the boot and walk around a little bit to see how it feels. If you’re satisfied with the stretch, use the boot stretcher on the other boot. It can take 2-3 overnight stretches to properly stretch out the rubber material.Tip: The rubber may return to its original size if you don’t wear it within a day or so. Stuff the boots with newspaper if you don’t plan to wear them soon so they retain their stretch.


Comments
0 comment