views
Preparing to Record
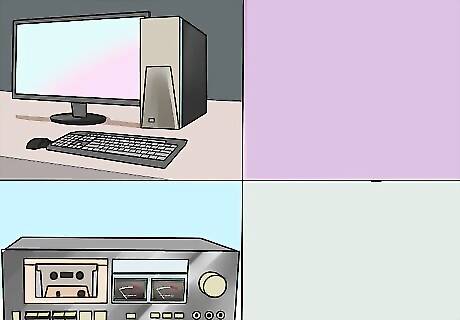
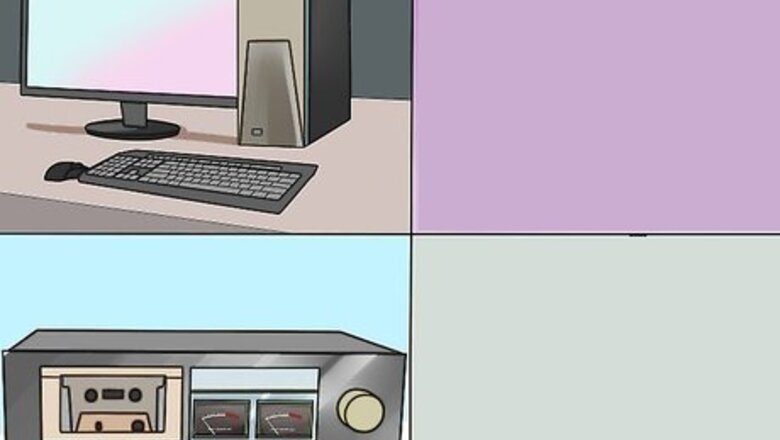
Understand how cassette recording works. To record your cassette audio on your computer, you will need to connect your cassette player to your computer's microphone (or "line-in") port and then set your computer to record only the line-in audio. This will prevent your computer from recording external audio (e.g., background noise) while creating a clean, high-quality recording of your cassette.
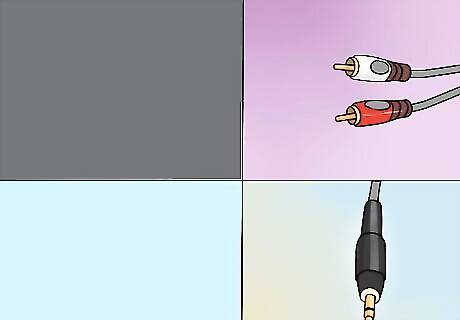
Gather your materials. In addition to a cassette deck and a computer, you will also need a cable that connects your cassette deck to the line input on your computer. Almost all cassette decks have a 3.5mm headphone jack, so you'll usually only need a standard 3.5mm cable to connect the deck to your computer. Some cassette decks have unbalanced line outputs. You'll recognize those as having red and white ports. For these, you will need an RCA-to-3.5mm cable. High-end cassette decks may sport balanced line outputs, with dual 3-pin XLR-F connectors or balanced 1/4" phone jacks. You will need to buy an adapter that fits both your computer's 3.5mm jack and the cassette deck's outputs.
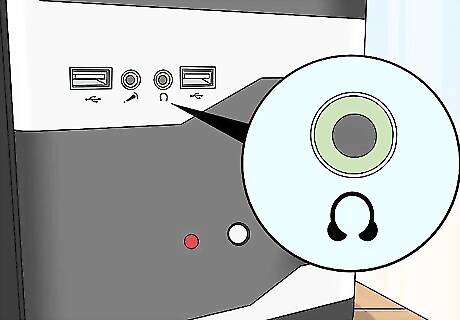
Find your computer's "line-in" jack. On computers that have separate headphone and microphone ports, this jack will usually be pink. If your computer only has one 3.5mm headphone jack, it supports both line-in and line-out audio. Desktop computer users will usually find this jack either on the back or the front of the computer's tower. Laptop computers almost always have a monophonic line-in and line-out jack. This means that, while you can use the jack for transferring your cassette deck's audio, you won't be able to record in stereo.
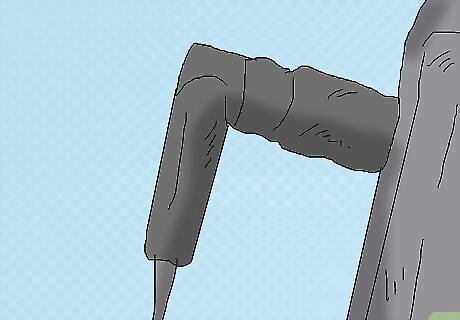
Connect an adapter to your computer if necessary. If you're connecting a balanced line output from your cassette deck to your computer, you'll need to plug the 3.5mm end of the adapter into your computer's line-in jack. Skip this step if you're connecting either a 3.5mm cassette deck or an unbalanced cassette deck.
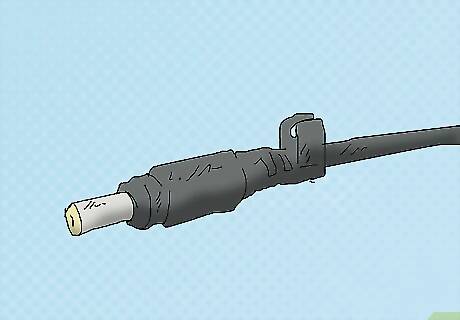
Connect one end of your cable to your cassette deck. Depending on the cassette deck type, this process will vary: 3.5mm — Plug one end (it doesn't matter which one) of the 3.5mm cable into your cassette deck's 3.5mm line-out (not headphone) port. Unbalanced — Plug the red RCA cable into the red port and the white RCA cable into the white port. Balanced — Plug the XLR or 1/4" cables into their inputs on the deck.
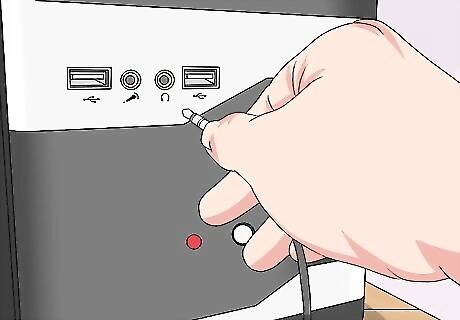
Connect the other end of your cable to your computer. Plug the other end of your cable into the 3.5mm line-in port on your computer. Again, the line-in port is usually pink on computers that have separate microphone and headphone inputs. If you're using an adapter, you'll plug the 3.5mm cable into the adapter's free end.
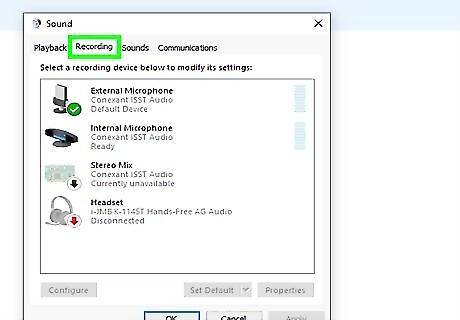
Adjust your computer's sound levels. If you want to boost (or lower) the audio of the recording, you can do so from within the sound settings: Windows — Open Start Windows Start, type in sound, click Sound, click the Recording tab, double-click your cassette deck's input, click the Levels tab, and drag the "Microphone" slider left or right to lower or raise its volume. Click OK on both open windows when you're done. Mac — Open the Apple menu Mac Apple, click System Preferences..., click Sound, click Input, select your cassette deck's input, and drag the "Input Volume" slider left or right to decrease or increase its volume. Start with a very low volume on the cassette deck or stereo, as your computer's input circuitry can be damaged by high-level input.
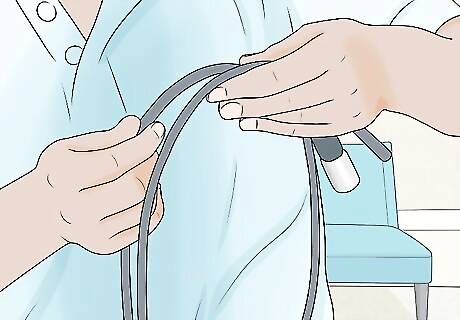
Make sure all of your cables are snug. Loose cables can lead to reduced quality during the recording process, so check the cables on both your computer's side and your cassette deck's side to ensure that they are firmly attached. Once you've determined that all of your connections are set, you can proceed with recording your cassette player's audio.
Recording on Windows

Download and install Audacity. Audacity is a free program that, with a few tweaks, will allow you to record line-in audio. To install it, do the following: Go to https://www.audacityteam.org/download/ in your web browser. Click Audacity for Windows. Click the Audacity 2.2.2 installer link. Double-click the installer file once it finishes downloading. Follow the setup prompts.
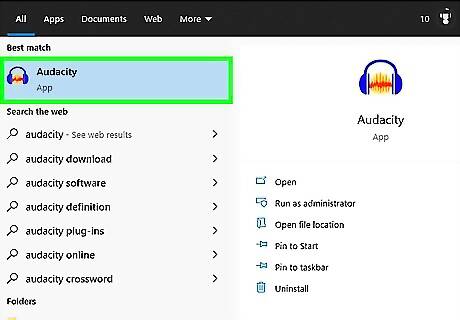
Open Audacity. If Audacity doesn't open automatically, open Start Windows Start, type in audacity, and click Audacity at the top of the Start menu.
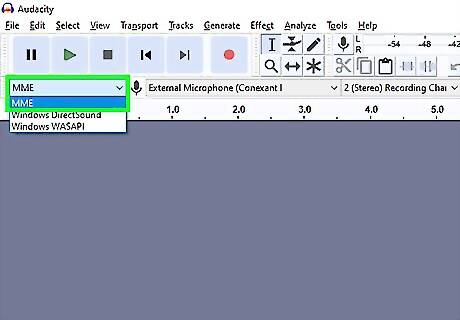
Make sure that the sound recording option is MME. In the upper-left side of the Audacity window, you should see "MME" in a drop-down box. If not, click the drop-down box, then click MME.
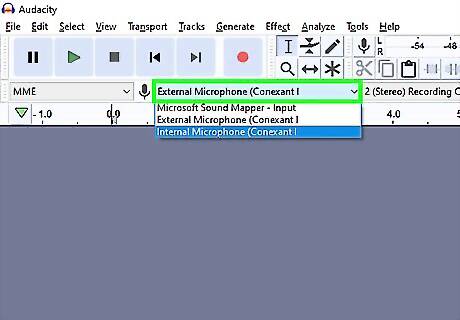
Click the Audio Input drop-down box. It's a box to the right of the microphone icon near the top of the Audacity window. Doing so prompts a drop-down menu.
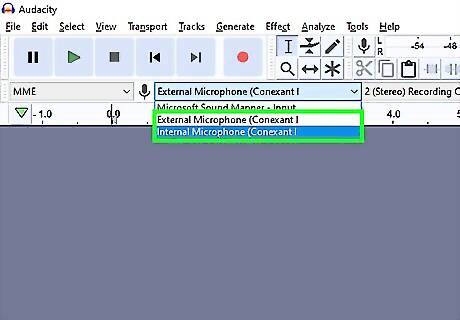
Click the Line In option. This option's name will vary, but make sure it has "Line In" (or similar) in the title; don't select the Microsoft Sound Mapper or Primary Sound Capture option.
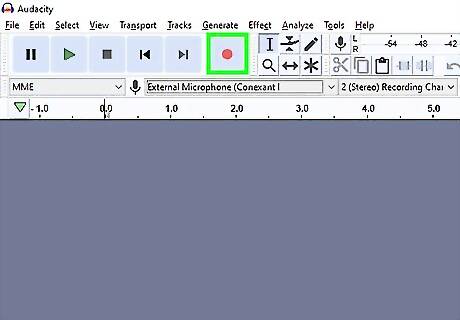
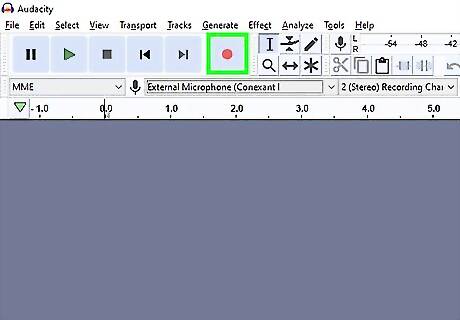
Click the "Record" button. It's the red circle at the top of the Audacity window. Audacity will begin recording.
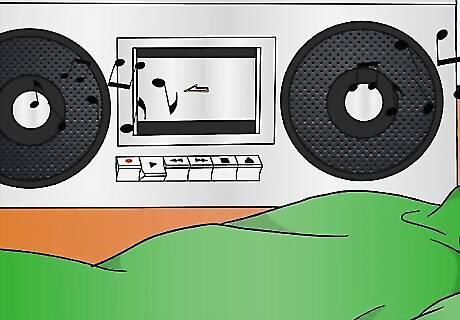
Press your cassette deck's "Play" button. The cassette deck should begin playing, and you should see the sound wave in the middle of the Audacity window spike in response.
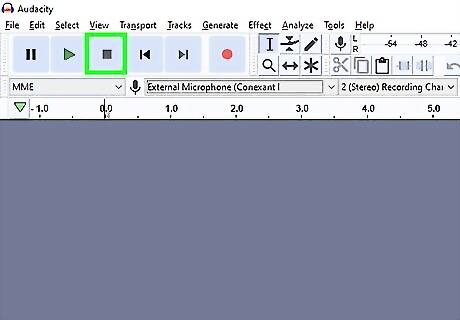
Stop the recording when you're done. Press your cassette player's "Stop" button, then click the black "Stop" Android 8 Overview button at the top of the Audacity window.
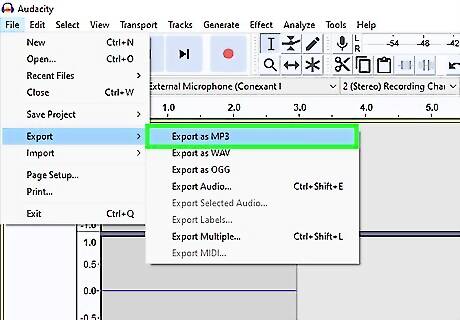
Save your recording. You can create an MP3 audio file by doing the following: Click File in the top-left corner of the window. Select Export in the resulting drop-down menu. Click Export as MP3 in the pop-out menu. Select a save location. Enter a file name in the "File name" text box. Click Save. Click OK when prompted.
Recording on Mac
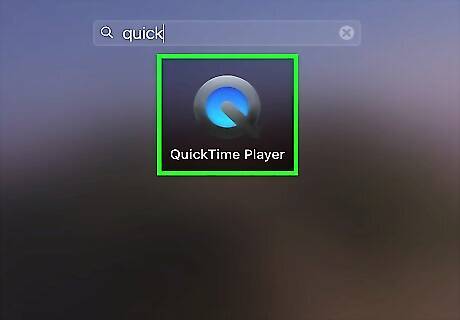
Open QuickTime. Click the QuickTime app icon, which resembles a "Q", in your Mac's Dock. If it isn't there, you can double-click the QuickTime app icon in the Applications folder instead.
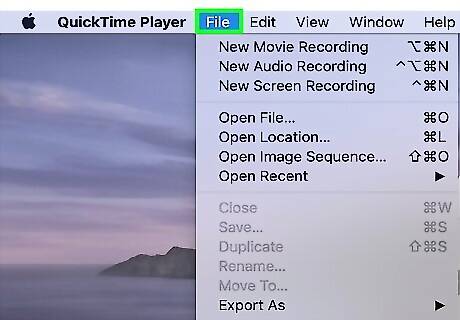
Click File. It's in the upper-left side of the screen. A drop-down menu will appear.
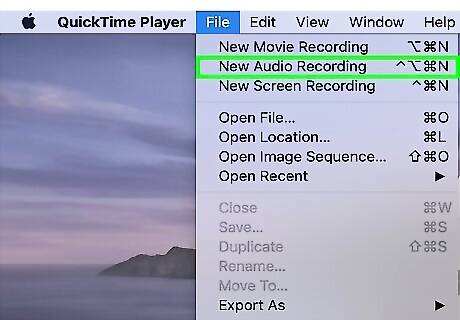
Click New Audio Recording. This option is near the top of the drop-down menu. Doing so switches the QuickTime window to record only audio.
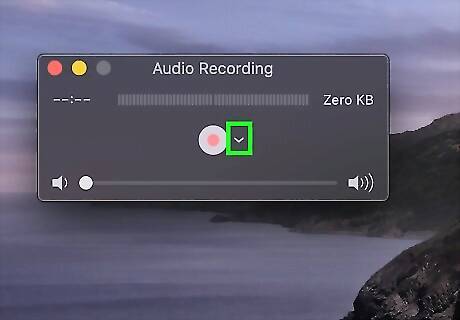
Click the drop-down menu Android 7 Dropdown icon. It's on the far-right side of the QuickTime window. A drop-down menu will appear.
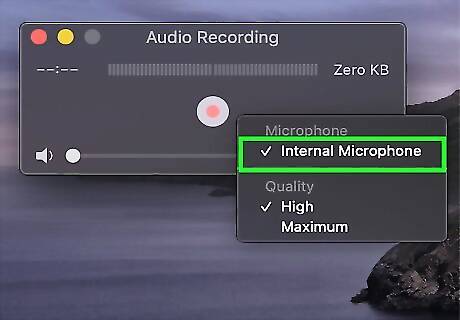
Click Built-in Line Input. This option is in the drop-down menu. Doing so selects your Mac's line-in item as the item from which to record audio.
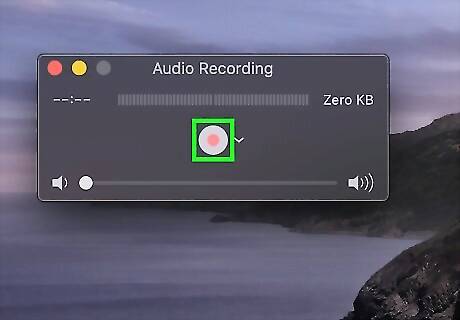
Click the "Record" button. It's a red circle in the middle of the QuickTime window. QuickTime will begin recording.
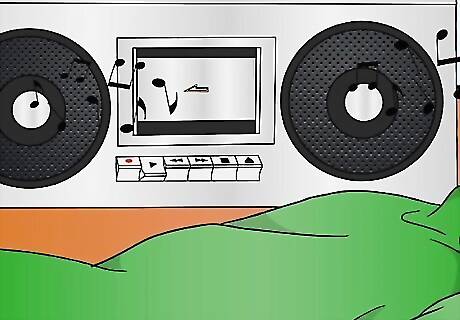
Press your cassette deck's "Play" button. Doing so will cause QuickTime to begin recording your cassette deck's contents.
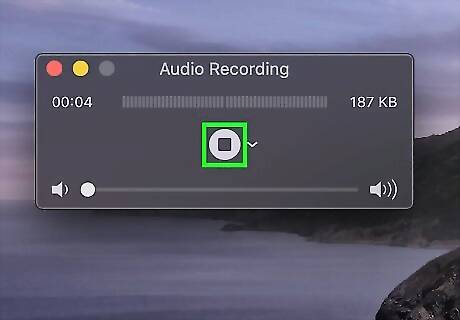
Stop your recording when you're finished. Once you've recorded the audio you want to save on your computer, press your cassette deck's "Stop" button, then click the red "Record" button in the middle of the QuickTime window again to stop the recording. This will save your recording as an audio file on your Mac's Desktop.
Mastering Your Recorded Audio
Record a small amount at first. Before you transfer your entire tape collection over to your hard drive, make sure you're getting a good recording. Record what you did, then give it a listen. If you set up everything correctly, you should have a fairly clean digital copy of your old analog tapes. If the recording is too quiet or too noisy (the music is quiet but there's lots "fuzzy" noise), the output was too low and the recording did not have enough signal to offset the noise. If the recorded sound sounds like it's being played through a broken speaker or a meat grinder, your recording was too loud, and the sound's distorted. You can adjust your computer's sound settings to help offset the above issues.
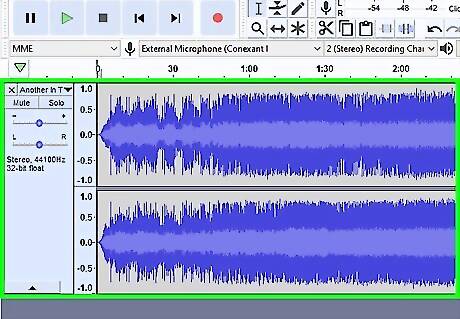
Edit your recording. You may not need to do any editing, but if you want to cut out silences, erase some tracks, or change the volume, for example, most sound recording programs will allow you to do so. Programs such as Audacity (available on both Windows and Mac computers) can perform basic editing, while more advanced paid programs may be able to clean up your recording. When editing, it is a good idea to keep the original file as a backup and change the names of edited files when you save them in case you find you made a mistake. When you're sure you like the edited file, you can delete the original to save drive space on your computer.
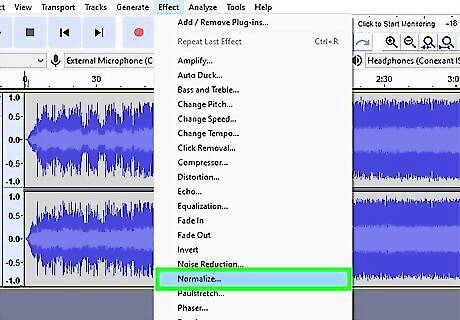
Normalize the audio if needed. Once you have a basically good recording, you can improve it by using audio tools, chief among which is a process called "normalization". Normalizing your audio will ensure that the loudest peaks are at or near 100% of full scale (e.g, when all the meters are lit, or 0dB, depending on your metering). Most audio-editing programs offer some form of normalization.
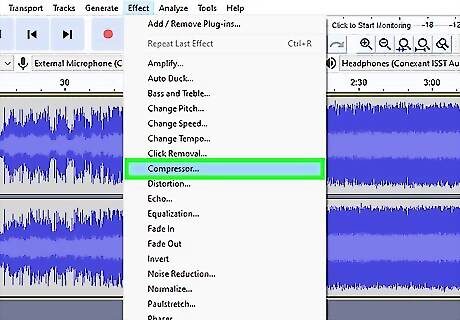
Apply compression. This is not something you will use for every recording you make, as it can render a lot of music lifeless. It works by keeping the loudest sounds about where they started while bringing up the level of the quieter passages. You lose the difference between the highs and lows—or dynamics—and in return, you get an apparently louder recording. When listening at home, this isn't necessarily desirable, but if you're making a CD for your car, it can be very useful.
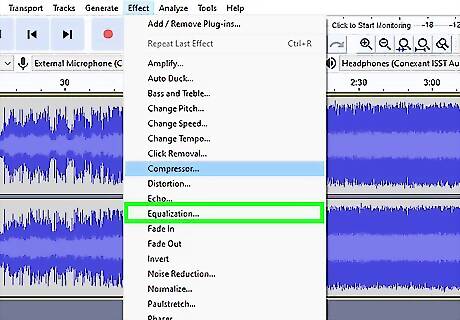
Equalize (EQ) the audio. Depending on your speakers, how they're set up, and the quality of your overall playback system, adjusting the EQ to taste can be helpful. A word of caution, though: like compression, "good" EQ is subjective. While you may adjust the EQ so it sounds great on your system, the same music may sound distorted or off on another system.
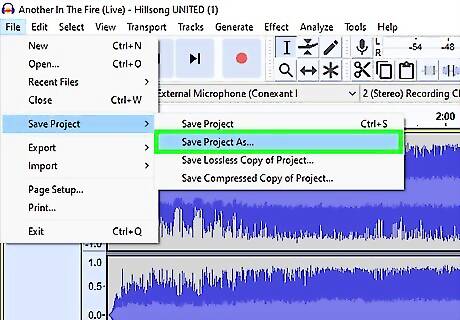
Always work with a copy. Once you've gone through the trouble of converting your old cassettes, make saving a copy of your recording the first thing you do before you start any reconstructive (or just destructive) edits (normalization, EQ, compression, etc.)









Comments
0 comment