views
- Updating OBS will not change your settings, scenes, or sources in any way.
- You can check for updates in OBS or download the latest version from the website.
- Version 28 and above does not support 32-bit operating systems, Windows 7 or 8, macOS 10.14 and below, or Ubuntu 18.04 and below.
Checking for Updates Manually
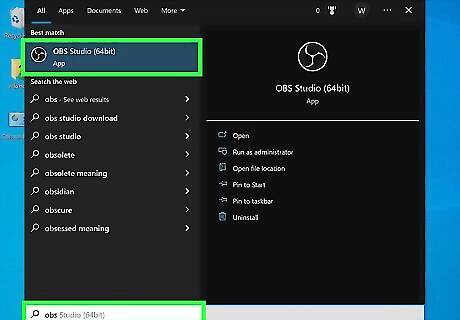
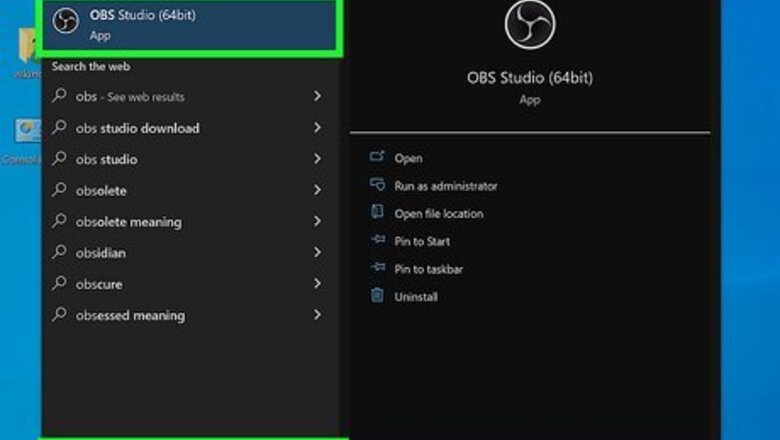
Open OBS. OBS has a black circular icon with an image that resembles three cycles. Click the OBS icon in the Windows Start menu, Applications folder on Mac, or Apps menu in Linux to open OBS. OBS will launch with your personal configuration already active.
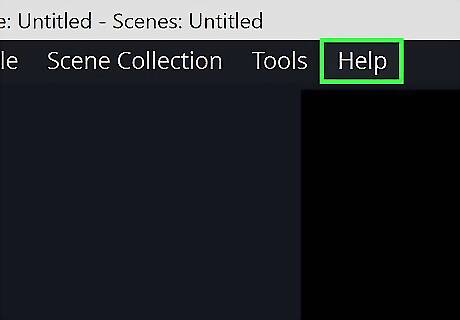
Click Help. It's the last tab at the top of the page. This displays a drop-down menu.
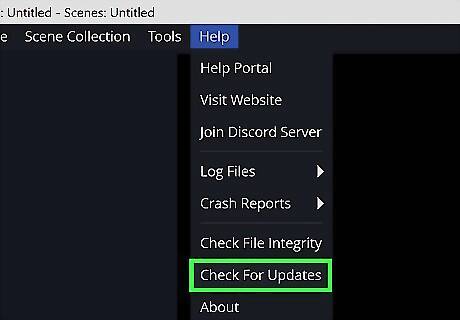
Click Check for updates. It's near the bottom of the Help menu. OBS will check for the latest updates and display what updates are available and what changes they make.
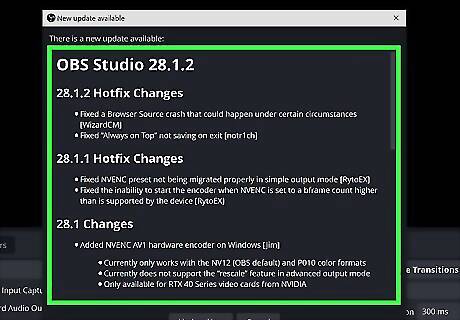
Review the updates. Look over the information in the window and see what changes are made with each update. If you are using a 32-bit operating system, Windows 7 or 8, macOS 10.14 and below, or Ubuntu 18.04, it is recommended that you do not update OBS. OBS version 28 and above does not support these operating systems. To check which version of OBS you are running, click Help in the menu bar at the top, followed by About. The version number you are currently running will be listed below "OBS Studio" at the top.
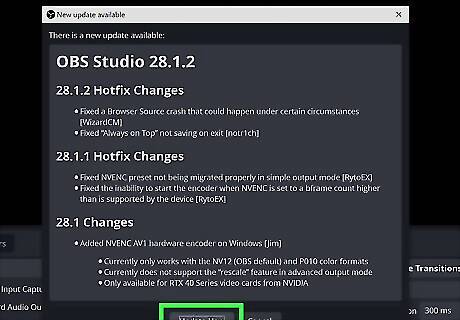
Click Update Now. It's at the bottom of the window that lists the changes the update contains. Click this button to start updating OBS. If prompted to allow OBS to make changes to your system, click Yes. Once the update is finished, click Launch OBS to start the latest version of OBS.
Enabling Automatic Update Checks
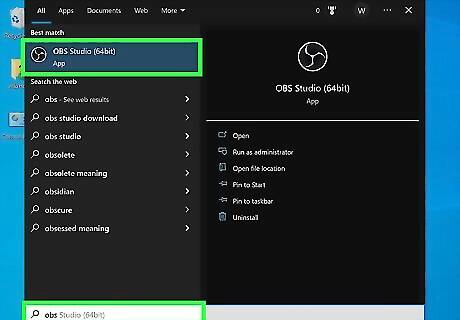
Open OBS. OBS has a black circular icon with an image that resembles three cycles. Click the OBS icon in the Windows Start menu, Applications folder on Mac, or App menu in Linux to open OBS. OBS will launch with your docks and scenes already active. OBS does not automatically check for updates automatically. You need to enable this in Settings.
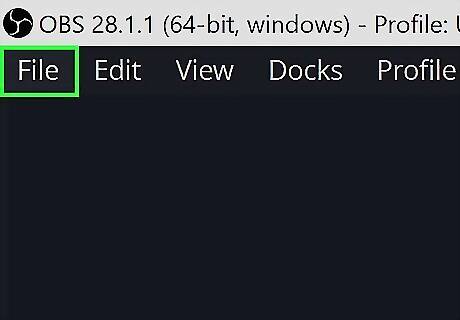
Click File. It's the first tab in the menu bar at the top. This displays a drop-down menu
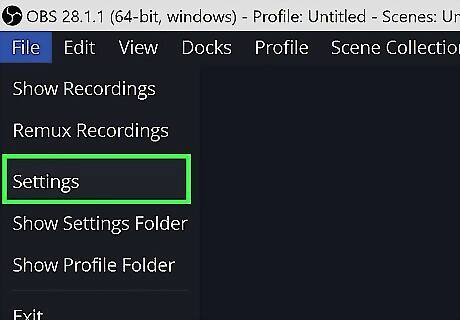
Click Settings. It's the third option in the File drop-down menu. This opens the Settings menu. Alternatively, you can click Settings in the Controls dock, which is usually in the lower-right corner by default.
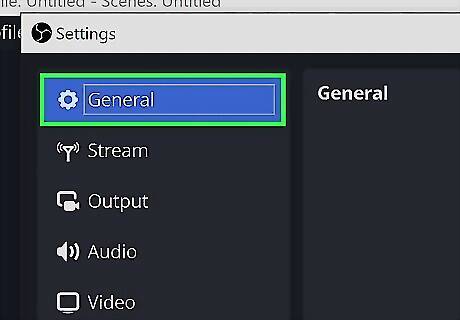
Click General. It's the first option in the menu bar to the left of the Settings menu. This displays the General Settings menu. By default, the Settings menu opens up to the General Settings menu. If it does not, click General in the menu on the left.
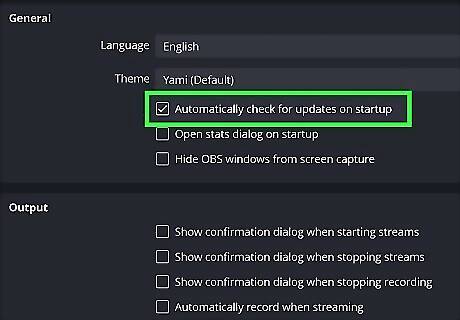
Click the checkbox next to "Automatically check for updates on Startup." It's the first option below the two drop-down menus in the box labeled "General" at the top.
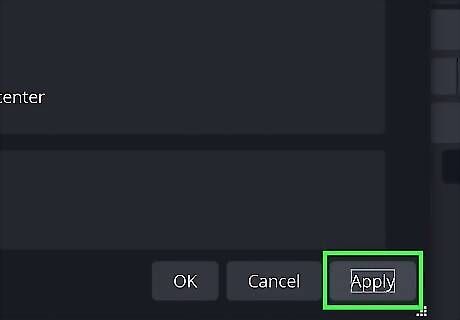
Click Apply. It's the button in the lower-right corner of the Settings menu. This applies the Settings changes to OBS.
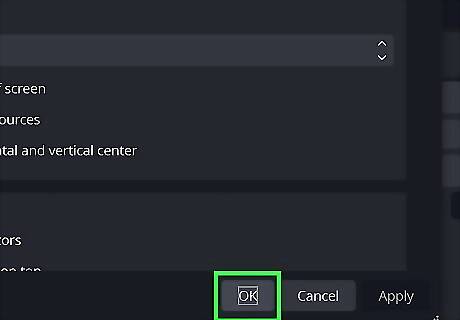
Click Ok. It's the first button in the lower-right corner of the Settings menu. This closes the Settings menu.
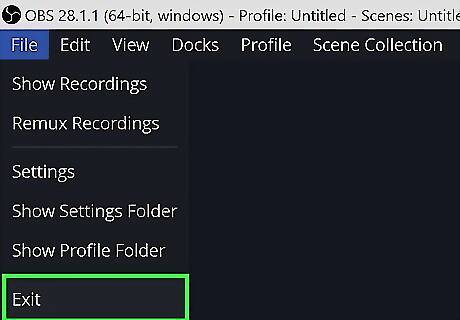
Restart OBS. To do so, click Exit in the lower-right corner at the bottom of the Controls dock. This closes OBS. Once OBS is closed, click the OBS icon in the Windows Start menu or Applications folder on Mac to restart OBS. OBS will check for updates as it launches.
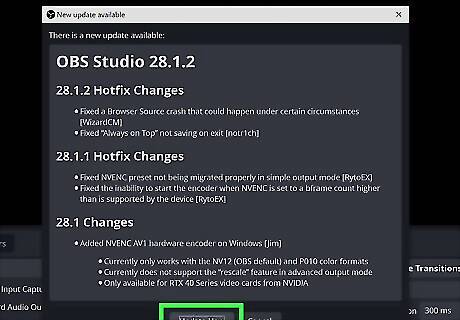
Click Update Now. If an update is available, OBS will display it in a window upon launch. Click Update Now at the bottom of the window to update OBS. If you are using a 32-bit operating system, Windows 7 or 8, macOS 10.14 and below, or Ubuntu 18.04, it is recommended that you do not update OBS. OBS version 28 and above does not support these operating systems.
Downloading the Latest Version
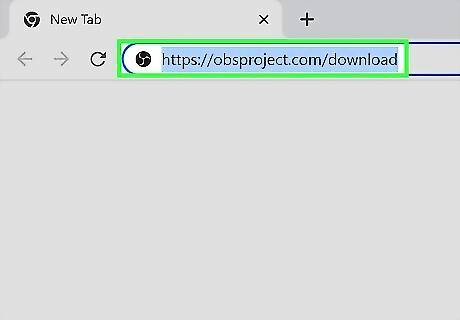
Go to https://obsproject.com/download in a web browser. This is the website where you can download OBS. If for some reason you are not able to update OBS by checking for updates in OBS, you can download the latest version of OBS from the official website and install it manually. Reinstalling OBS will likely not affect your settings, scenes, or sources, since that data is stored in a separate folder. However, you may want to back up that folder just in case. To find your OBS folder, you need to show hidden files and folders in File Explorer or Finder. Then you can find your OBS folder at C:\Users\[username]\AppData\Roaming\obs-studio on PC, ~/Library/Application Support/obs-studio on Mac, or ~/.config/obs-studio on Linux. If you want to download a previous version of OBS, you can download older versions at https://github.com/obsproject/obs-studio/releases. You can also download pre-release Beta versions of newer versions. Version 28 at above will not work on 32-bit operating systems, Windows 7 or 8, macOS 10.14 or below, or Ubuntu 18.04 and below.
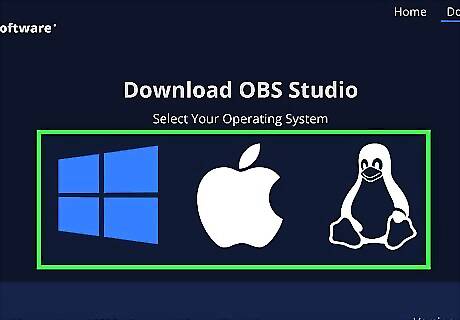
Click the icon for your computer's operating system. If you are using Windows, click the Windows logo at the top of the page. If you are using Mac, click the Apple icon. If you are using Linux, click the penguin.
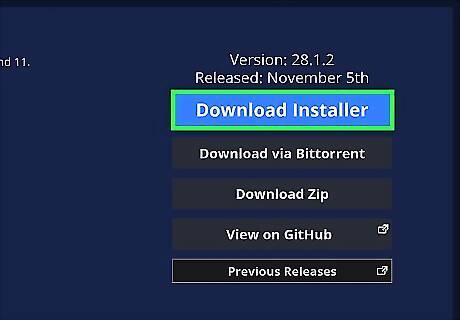
Click Download Installer. It's the blue button on the right side of the page. This downloads the installation file. If you are using a Mac, you need to know if your computer has an x86_64 Intel processor or an arm64 Apple processor. To find out what kind of processor you have, click the Apple icon in the upper-right corner of your desktop, and then click About this Mac. On Linux, you can install OBS by Opening the Terminal and typing sudo add-apt-repository ppa:obsproject/obs-studio to install the repository. Then type sudo apt update to update the repository, and then type sudo apt install ffmpeg obs-studio to install OBS.
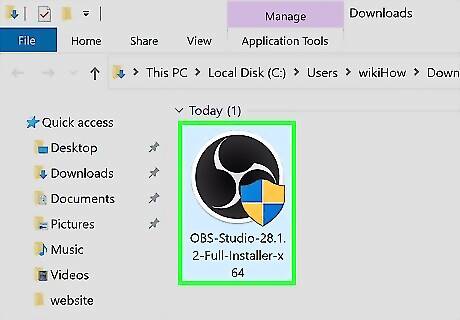
Open the installation file. You can find the installation file in your Downloads folder by default. Click the installation file in your Downloads folder or Applications folder to begin the installation process.
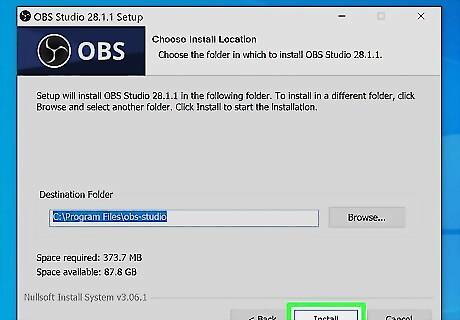
Follow the instructions to complete the installation. The installation process will be different on PC and Mac, follow the on-screen instructions to complete the installation. Once the installation is complete, you click the OBS icon in the Windows Start menu or Applications folder on Mac to launch OBS.
Updating OBS Plug-ins

Download and install Starscape Creator Studio OBS does not update plug-ins. If you want to update plug-ins, you have to download the latest version of the plug-ins and install them manually. However, Starscape on Windows is a plug-in manager that keeps track of all your OBS plug-ins and makes it easy to keep them up-to-date. Use the following steps to download and install Starscape: Go to creator.starscape.live in a web browser. Click Download for free. Open the installation file in your Downloads folder or web browser. Follow the instructions to complete the installation.
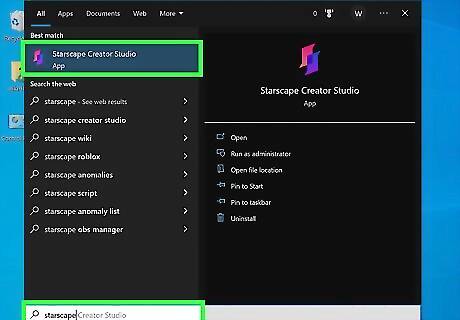
Open Starscape. Starscape has an icon that resembles a pink and blue ribbon. Click the Starscape icon in the Windows Start menu to open Starscape. The main page will show all plug-ins you have installed on OBS. To install additional plug-ins, click Install next to a plug-in you want to install on the main page. Then follow the instructions to complete the installation Starscape is not available on Mac or Linux.
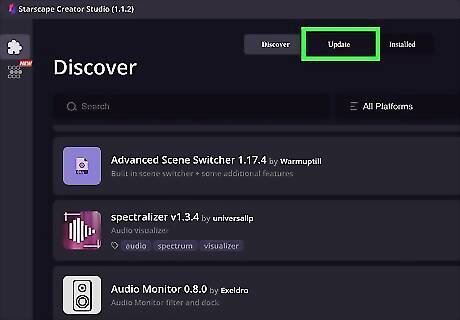
Click Update. It's the second tab at the top of the page. This displays all of your plug-ins that need updating.
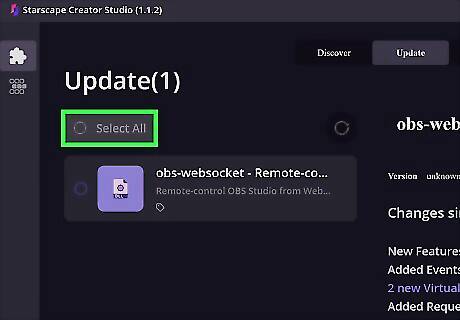
Click the checkbox next to "Select all." Click the radio button at the top of the page to select all plug-ins that need updating.
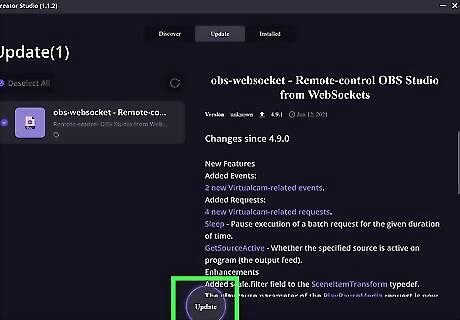
Click Update. It's at the bottom of the page. This updates all of your OBS plug-ins.




Comments
0 comment