

Perfecting Your Skin

Wash your face daily with a gentle cleanser. Once you start wearing makeup, it's especially important to keep your skin clean. Choose a mild cleanser that's formulated for your skin type, such as dry, combination, or oily. Before washing your face, you should remove your makeup with a makeup remover or natural oil, such as coconut oil. Apply a dime-sized amount of cleanser to your face, massage it into your skin, and wash with warm water. If your pores look large and your face gets shiny, then you likely have oily skin. If you have large pores and shine only on your forehead and nose, then you probably have combination skin. If your skin sometimes looks a little shiny across your forehead and on your nose, then your skin is likely normal. If your skin is tight, dry, and flaky, then it's probably dry. If you have acne prone skin, then you may want to get a cleanser formulated to fight acne.
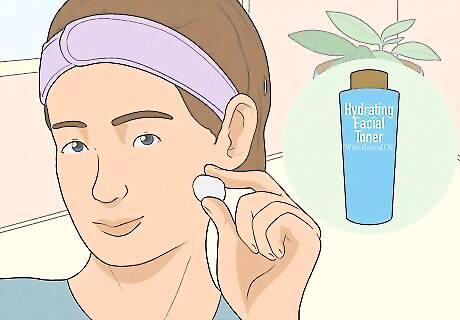
Use a toner after you cleanse. A toner will remove any leftover dirt, oil, and excess product, as well as tighten your pores. It can also balance your skin's pH. Just like with cleansers, you should pick 1 that's formulated for your skin type. Look for a formula that provides benefits that you want, such as hydrating. Apply the toner to a cotton pad, then dab it onto your skin.

Moisturize your face. Before applying any makeup, it’s important to make sure that your skin is properly hydrated. That will help your makeup go on more smoothly so it looks naturally flawless. Pre-teen and teen skin is usually oily, so choose an oil-free product and apply it approximately 5 minutes before you do your makeup. It’s important to protect your skin from sun damage too, so you may want to use a moisturizer that has an SPF of at least 15. You can also use a separate sunscreen product if you prefer. Apply it after the moisturizer and give it 5 minutes to sink into your skin before applying any makeup. If your skin looks too shiny after applying your moisturizer, use a tissue to blot your face before moving onto your makeup.
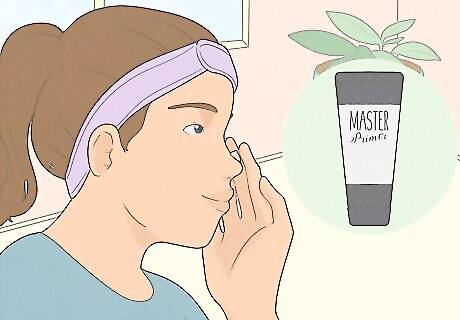
Consider a makeup primer. Makeup primers provide light coverage and help your makeup last longer throughout the day. You can even opt for a primer that includes a moisturizer, which allows you to skip applying a moisturizer in the morning! Apply a dot of primer to your nose, then start to blend outward. Add more primer as needed to cover your entire face.
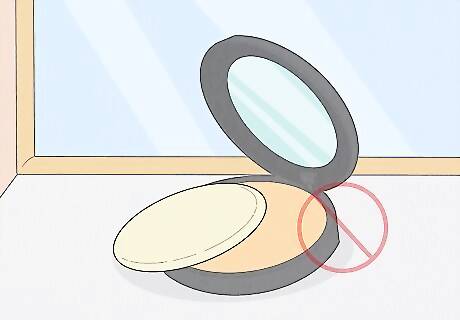
Skip foundation. When you’re going for a natural makeup look that you can wear to school, heavy foundation is a big no-no. If you feel like your skin still needs more coverage than a concealer can provide, use a makeup primer, light tinted moisturizer, or BB cream to even out your skin tone. Apply it with clean fingers to keep the coverage light. Make sure that your tinted moisturizer or BB cream is oil-free so it’s less likely to clog your pores. If your skin is extremely oily, you may want to skip a general moisturizer and just use a tinted version so you can moisturize and even out your complexion in one step. While tinted moisturizers and BB creams are usually more sheer than traditional foundations, it’s still important to choose a shade that matches your skin tone. Test it by blending a small amount across your cheek, and checking it in natural light to see if it’s a match. Even if you’re using a sheer tinted moisturizer or BB cream, make sure to blend it over your jawline and down onto your neck. You don’t want to wind up with a line across your jaw where your makeup ends.
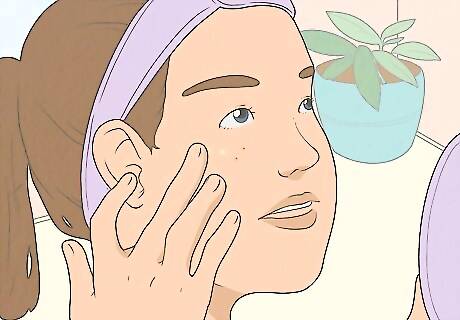
Conceal where needed. It’s common for pre-teens and teens to have breakouts, so you may have some spots that you want to conceal. Dab concealer just on those spots, and blend it with a clean finger or concealer brush. Consider using a color-correcting concealer if you have acne. For instance, if you have red marks, you might use a green- or yellow-based concealer to balance out the red and make it look less noticeable. Then, you can use a little foundation or tinted moisturizer over that. Make sure to choose a concealer that matches your skin tone as closely as possible. Otherwise, you’ll only wind up drawing attention to the areas that you’re trying to hide. As with your moisturizer, choose a concealer that’s oil-free. If you have acne, you may also want to look for one that contains acne-fighting ingredients, such as salicylic acid, to help fight the breakout while concealing it. If you’re using a stick concealer or one that features an applicator that is stored inside the tube, don’t apply the concealer directly from the container to your face. Dab some on your finger or a brush, so you don’t spread bacteria from your acne to the concealer itself. Also, feel free to skip concealer if you do not think you need it. Wearing unnecessary face makeup can do more harm to your skin than good. If your face is clear enough, do what's best for it.
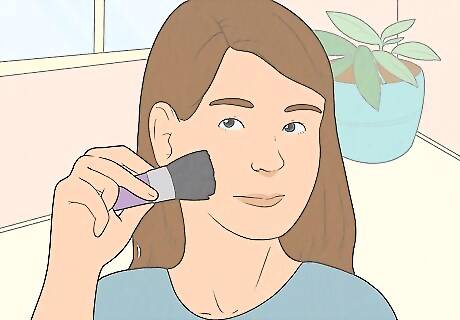
Set your face with powder. Because your skin is probably on the oily side, you should set your concealer and other face products with an oil-absorbing powder. Apply it over any areas where you used concealer, tinted moisturizer, and/or BB cream to set it, as well as over your forehead, nose, and chin, also known as the t-zone, where your skin tends to be most oily. Opt for a translucent powder that won’t add much color and coverage to your face so your look stays natural. Apply the powder with a fluffy brush. That will diffuse the product so your face doesn’t look cakey or powdery. If your skin is relatively even, you may want to skip a tinted moisturizer or BB cream and use a powder foundation to set your concealer. It offers more coverage than a translucent powder, but is still light enough to look natural.
Doing Your Eyes
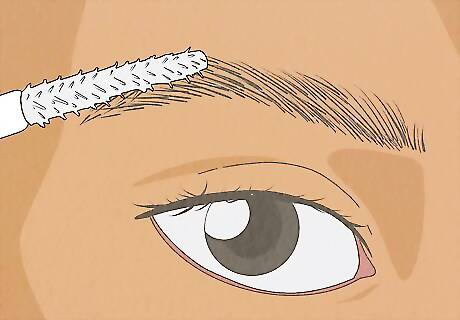
Use clear gel on your eyebrows. When you want a natural makeup look, there’s no need to fill in your brows with a pencil or powder. Instead, just brush a clear brow gel through your brows so they look neat and trim. The gel will also help keep them in place all day. If you feel like your brows need some filling in, you can swap your clear brow gel for a tinted version that matches your brow color. It will look more natural than a brow pencil or powder.
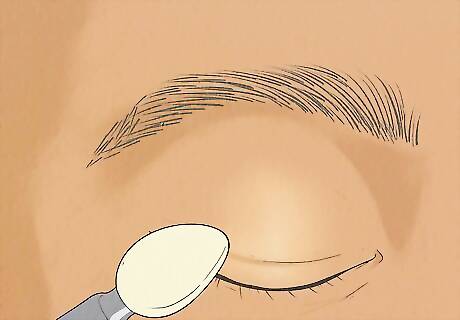
Apply a shimmery nude shadow to the lid. Eyeshadow isn’t really necessary for a natural look, but if you want to add a little color to your lids, keep it soft. Choose a shadow that is close in color to your skin tone, but has a slightly shimmery finish so it will catch the light. Apply it across your lid, staying below your crease. You can use the sponge-tip applicator that comes with your eyeshadow, a brush, or even your fingertip to apply it. However, for the most natural look, use a fluffy shadow brush to apply it. The color will appear sheerer, so your eyes look soft and subtle. If you want your eyes to look bigger, use light colors to brighten them and make them look more open. If you want your eyes to look smaller, opt for darker colors.
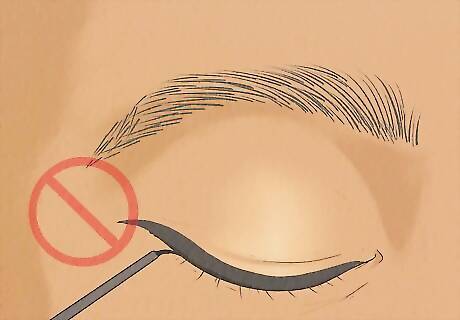
Skip eyeliner. When you’re young and trying to achieve a natural look, eyeliner is usually too much. That’s especially true if you use harsh black liquid or pencil liner, which can actually make your eyes look smaller. Instead, ditch the eyeliner so your eyes look fresh and bright. If you feel like your eyes really need some extra definition, try using powdered eyeshadow as a liner for a much softer, more natural look. Dip an angled brush into a brown, gray, or navy shadow, and run it as close to your upper lash line as possible.
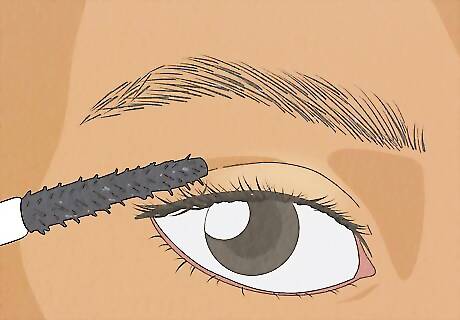
Finish off with mascara. Even if you don’t wear any shadow, you can draw attention to your eyes by using a little mascara. Black mascara is the traditional choice, but you might prefer brown for a softer look. You can even use clear mascara if you just want to define your lashes without darkening them. A single layer of mascara is all you need for some definition. If you apply too much, your lashes may start to clump together and ruin the natural look. It's best to stick with a lightweight formula, which is healthiest for your lashes. You might choose a water-resistant formula if you are extremely active and sweat a lot. However, you should avoid using waterproof mascara, which can damage your lashes.
Adding Color to Your Face

Dust a soft blush on the cheeks. Everyone looks a little healthier with some color in their cheeks. If your cheeks aren’t naturally flushed, dust a little blush on the apples of your cheeks. Choose a sheer, matte shade that complements your skin tone for a natural look. To find the apples of your cheeks, smile -- apply the blush to the fleshy part of your cheek, blending up toward your hairline. For fair skin, choose a light pink blush. For medium skin, go with a rose gold blush. For dark skin, opt for a hot pink blush. Peach blushes tend to be flattering on all skin tones. Using an angled blush brush usually makes for an easier application. That’s because the shape deposits the most color on the apple of your cheek and fades it out across your cheekbone. Selena Gomez Selena Gomez, Founder, Rare Beauty Express yourself with makeup. "Makeup should be an accessory to reflect what you feel inside. This is something you can enjoy and have fun with and do whatever you want with. It’s not threatening, it’s not complicated."

Warm up your complexion with bronzer. If you aren’t a fan of blush or just want a sun-kissed look, you can add some bronzer to your face. However, you shouldn’t apply it everywhere or it won’t look natural. Instead, dust it on your skin with a fluffy bronzer brush in the places where the sun would naturally hit you, such as your temples, cheekbones, jawline, and nose. Don’t go more than one or two shades darker than your natural skin tone with your bronzer. Choose a matte formula that isn’t too orange, so it looks natural. If you’re having trouble figuring out where to apply your bronzer, use the “3/E” shape method. Starting at the top of your forehead, dust it over your face in “3” shape on the right side of your face, so you cover the temple, cheekbone, and jawline, and an “E” shape on the left side of your face to cover the same areas on the other side.
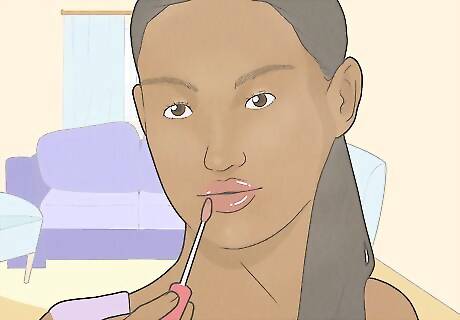
Apply a glossy lip product. For a natural look, you shouldn’t wear a very dark, saturated lipstick. You want to keep your lips looking soft, so opt for a sheer lip gloss or even a tinted lip balm. Choose a shade that’s similar to your natural lip color so you know it coordinates with your skin tone. Avoid lip glosses that have a lot of glitter or shimmer in them. They usually don’t look natural. If you want to go a little bolder with your lip color, opt for sheer pinks and peach shades. If your lips are flaky or dry, try rubbing a little sugar onto your lips. Gently scrub the sugar back and forth across your lips to remove any dead skin, then wipe it away with a damp washcloth.


Comments
0 comment