
Wrapping the Blade
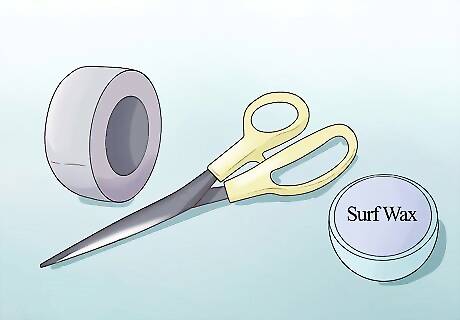
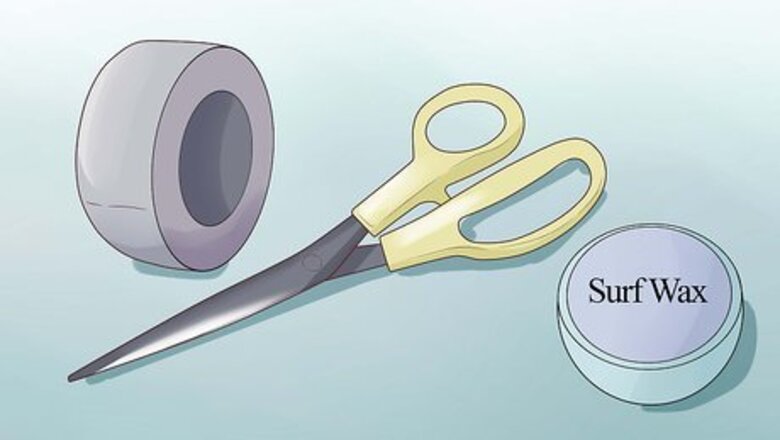
Gather the necessary materials. To do a quality wrap-job, you'll obviously need your hockey stick, right-handed or left-handed, depending on your dominant side, or a goalie stick. The process is essentially the same for each. Additionally, you'll also need: Cloth tape Scissors or a sharp knife Stick wax, surf wax, or old candle wax

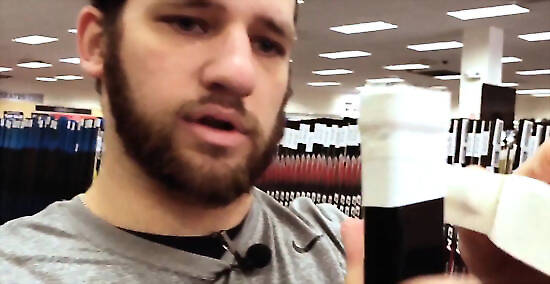
Select an appropriate color of tape. For some players, the color and style of the tape they use on their stick is just as important for identification purposes as for practical reasons. The right tape can make your gear instantly identifiable and distinctive, allowing your teammates to recognize your stick in a crowd of opponents, open for a pass, something Bobby Orr popularized. Use black tape to mask the puck. Other players can have a more difficult time distinguishing if you've got control of the puck if it's up against a blade wrapped in black. Alternatively, some players prefer using white tape to help improve their puck handling, as it makes it easier to see and track the puck. If you want to help out your teammates, use team-colored tape to help them instantly spot a friendly stick.
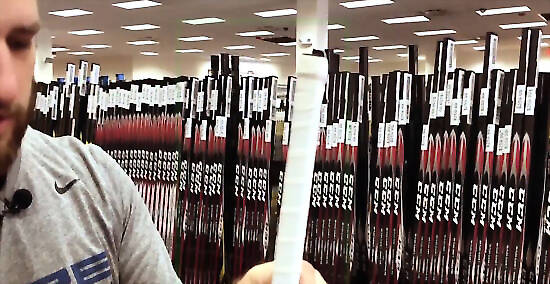
Cut a thin strip of tape and apply it to the bottom of the blade. Before you wrap around the blade, apply some tape to the bottom edge which skates along the ice with you. Keep the tape centered on the edge of the blade. There won't be much to grab onto, but you'll wrap it up more thoroughly when you go around. Some players will file down this edge to remove any burrs or chinks in the wood that have occurred over time before they apply tape. Check the smoothness and attend to any issues you find.
Start at the toe or the heel of the blade. Picture the blade as a foot. Some players elect to go from the toe to the heel, while others prefer the more traditional heel-to-toe method. Pick your starting point, and wrap the tape vertically around the width of the blade, moving the tape down the blade diagonally. Overlap your previous wrap by no more than a quarter-inch or so. If you want a faster release off your blade, wrap toe-to-heel. If you want more spin, wrap heel-to-toe. While spin slows the puck down, it also makes it harder for the goalie to make a 5-hole save because the puck will still be spinning when he stops it between the pads.
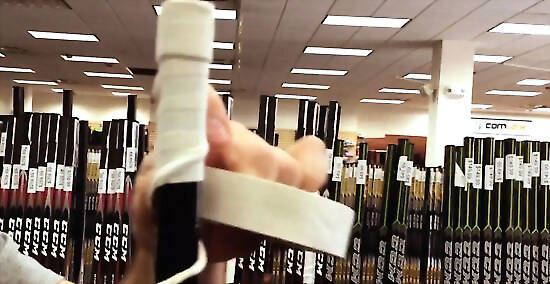
Wrapping the Grip

To build up the knob, start with a napkin. It may seem strange to the uninitiated, but taking a small piece of paper (like a napkin) to start out with can help with the grip and is quite popular among players because it creates a distinctive butt for you to hold. Start with the folded piece of paper around the edge of the handle, just under the knob, wrapping tape around it several times to keep it in place. If you don't have a knob in place on your stick, start the tape at the edge of the stick itself where the knob would be.

Measure a forearm-length strip of tape. Without tearing, use your wrist to your elbow as a guide and twist the tape around, creating a kind of strong tape rope. Wrap this firmly around the handle of the stick, moving down diagonally to form the grip. Do not tear the tape. Start wrapping the flat part of the tape (where you stopped winding) back up the handle and over the rope, overlapping it slightly, until you get back to the knob. Wrap it a couple more times around the handle at the knob to make sure everything is secure, then cut it.
Try to use as little tape as possible to get the grip you want. Loading your stick with lots of tape can sometimes just weigh you down, adding extra weight to a stick that you'll get tired of carrying around by the end of the game. Figure out the most economical amount of tape you can use to get the right feel and response from your stick and stay with that. When you get it right, or feel you've done a particularly good job taping it, measure the tape when you remove it after play. Remember how much you used and cut only that amount next time to make it easy (and cheap) on yourself.
Experiment. Your own style will depend upon personal preference. Try out different tapers, knobs, and tapes to see what feels best. There is no right way to tape the handle and most players have different methods and routines particular to their play. All you're looking for here is grip and feel, so do what works best for you.
Finishing the Job
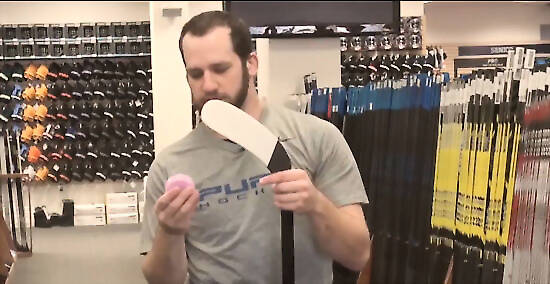
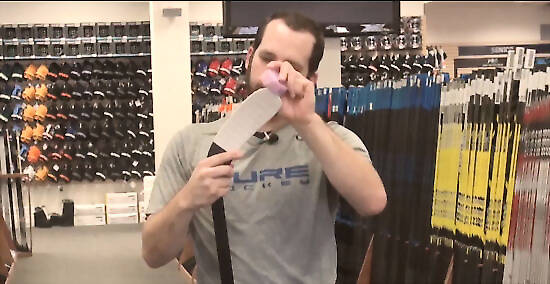
Smooth out any tape bubbles with a puck. Start with the blade at the heel and press towards the toe. Rub the puck along the new tape job to smooth things out and work out any bubbles, which can tear and make your tape raggedy on the ice. The friction of the puck makes the tape bond better with the blade, resulting in a smoother action.
Apply the wax. Take some wax and apply it to all taped areas of the blade. This keeps the tape from getting waterlogged, increasing the longevity of the tape job and decreasing friction as the bottom of the blade moves along the ice. This is especially useful if you're taking lots of shots. For the best results, use stick wax, not generic wax of some other kind. This is widely available at sporting goods stores that specialize in hockey gear. But even candle wax will do in a pinch. Make sure your ice rink allows the use of wax. Some that don't regularly renew the ice or those that use the rink for other commercial purposes discourage this.
Consider other additions. Some players have fairly elaborate taping routines, adding other bits to their stick for color, personality, or for practical purposes. Learn from other players and do what feels natural. Some players like to add a thick roll of tape midway down the stick, about 3/8" thick, to help with picking the stick up off the ice when gloves are on.


Comments
0 comment