
- Anyone can use Auto-GPT, but having a basic knowledge of coding and the required programs helps.
- You'll need to install Docker and have an OpenAI account to use Auto-GPT.
- Once you install Docker and add your API key, you can use Auto-GPT within Docker.
Prerequisites

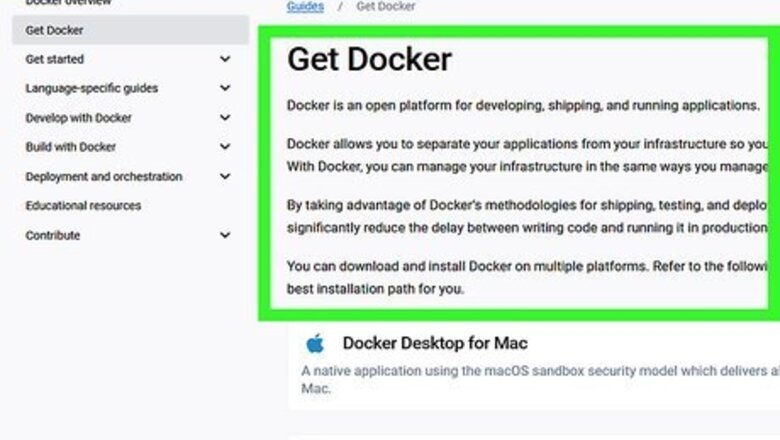
Install Docker. Using Docker will make updating Auto-GPT much easier than if you were just to use Python. To install Docker, go to https://docs.docker.com/get-docker/ and select your operating system.

Install Git. Go to https://docs.agpt.co/setup/ and install the software. This allows you to create clones of files easily on GitHub.

Have an OpenAI account. If you don't have an account, go to https://platform.openai.com/ and create one. You need this account for an API Key. For the best Auto-GPT experience, pay to be able to use your API key frequently. Free accounts are limited to 3 API calls per minute and any more than that can cause the program to crash.
Installing and Using Auto-GPT
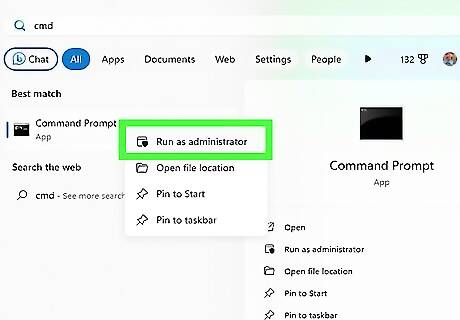
Open a terminal or command prompt and clone the Auto-GPT git repository. In your terminal or command prompt space, enter git clone https://github.com/Significant-Gravitas/Auto-GPT.git Auto-GPT and press Return or Enter.
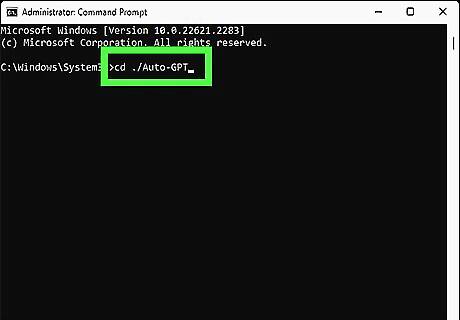
Get a stable version of Auto-GPT. There are lots of unstable versions out there, so enter this command into your terminal or command prompt: cd ./Auto-GPT, then git fetch and git checkout stable. Press Enter or Return after each line.
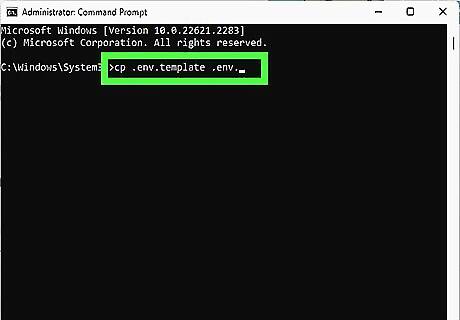
Create an ".env" file. In your terminal or command prompt, enter cp .env.template .env.

Create an API key. Go to https://platform.openai.com/ and sign in, then click your username, and select View API keys. Select + Create a new secret key and give it a name. Once you create a key, copy it. You won't be able to see it again from your OpenAI account. You can copy it by pressing the two-page icon at the right of the API key field. You can also press Ctrl + C (Windows) or Cmd + C (Mac).
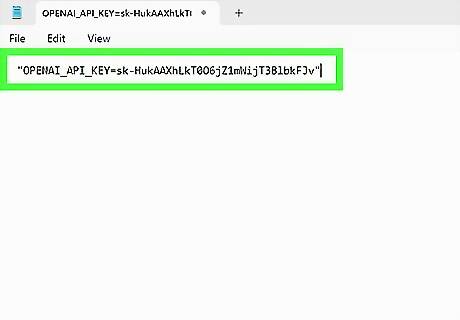
Paste your API key into your .envdocument. You can use any text editor to edit this document, including the built-in text editors for computers, like Notepad and TextEdit. Next to the line that says "OPENAI_API_KEY=", paste your API key. Make sure there are no quotes or spaces in your key.
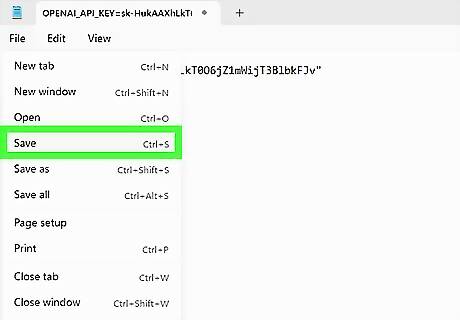
Save and close the file. Save it as the .env file you created earlier, then close the program.
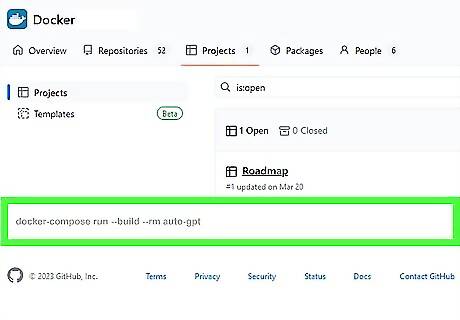
Open Docker and start Auto-GPT. In Docker's text-entry space, enter docker-compose run --build --rm auto-gpt. This will start Auto-GPT for you! If you pay for more access to your API key, you can set up Auto-GPT to run continuously. Enter docker-compose run --build --rm auto-gpt --continuous.


Comments
0 comment