views
Designing the Lab Space

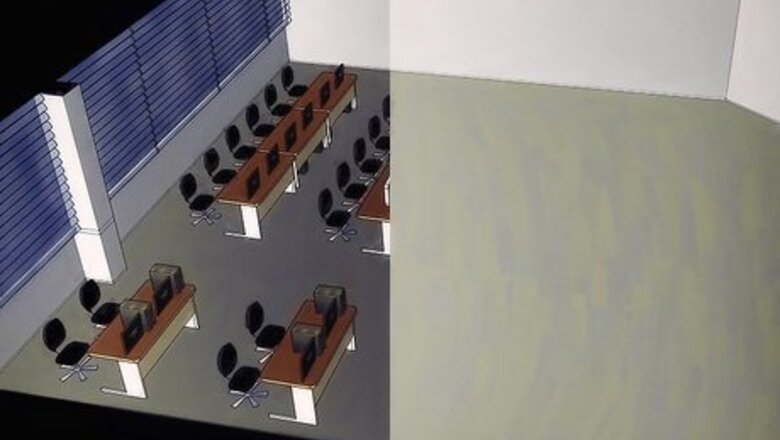
Identify the room for the computer lab. The first step in building a computer lab is knowing where it is going to be set up. You want to choose a room that has plenty of evenly spaced outlets and enough space to fit the number of computers you want to have in the lab. Rooms that are square or rectangular will work better than rooms that have sharp angles or strange shapes.
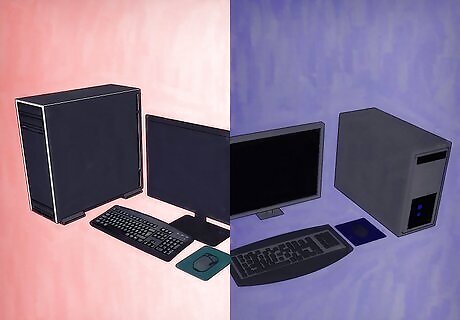
Determine the needs of the computer lab. Identify the purpose of your computer lab so that you will have an idea of the type of equipment you will need. Is it a lab that people will use for advanced digital design or programming requiring substantial computing power? Or is it just a general school lab with computers that just need to be able to run basic programs such as Word and PowerPoint? The needs of your lab will help you identify the type of equipment that you will need to provide. You will also need to consider the purchase of printers, scanners, projectors, and internet modems/wireless routers. At least one printer and internet access are two essential items for the lab.

Identify how many computers are needed. Along with determining the needs of your lab, you will need to identify the exact number of computers you will have available. If you know how many students will be using the lab at any given time, you will have an idea of how many computers you need. The number of computers you will have is also dependent upon the size of the room. If you want users to have access to higher-end computers, but have a limited budget, consider getting a small number of advanced computers and a larger number of mid-range computers.

Evaluate furniture needs and options. The height of the desks that the computers are placed on is very important. The ideal desk height is one that allows users to type on the keyboard with their arms parallel to the desk. Try to obtain furniture that fits the needs of the users you are designing the lab for. Chairs with adjustable heights are the best option for a computer lab so that all users can be comfortable while working. The top of the computer screen should be about level with the user’s eyes.
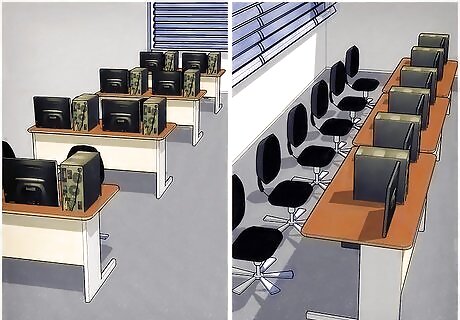
Choose a seating layout. There are a few configurations available depending on the use of the computer lab. If it will be a teaching space, you will probably arrange the computers differently than if the lab is just a free workspace at a library. Consider the following layouts to decide what will work best for your needs: Theatre style: This consists of rows of computers all facing one wall. It is good for teaching, but not good for student interaction or collaboration. Up against the wall: All computers are facing the wall of the room. Good for seeing what everyone is doing on their screen and students have to turn away from computers to face you while giving instructions. Not an efficient use of space. Rounds: Grouping computers together in round tables of four each. This configuration is great for group work and collaboration, but not good for teaching. U-shape: Computers are arranged in a U-shape with everyone facing towards the center. It’s easy to see and hear everyone in this configuration, but it requires more space.
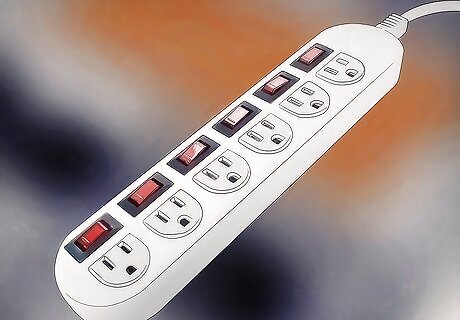
Identify available power sources. All of these computers are going to need to be plugged in. Use surge protectors to keep the computers from being damaged during power outages. They also increase the number of available outlets allowing you to plug in multiple computers into one surge protector. A power strip is not the same as a surge protector. Power strips just increase the number of available outlets, but do not protect against power spikes. You may need to use extension cords attached to surge protectors to get every computer plugged in. This may also affect the layout of your computer lab. Keep in mind the presence of all of the wires and possible trip hazards when thinking about the layout of the computer lab.
Obtaining the Computers
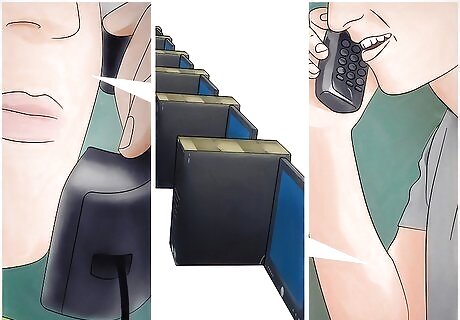
Call local businesses for donations. If you are building a computer lab on a budget, it is a good idea to start by calling local businesses to see if they have old computers. When companies update their computer systems they are usually willing to donate their old computers to a good cause. To encourage donations, let companies know that they can use their contribution as a tax deduction.

Ask friends and family for old computers. Similar to asking businesses, you can also go directly to friends and family. Many people just store the old computers in the basement when they buy new ones. These old computers can be repurposed for your computer lab. Your friends will probably be happy to get rid of those old computers.
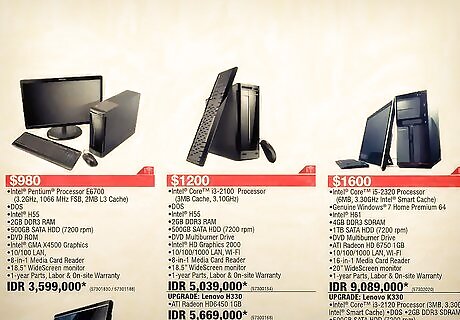
Purchase new computers. If you have a bigger budget, you can purchase new computers. You should be able to negotiate a good deal because you will be buying the computers in bulk. You probably don’t need a top-of-the-line computer, but a mid-range high-performance computer would be appropriate. Shop around a few different places to get the best deal. Remember to get a compatible keyboard, mouse, and monitor for each computer.
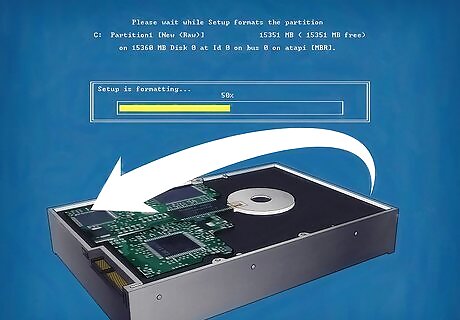
Reset old computers to factory settings. Before using old computers for your lab, you need to reset them to factory settings. This will improve their performance and erase all information that may have been left on them. Resetting the computers will depend on the type of computer you have. A quick online search of the computer should yield the proper procedure.

Choose an operating system to use. The type of computer purchased for the lab will affect the type of operating system used. Linux is an open-source free operating system that is a great option for a budget computer lab. Other operating systems include Microsoft Windows and Apple OS X. There are many classes available to take on the use of any of these operating systems. Whole communities of people will be willing to help you get started with whichever one you choose.
Building the Lab

Assemble and arrange the furniture. Once you have all of the components purchased, you can start building the computer lab. Assemble all of the furniture and place it around the room in the configuration you decide on earlier. Use caution when assembling all of the desks and furniture.
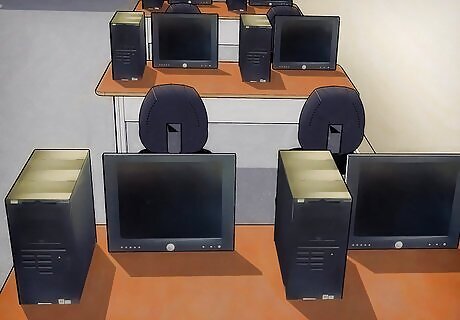
Set up the computers. Arrange all of the computers on top of the desks. Attach all of the monitors, keyboards, and computer mice. Plug everything into the electrical outlets. Turn on the computers and make sure everything is hooked up properly. Assign each computer a number so they can easily be kept track of.
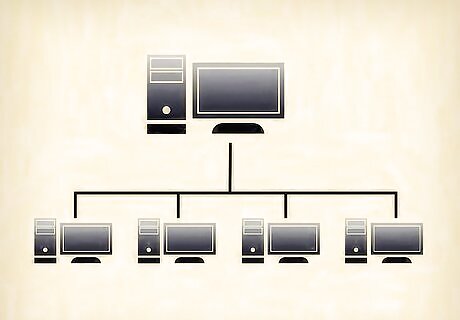
Network the computers together. Getting all of the computers on the same network allows you access information saved to the network on any linked computer. This is good in case your normal computer is taken or damaged. The network will also incorporate internet access to all of the computers. EXPERT TIP Luigi Oppido Luigi Oppido Computer & Tech Specialist Luigi Oppido is the Owner and Operator of Pleasure Point Computers in Santa Cruz, California. Luigi has over 25 years of experience in general computer repair, data recovery, virus removal, and upgrades. He is also the host of the Computer Man Show! broadcasted on KSQD covering central California for over two years. Luigi Oppido Luigi Oppido Computer & Tech Specialist Our Expert Agrees: The easiest way to connect multiple computers to the same network is to put them all on the same workgroup, which you can do under the System Preferences in your Control Panel. Then, make sure that file sharing and printer sharing are enabled, and check to make sure none of the firewalls are preventing a machine from connecting.

Prevent trip hazards. Using floor cord covers over exposed cables are an easy way to prevent users from tripping. Covers are inexpensive and easy to install. Use Velcro ties to organize cords together and secure them out of the way. Cable clips are also a good way to keep cables from becoming unruly hazards.




Comments
0 comment