
Remove Old Caulk
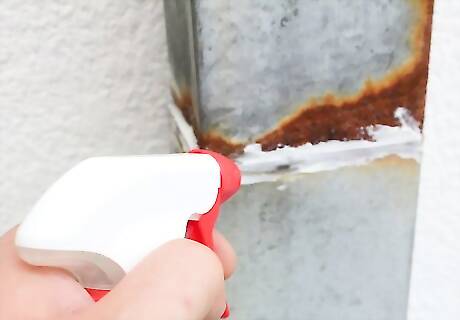
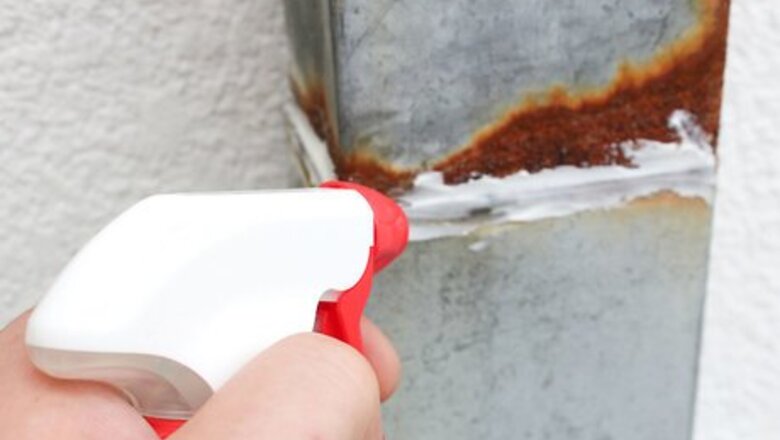
Apply a caulk remover. Caulk removers are special chemical products designed to moisten and soften the caulk, making it easier to remove so that you do not need to chip and chisel it away.
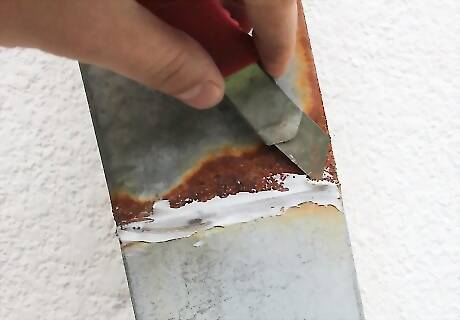
Slice the caulk with a blade. Use a clean blade on a utility knife to slice down the center of the softened caulk. Most of the caulk should be freed.
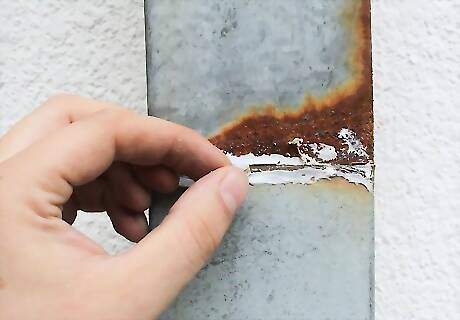
Pull away the caulk. You might be able to pull it away by hand, but since gutter caulk can be thick, you may need to grip onto it using needle-nose pliers. Either way, most of the old caulk should come up.
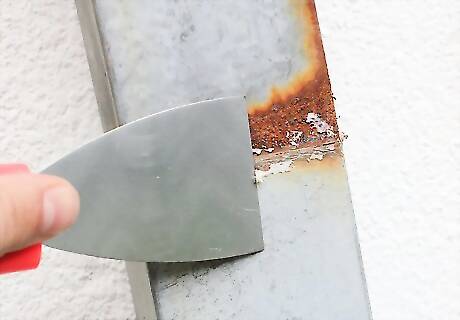
Chip away remaining caulk. Use small chisel or the hook end of a painter's five-in-one tool to rake away any leftover chunks until the area is completely clean.
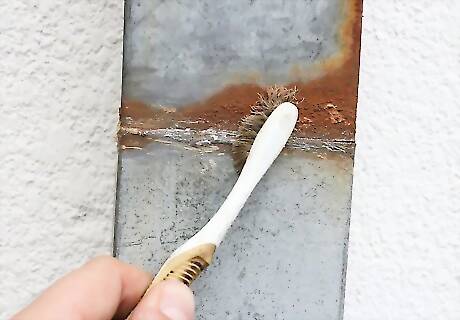
Clean the area. Scrub it with a toothbrush or abrasive sponge dipped into a non-ammonia cleaner. Follow by scrubbing the area with a solution made with 1/3 cup (80 ml) bleach and 1 gallon (4 liters) of water. Cleaning the area will remove any fungi or decayed leaves that may have worked their way into the cracking caulk.
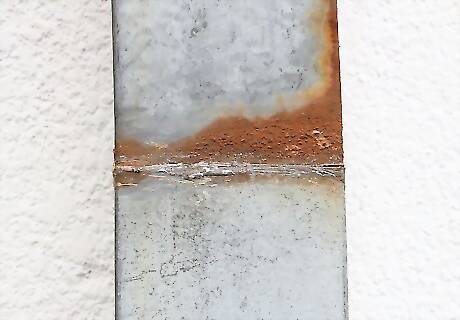
Let the area dry. Before applying new caulk, the area should be completely dry. Allowing the area to air dry is best, but if rain, other precipitation, or humidity threatens to create a problem, dry it out by hand using a clean, dry towel.
Apply New Caulk
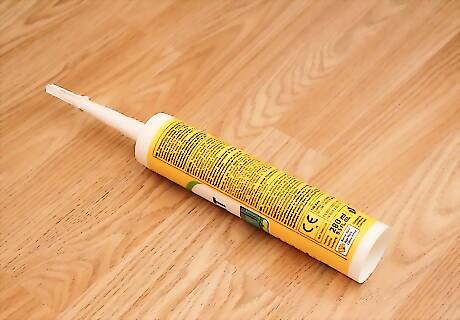
Use a silicone caulk. Silicone caulk maintains its integrity in sunlight and extreme temperatures better than latex caulk and it also lasts longer under most circumstances. Moreover, silicone caulk also works better in gaps that expand and contract, which gutters often do in response to changes in temperature. If you have white gutters, use a white caulk. If your gutters are painted in another color, choose a clear caulk. If possible, go with a caulk that is specifically formulated for gutters. Gutter caulks are designed to work in the conditions gutters face, and as such, they last much longer than non-gutter caulks. Don't use caulk that's labeled for interior use, like your kitchen or bathroom.
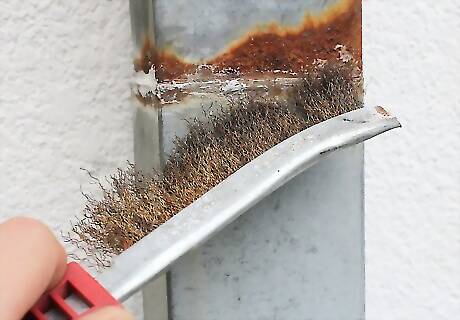
Roughen the surface. Rub the edge of the seam with sandpaper or a wire brush using steady, even pressure. Caulk, especially silicone caulk, adheres better to a surface that is slightly rough and uneven than it does to a perfectly smooth surface. The gutters do not need to be jagged, but it helps if the metal is a little coarse.
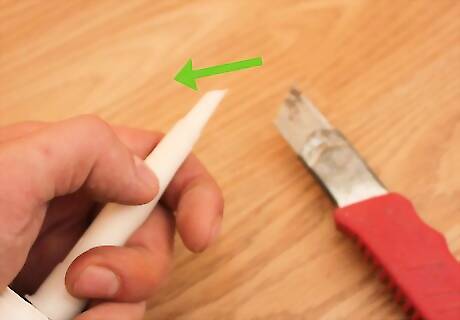
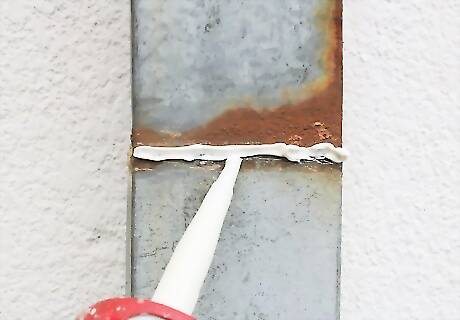
Cut the tip of the caulk tube at an angle. Do not cut the tip off straight across. Cutting the tip at an angle makes it easier to fit the tube into the seam.
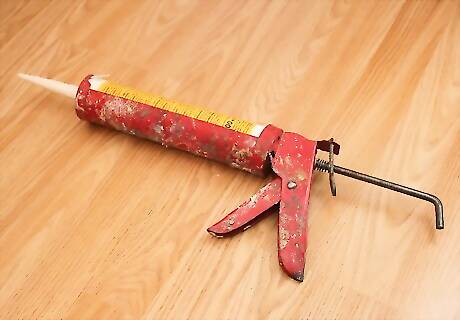
Fix the caulk tube into a caulk gun. The tube should be fitted securely at both ends of the gun.
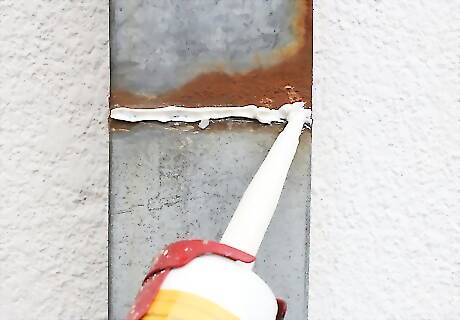
Apply the caulk in a straight, small bead across the seam. Start at the front of the seam and gradually pull the trigger of the caulking gun. As you squeeze, a small dot of caulk should emerge from the nozzle. Drag the nozzle down the length of the seam, applying even pressure on the trigger to maintain the same size dot along the entire seam. Apply the caulk along the gap between the gutter and facia board. This way, when water runs onto the facia board from the roof, it won't drip behind the gutter.

Push the caulk into the joint with a screwdriver. After you have applied the caulk, work it under the joint with the tip of a screwdriver. By working it into the joint, you ensure a stronger seal.
Apply another line of caulk. Draw a second line of caulk above the first using the same method and amount of pressure as you used to create the first. Do not push this line under the joint.
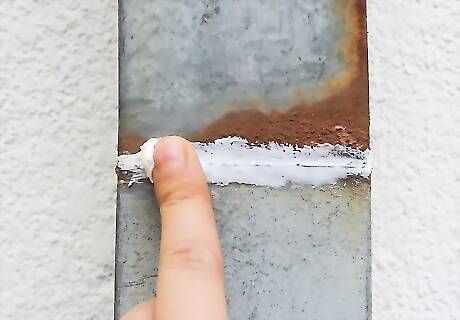
Smooth the caulk with your finger. Use your finger to smooth the beaded line into a smooth strip of caulk. The width should be even throughout the entire line.
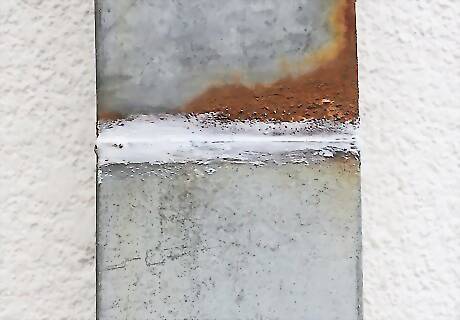
Allow the caulk to dry. After it has dried, check your work to verify that the caulk is secured.


Comments
0 comment