
Contrary to popular belief, you don't have to have all the bells and whistles to shoot some great photography. There is a whole photography culture dedicated to using DIY equipment and it's effective as well as budget-conscious. This article will help you create a light reflector––using a Pringles can!
Cutting the Pringles Can
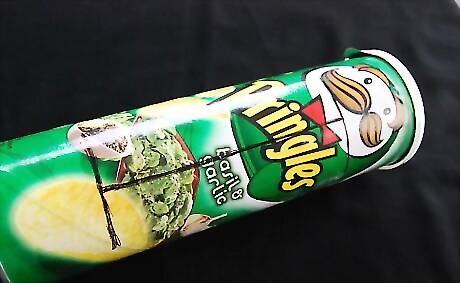
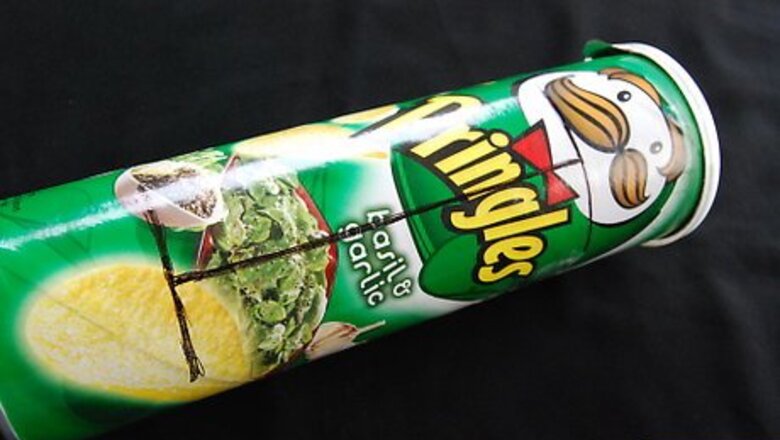
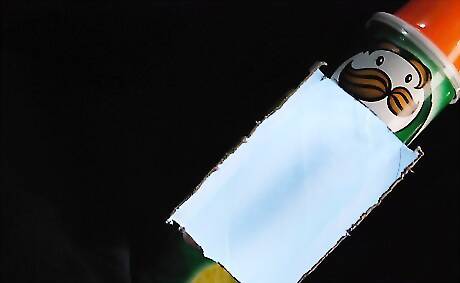
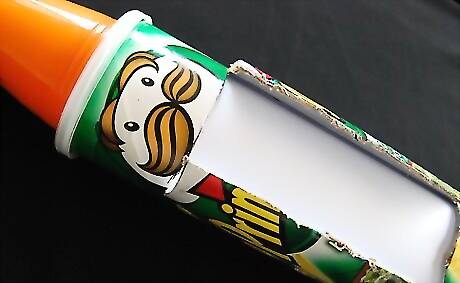
Create a 'door' cut. About 1/2 to 3/4 inches (approx. 13mm to 19mm) from the top and bottom, draw a line across the can. It should go about halfway around the can and then finish with another down the middle of the two lines drawn on the can, to form an "I" (see the image). Make sure that the lines match up on their ends. You will want to open these 'doors' when you use the light.
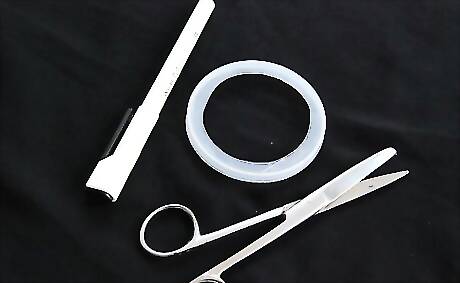
Cut a hole in the plastic lid to match the size of your light source.
Adding the Light
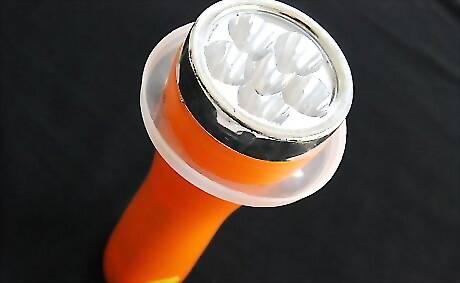
Push the light through the hole in the lid.
Attach the lid to the prepared Pringles can. You can now use the Pringles can light reflector to light your image.

If you need to diffuse this light, put a sheet of paper in the reflector, supported by the top and the bottom 1/2 inch (13mm).
Finished.


Comments
0 comment