views
Positioning a Snow Fence
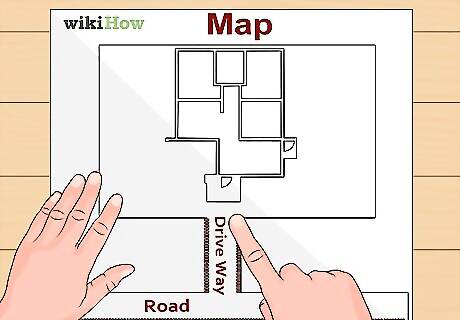
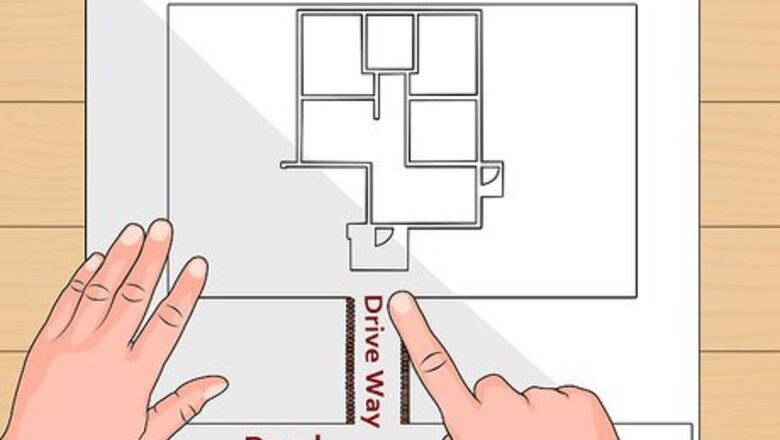
Decide upon the areas where you want to reduce snow. This could be a road, a driveway or a structure. It can also be beneficial to position a snow fence near sidewalks and pathways to keep them relatively clear.
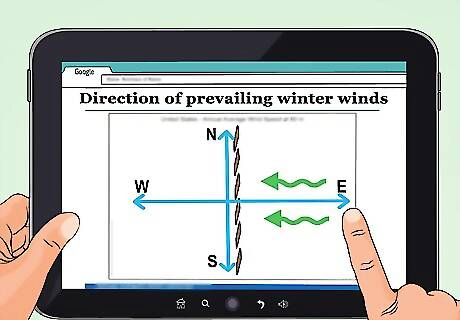
Research the direction of prevailing winter winds. A snow fence belongs upwind of the area it's protecting, roughly perpendicular to the wind. For example, if your winds blow from east to west, you'll want a snow fence on the east side of the area, running north–south. This doesn't need to be perfect, so feel free to vary the angle of fence sections by up to 25 degrees if terrain requires it. If the object you are protecting runs roughly parallel to the prevailing wind, your fence should still remain perpendicular to the wind, not the area you are protecting. Lay several shorter fences bisecting the wind direction at an angle upwind of the object. With winds less than 20 mph, 90% of blown snow will stay below 4 feet (1.2 m). In winds of less than 45 mph, 70% of the blown snow stays below 4 feet (1.2 m). Estimate the height you will need based on records of wind speed in your area.

Check property borders if necessary. If your fence will lie on other people’s property, consult your homeowner’s association, municipality or county. Some public works departments install snow fences as a public service, since plowing snowdrifts costs about 100 times more than snow fences.
Make sure your fence is designed properly. Proper design is critical to installing the most effective snow fencing. The porosity of the fence, how much of it is open air, should be 40-50% in order to form the largest drifts. The bottom gap should be 10-15% of the fence height. In rough terrain or snow-covered areas it may be a bit higher. This makes the fence less likely to be buried. Consider wind. Windy conditions will require the use of ties or wood strips to attach the fence to wooden posts. The fence should also be anchored firmly. In good soil, a six-foot fence post should be buried 2-1/2 feet.
Determine the length of the fence. For most projects, you can multiply the height of the fence by 12, and extend the length of the fence by this amount in both directions. This makes up for the fact that the ends of the fence are less effective at blocking snow, since wind wraps around them. If you need maximum protection, multiply the height of the fence by 20 instead. For example, if you are building an 8-foot (2.4m) fence, extend it by 100 feet (30.5m) past the protected area in both directions. If you are protecting a busy road, play it safe and extend each side by 200 feet (61m) instead. If you don't need full protection, you can compromise to save money or space. Just make sure the total length of the fence is at least 25 times the fence height. Any shorter than this and the wind can wrap around to the center from both ends, making the fence even less effective.
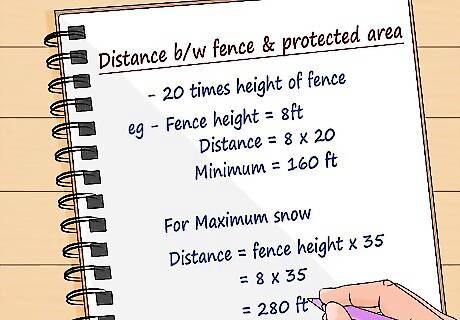
Calculate the distance between the fence and the protected area. A snow fence's job is to slow the wind enough to deposit the snow in a drift downwind of the fence. This means that a fence too close to the area you want protected will actually make the problem worse. As a general rule, a snow fence will quickly cause a drift up to a distance 20 times the height of the fence, so this is the minimum distance you want between the fence and the protected object. If enough snow builds up, the drift will then slowly extend to a distance 35 times the height of the fence. Install the fence at this distance if you need to keep the area completely clear of snow in all conditions. For example, an 8 ft (2.4 m) fence should be placed at least 160 ft (49 m) from the area you want clear. If it is vital to prevent even shallow snowdrifts (on a busy road, for instance), install the fence at least 280 ft (85 m) away. Measure this distance parallel to the wind. If you do not have enough space, look for a less porous fence (with smaller or fewer holes). These numbers are based on a 50% porous fence. The drift from a 25% porous fence maxes out at about 24 times the fence height instead of 35 (with the downside that less total snow is blocked).
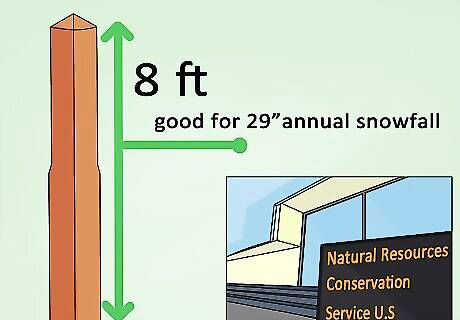
Decide on the fence height. As a rule of thumb, an 8-foot (2.4 m) tall fence should protect an area with up to 29 inches (74 cm) of annual snowfall. It may handle much more snow in areas where low wind or dense snow reduces the horizontal distance snow can travel. If you're not sure whether that's enough, consider contacting a government office (such as the Natural Resources Conservation Service in the U.S.) for a recommendation specific to your area.
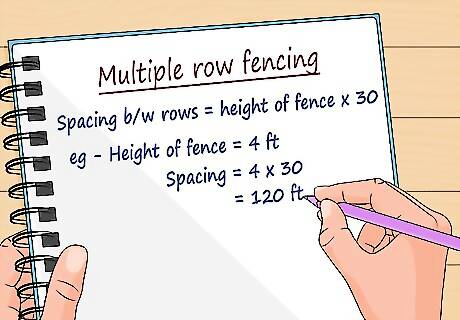
Consider multiple rows of fencing. Taller fences are much more effective: one 8-foot (2.4 m) fence blocks about as much snow as five rows of 4-ft (1.2 m) fencing. However, multiple rows of fences may be necessary in extreme weather, or if you prefer short fences. To calculate the spacing between rows, multiply the fence height by 30. This prevents the drift from one fence from burying the one below it. For example, two 4-ft. (1.2 m) rows of fencing should be placed 120 ft. (36m) apart. Place the rows closer together where the wind travels up a steep slope, and place them farther apart on steep, downhill slopes.
Installing the Snow Fence
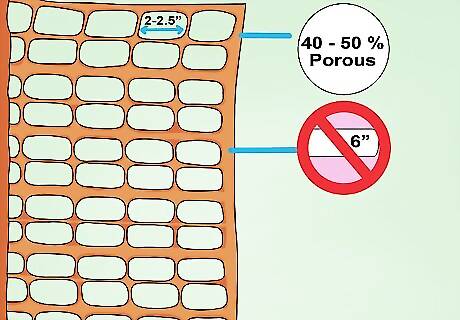
Check the fence porosity. A snow fence is a lightweight fence, usually plastic or wood, with holes or slats covering much of its surface. The ideal snow fence is 40 to 50% porous, meaning these openings cover about half the surface area. A fence with a much lower or greater porosity will be much less effective. Each hole or slat is usually 2 to 2.5 inches (5–6 cm) wide. Openings wider than 6 inches (15 cm) are not effective. Before buying a fence, read on to learn about truss-type and sheet fencing.
Consider a truss-type fence. This is a series of wooden panels supported by a rigid framework. Truss-type fences are cheaper to install and easier to remove (for temporary fences), but take up more space and are less effective on slopes. There are several different designs for this type of fence, so refer to the manufacturer's instructions if possible. Here's a common example of what this installation might look like: Drive rebar posts into the ground at a 30–45º angle. These posts can typically be shorter and more widely spaced compared to the standard set up described below. Set the framework against these rebar posts. Set the panels at a 15º angle to the ground over the framework. Overlap the panels.
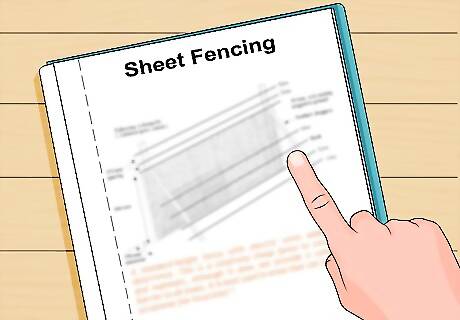
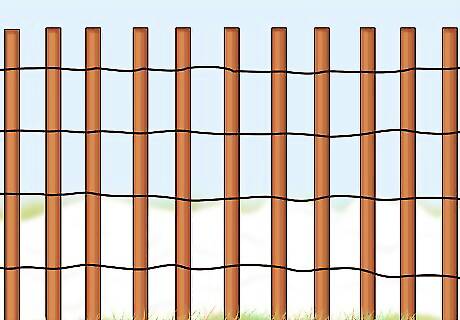
Continue reading for sheet fencing. The other main type of snow fence comes in rolls of sheeting or slats, to be strung across standard fence posts. This is the best choice for slopes, and for areas with limited horizontal distances available. Keep reading for detailed instructions on this type of fence.
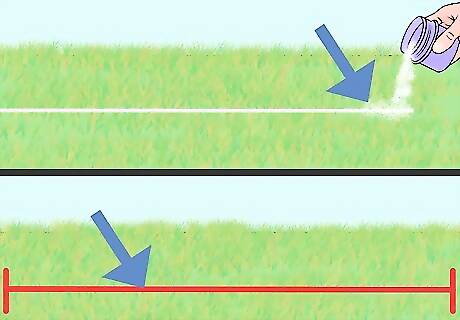
Mark the line where your fence will go. You can spray paint the ground, or secure a line of brightly colored string to keep the fence to a straight line.
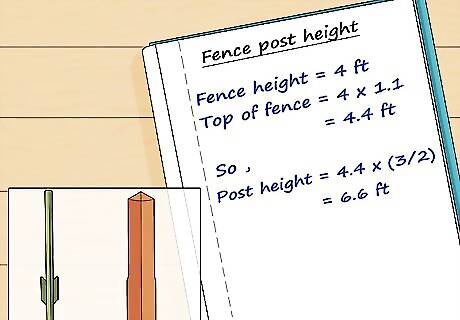
Calculate the height of the fence post. Although the fence is light, these are load-bearing posts that must stand up to the weight of a snowdrift. First, add 10 to 15% of the fencing height to allow for a gap between the fence and ground. Next, choose posts that are tall enough to support this fence when 2/3 of the post is above ground. For example, if your fencing is 4 ft (1.2 m) tall, the top of the fence will be 4 x 1.1 = 4.4 ft (1.3m) off the ground. Your posts should be 4.4 x (3/2) = 6.6 ft (2 m) tall. Drive #5 rebar into the ground every couple of feet and weave it through the sheet of fencing.
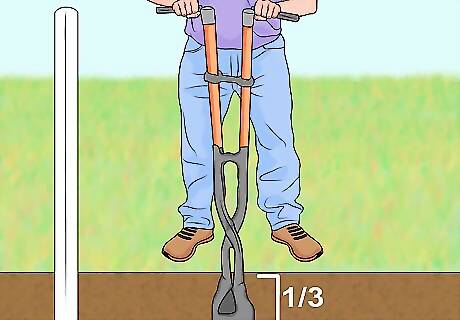
Dig the post holes. Use a post hole digger to create holes deep enough to bury 1/3 of the post height. The taller the fence, and the stronger the wind is in your area, the closer the posts need to be to resist wind force. Consult local building codes for a recommendation, or follow these guidelines for a strong fence (withstanding winds up to 100 mph or 160 km/h): Space steel T-posts 8 ft (2.4 m) apart to support a 4 ft (1.2m) tall fence. Space them about 4.5 ft (1.4 m) apart instead to support a 6 ft (1.8 m) tall fence. Wooden post spacing varies with type of wood and circumference. Consult a lumber store employee or a local handyman. If the ground has already frozen, digging will be much more difficult. You can thaw the ground by building smalls fires over the post hole locations, contained under vented metal containers. You can also rent ground-thawing equipment for large jobs.
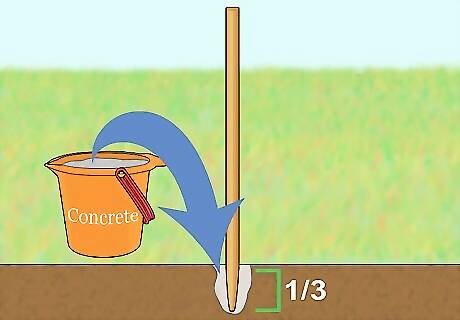
Drive in the fence posts. Bury each post 1/3 of its height and secure it firmly. Pack in about 6 inches (15 cm) of soil at a time. Between each layer, tamp down the soil firmly and confirm the post is level. A layer of pea gravel at the base of the hole will improve drainage. You may use concrete instead of soil.
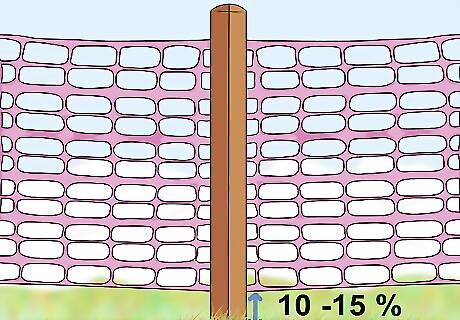
Plan to leave a bottom gap. Leave a gap above the ground about 10–15% the fence height. Paradoxically, this gap lets the fence trap more snow. If the gap is too small, a deeper upwind snowdrift will partially bury the fence, making it less effective and potentially damaging it.
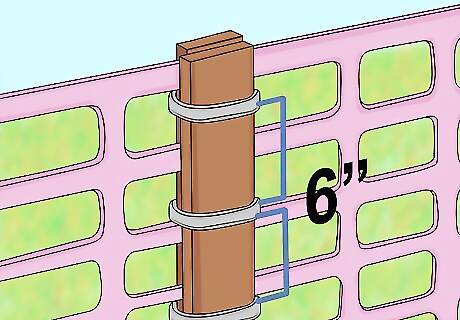
Secure the slats to the posts. Pull the fencing taut and secure it to the posts with cable ties. In high wind areas, reinforce this attachment by sandwiching the post between the metal post and a wooden slat before tying them together. Fasten ties about every six inches (15cm) along the height of each post. For even more security, slip foam insulation over the post, then sandwich the fencing between that and a wooden batten.
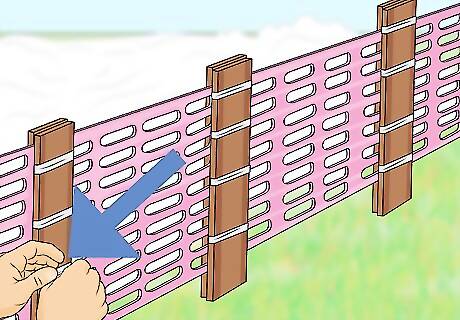
Work your way down the length of the fence. Pull each length of fencing taut and secure as you go. Keeping the fence in the correct position off the ground may require several workers.
Maintain the fence. Proper maintenance will help the fence to perform the best. Regularly check the anchoring system and look for missing or damaged parts that need to be repaired.


Comments
0 comment