
Making Container Candles
Choose your wax. You can buy many different kinds of wax in bulk online including paraffin, beeswax, and citronella. If you are interested, there are also many types of scented wax available as well. Choose one that fits your needs, and get enough to create your desired number of candles.
Heat up your wax. Use a double boiler to prepare your wax for pouring. It should reach a temperature of 180–190 °F (82–88 °C); you can use a thermometer to get an accurate reading. If you like, you can add a few drops of essential oil at this time.

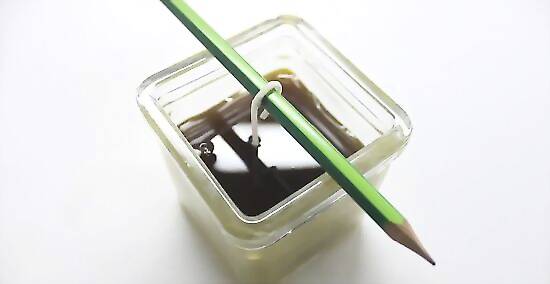
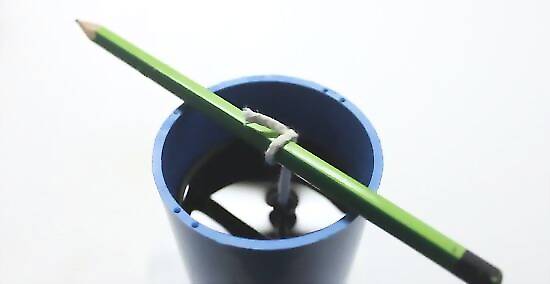
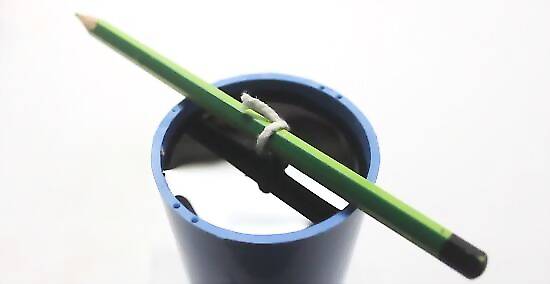
Cut your wick. Use a piece of pre-tabbed wick (with the metal bottom) and stick it in your container. Add enough so that the wick sticks out a few inches from the top. Tie the top of the wick to a pencil or pen, and rest it over the top to keep the wick perpendicular to the bottom of the container.
Heat your container. In order to create a smooth pour of wax with no bubbles, you will need to heat up the container you intend to use for your candle. Put it in the oven at 150 °F (66 °C) for several minutes to warm the material.
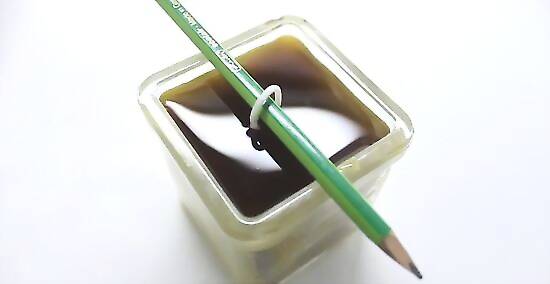
Pour your wax. Hold the pencil/wick steady at the top of the container, and slowly pour the melted wax in. Avoid bumping the sides or pouring too quickly so that you don’t create any air bubbles in the wax. Only pour ¾ of the way to your desired candle level.
Wait and repour. Wait several hours until all of the wax has cooled in your container. There will probably be a concave divot in the top of the wax. At this point, pour the rest of your wax the remaining ¼ distance to level out the top of your candle.
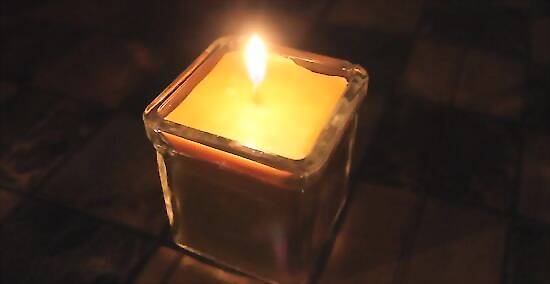
Finish your candle. When the wax has completely set, you can untie the wax from the pencil at the top of your container and trim to size. Burn your new candle around your house to add style or light to your décor.
Making a Pillar Candle
Decide on your wax. Pillar candles are the largest of the candle varieties and require a lot of wax as a result. Decide: do you want colored wax? Would you like it to have a scent? Do you prefer beeswax, citronella, paraffin, or another variety of wax? Consider your desired use for the candle before making your choice.
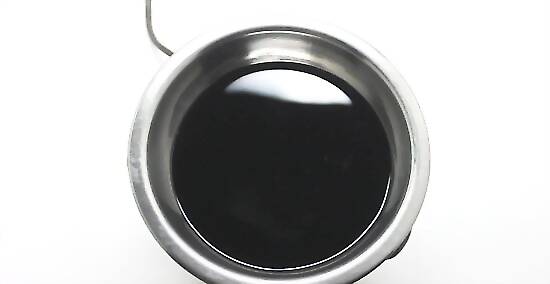
Melt your wax. Use a double boiler to melt your wax. If you don’t have a double boiler, use a glass bowl over a pot of boiling water with your wax placed in the bowl. When the wax reaches a temperature of 180–190 °F (82–88 °C), it is ready to be poured.
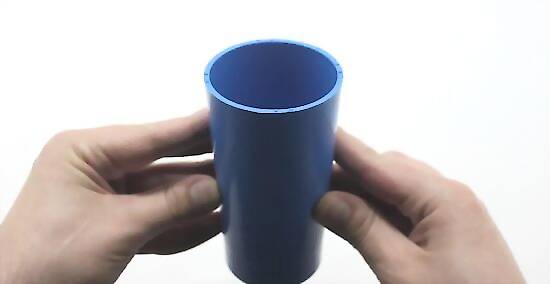
Set up your mold. In order to create a pillar candle, you will first need to create a mold. The easiest way to do this is to purchase a candle-mold, otherwise the seams might not be tight enough to form a sturdy structure. You can also choose to rubber-band (very tightly!) Wood pieces to form a box mold.
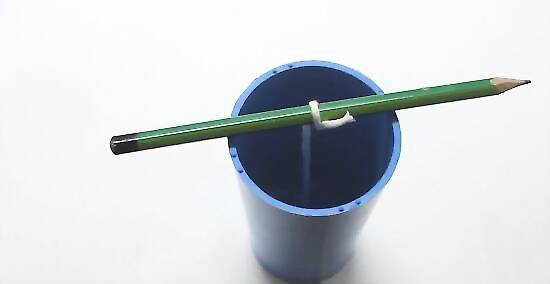
Add your wick. As a result of their height, pillar candles need a long wick. Add a pre-tabbed wick to your candle, making sure that it touches the bottom of your mold. Wrap the loose end around a pen or pencil and rest it horizontally across the top of your mold, to keep the wick from slipping into the wax.
Pour your wax. Begin pouring the wax from a space slightly above the top of the mold, being careful not to pour too quickly. Leave ¼ of your wax out of the candle, so that you can add it later and fix the shape of the pillar.
Wait and repour. After your candle has had time to settle and cool, a valley will have formed in the center of the wax. At this time, heat your remaining wax to pour back into the mold and cover up this concave indent.
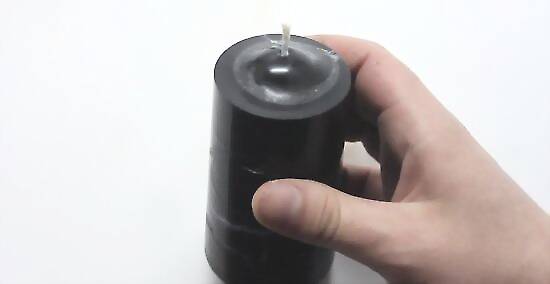
Remove your mold. Wait 2-4 hours at least to allow the entire candle to cool and solidify. Untie the wick from your pencil at the top and remove your mold from the exterior of the candle. Trim any excess wick from the top or bottom, and enjoy your new pillar candle!
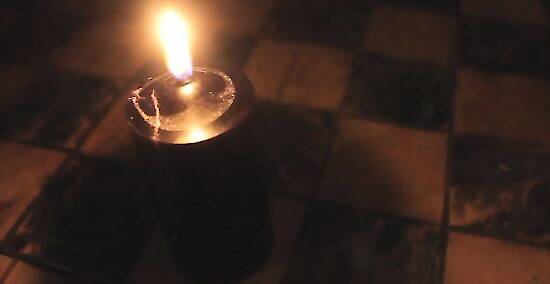
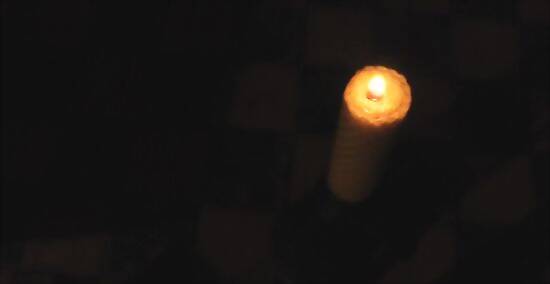
Find a clear area and try lighting the candle!
Making a Rolled Beeswax Candle
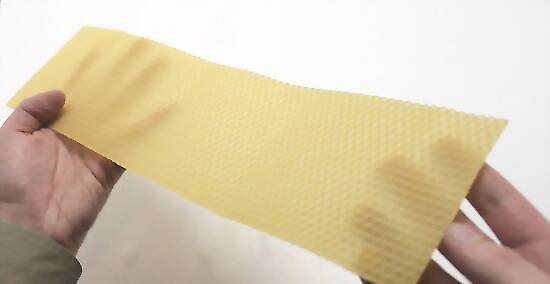
Cut your beeswax sheets. Typically, sheets of beeswax come very large and will make a rather ungainly candle. Cut your sheets to size so that they measure 4 inches (10.2 cm) x 16 inches (40.6 cm).
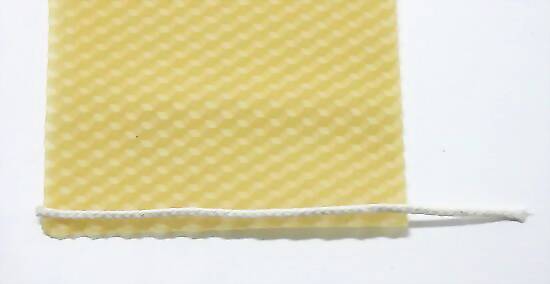
Arrange your wick. Lay your sheet of beeswax out flat on a tabletop. Place your wick as close to the edge of one end as you are able to. Leave at least an inch of the wick hanging over the top edge, while the bottom of the wick should be flush to to bottom of your beeswax.
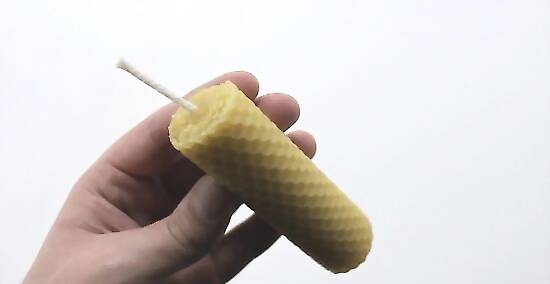
Begin rolling. Starting at the edge with the wick, roll the sheet of wax inwards. Try to roll in the same direction to avoid making the ends of the candle uneven or spiral-like. Apply gentle pressure to help the layers of beeswax to stick together.
Finish the candle. As you get to the end of the wax, use your fingers to stick the layers tightly together. Roll the candle between your hands so that the warmth of your skin softens the wax and helps it to maintain its shape. Place your new candle in your favorite candle holder and, voila! You’ve got a lovely decorative and useful addition to your home.
Making a Candle out of Wax Remnants
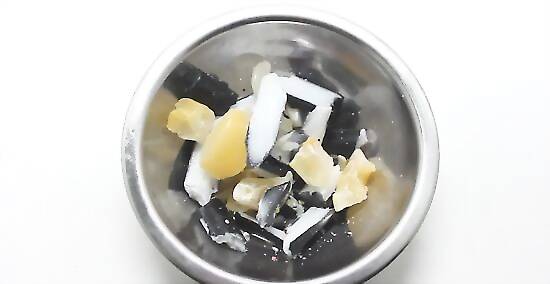
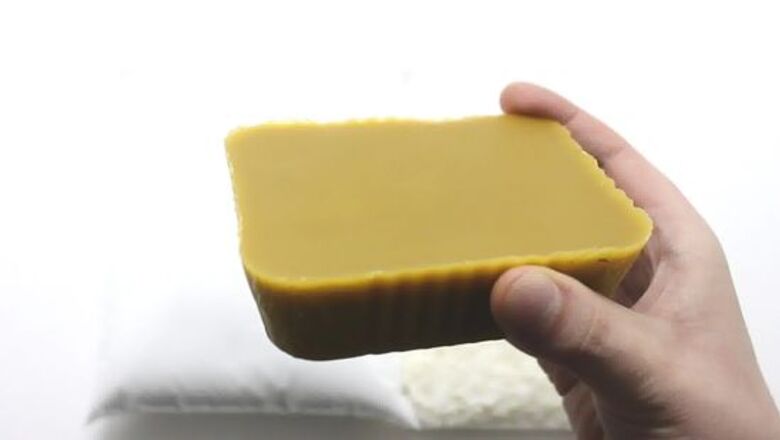
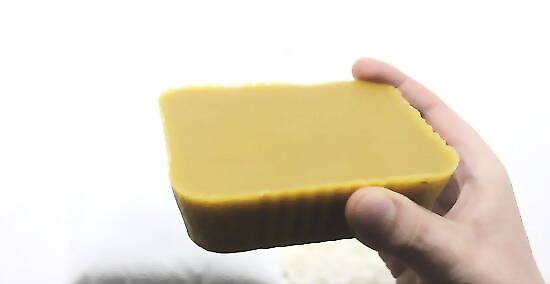
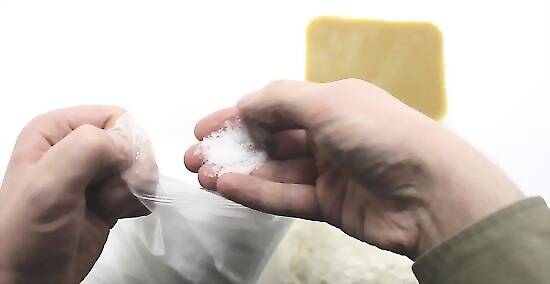
Gather your wax. Use the very last of the wax from old candles to create this layered candle. You can also use small chunks of broken off wax from other projects, but try to use the same kinds of wax together (don’t mix citronella and paraffin, for example). Choose wax tidbits that have similar scents so that you don’t create an overwhelming amalgamation of perfumes with your candle. Avoid mixing several contrasting colors of wax or else you will create a muddy brown or grayish color. Stick to waxes in the same color and value range.
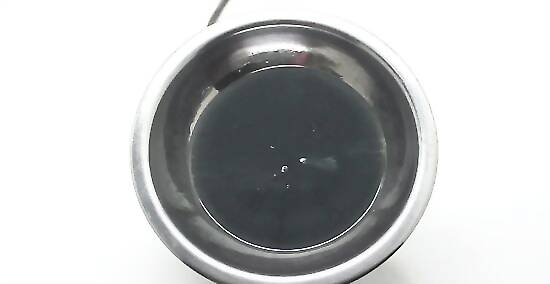
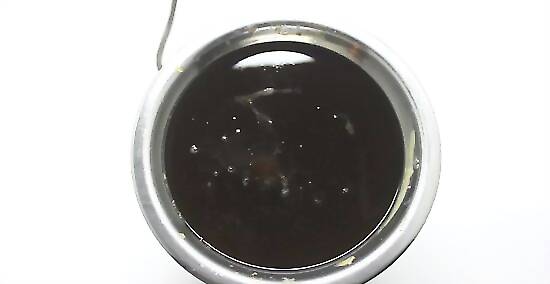
Melt your wax. Break your wax up using a butter knife, and place it in a double-boiler to melt. Wait until the wax reaches a temperature of approximately 185 °F (85 °C) before removing it from the heat source.
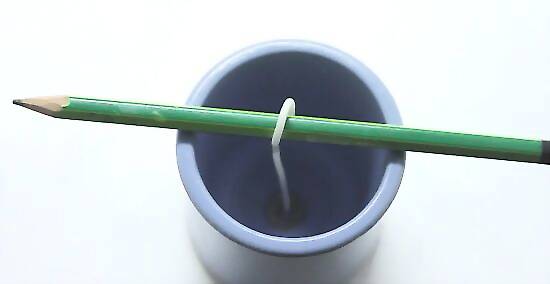
Prepare your container. Place a wick with a metal tab in your container, and wrap one end around a pencil or pen to rest over the opening. Heat the container up in the oven at 150 °F (66 °C) to help reduce the number of air bubbles in your candle.
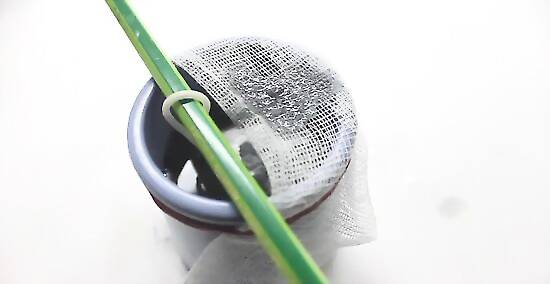
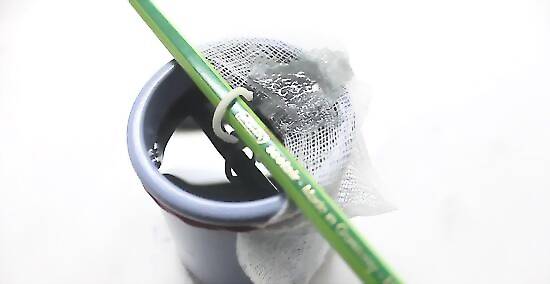
Pour the wax. Use a cheesecloth to filter out any old pieces of wick or metal that might be in your recycled wax. Pour the wax over the cheesecloth slowly into your container. Avoid pouring directly over the wick or the edge, but use a steady, constant stream into the base of the container. Save ¼ of your wax to pour again later.
Wait and repour. When the wax has hardened completely in your container, reheat your remaining ¼ of wax to melt. While the candle hardened, a divot was likely formed near the base of the wick. Pour the rest of the wax over the top to fill in this indentation.

Finish your candle. Remove the pencil or pen from your wick and trim it to length. Once your candle has hardened completely, it is ready for use! Enjoy your recycled candle in your home, or gift it to a friend.


Comments
0 comment