views
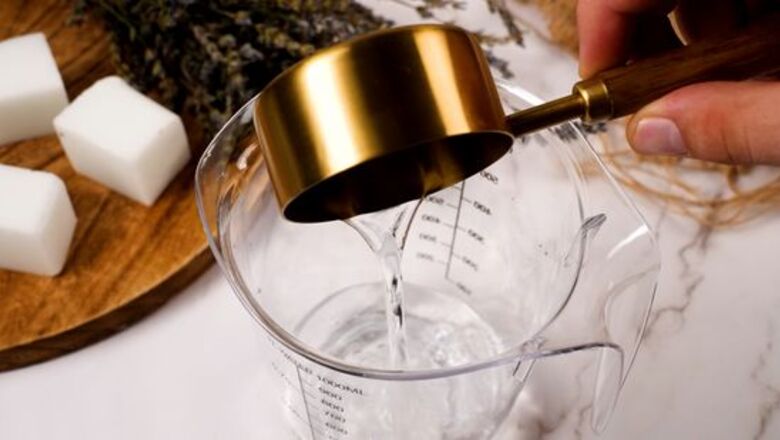
Fill a pitcher with distilled water.
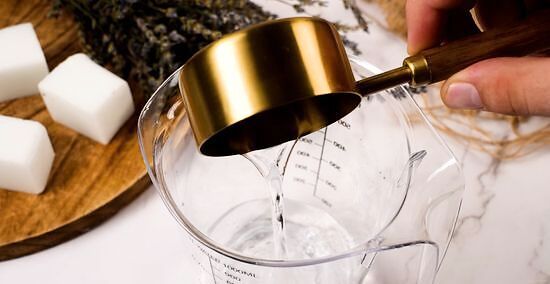
Pour 4.5 fl oz (130 mL) of distilled water into a stainless steel pitcher. Before starting any DIY project—safety first! Slip on a pair of goggles, gloves, and a long-sleeve shirt to protect your skin. Then, pour 4.5 fl oz (130 mL) of distilled water into a stainless steel pitcher. Use a thick, durable plastic pitcher if you don’t have one made of stainless steel. Keep in mind lye can burn through some plastics and aluminum. Generally, polypropylene plastic (PP#5) is safe to use.
Add lye to the pitcher.
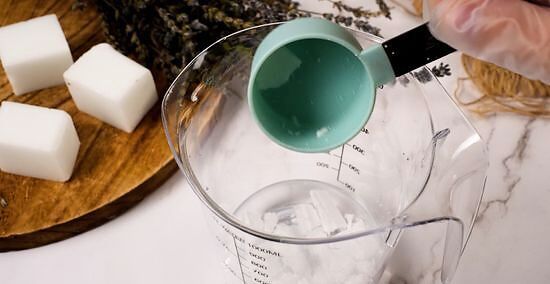
Carefully stir in 2.14 oz (60 g) of food-grade lye to the water pitcher. To prevent a chemical reaction, sprinkle lye into the water—do not mix water into lye because it can overheat and explode. Use a silicone spatula to stir the water as you pour the lye in. Continue stirring to dissolve the lye. Lye is found in every kind of soap. It's essential to the soap-making process because it helps blend oils and water to make soap. While lye is a natural ingredient, it isn’t technically organic—but it is one of the new non-organic ingredients the USDA allows within their organic standards. If you’re uncomfortable handling lye, consider purchasing a pre-made soap base (which already has the lye incorporated) to make melt and pour soap. Lye is caustic. Avoid getting it on your skin or near your face or breathing in its fumes by working near an open window or using a fan to circulate the air. If you have breathing problems or are concerned about breathing in the lye fumes while working with it, wear a respirator mask. Having accurately measured ingredients is crucial to making soap successfully. Mismeasured ingredients can keep the soap from solidifying or curing properly.
Cool the lye for 40 minutes.
The natural chemical reaction of lye with the water will be incredibly hot. Be careful when handling or transporting the solution. When mixed with water, lye can reach temperatures as high as 200 °F (93 °C). Even after you have let it cool down, the solution will still be considerably hot—around 100–110 °F (38–43 °C). Do not use any container, utensils, molds, or pitchers used to measure or make the soap to work with food, even after you wash them. The contamination caused by the lye makes these materials unsafe for food prep or consumption.
Heat the coconut oil.
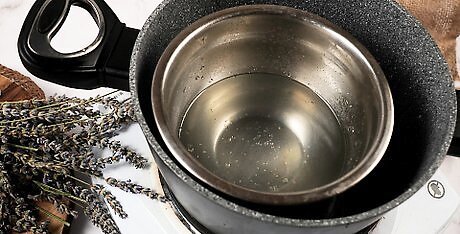
Melt coconut oil in a double boiler until it's liquid. Stir 2.5 fluid ounces (74 mL) of coconut oil over low heat to keep it from bubbling or burning. Once all solidified remnants of the oil have melted, remove it from the heat. A similar product to coconut oil is babassu oil, vegetable oil from the babassu palm in South America. Use equal amounts of this oil if you’re allergic to coconut oil or want to try something different.
Combine olive, castor, and coconut oil.
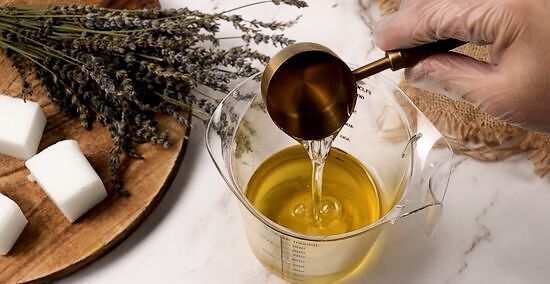
Mix the oils in a second stainless steel pitcher to make the soap batter. Add 12 fluid ounces (350 mL) of olive oil, 1.5 fluid ounces (44 mL) of castor oil, and 2.5 fluid ounces (74 mL) of melted coconut oil. The castor oil will create a lather in the soap bar, while the olive oil will soften and condition your skin. Coconut oil will help harden the soap. The coconut oil will be hot, so be careful when mixing it with the other oils.
Mix the lye and oils.
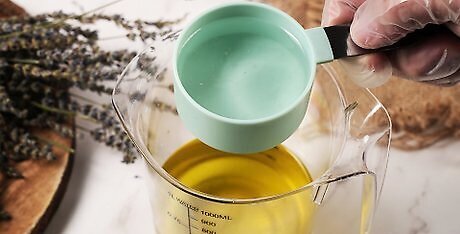
Add the lye solution to the pitcher of oils to make the soap batter. Pour in the mixture slowly to avoid spilling it. Be careful not to burn yourself, as the lye and the oils are hot. The temperature of the oils and lye solution should be around 100–110 °F (38–43 °C). Use a stainless steel thermometer to check this before mixing the two solutions. If the oil temperature is lower, heat it in the double boiler until the temperatures are the same.
Stir the solution for 30 seconds.
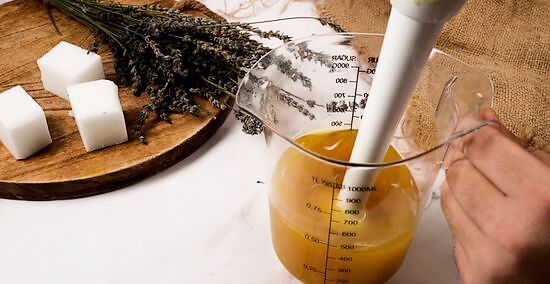
Mix the solution with a stainless steel spoon to combine the ingredients. Stir the mixture gently with a stainless steel spoon for 30 seconds. This will give the lye and oils a chance to mix before you blend them. If you do not have a stainless steel spoon or one with a long enough handle, use an immersion blender in the off-position to mix the ingredients gently.
Add herbs or clay to color your soap.
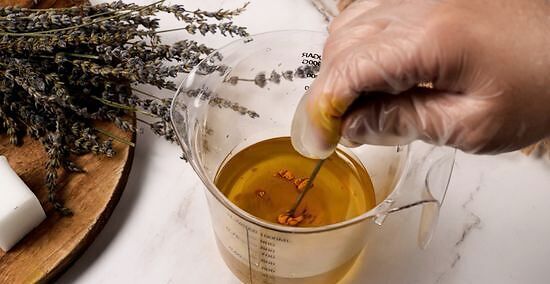
Clay minerals, flowers, or herbs add color and exfoliation. Pick ingredients you love! For instance, you could add a dash of cosmetic clays to change the soap color to pink or green. Or, you could add petals and leaves from your favorite flowers or herbs for more vibrant colors and interesting textures. However, if you love a yellow or cream color, you can skip this step since the olive oil will tint your soap. Herbs suitable for use in soap that are both beautiful in appearance/texture and good for your skin include calendula flowers (not to be confused with marigolds), geranium flowers, Irish moss, comfrey, carrot seed, and chickweed. If you want your soap bar to exfoliate your skin, consider adding coffee grounds, seaweed, or oatmeal.
Stir the solution with an immersion blender.
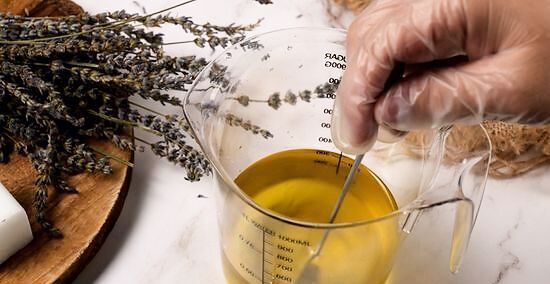
Blend the solution for 1 minute. Submerge the bladed portion of the immersion blender into the mixture before turning it on; otherwise, the immersion blender will fling the solution out of the pitcher. Slowly rotate the immersion blender around the base of the pitcher to blend the solution. If your immersion blender has multiple speed settings, place it on the lowest setting to prevent air bubbles.
Stir and blend again to thicken the soap.
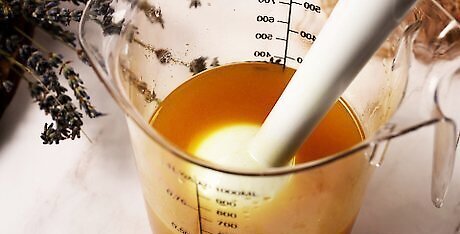
Alternate between stirring and blending the batter to make trace. Use the immersion blender in the off-position to stir the batter and avoid any driplets or spillages. Continue this process for about 10-15 minutes. For soap making, thickened soap batter is called “trace.” This means that the batter is thick enough for you to drip some onto the surface of the batter and have it remain on the surface. When a soap reaches this consistency, it no longer needs to be mixed and is ready to be poured into the mold.
Add essential oils for a natural fragrance.
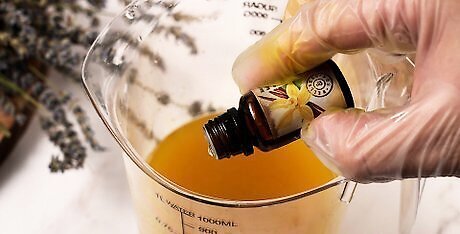
Mix in 1 US tbsp (15 mL) of your favorite oils. Stir them into the batter using your stainless steel spoon. If the scent is not strong in the batter, add more in small increments until you can smell it. Some common essential oils to add are vanilla, almond, lavender, lemongrass, geranium, or peppermint. Myrrh resin or frankincense essential oil are other suitable options for adding to soaps.
Pour the batter into a silicone mold.
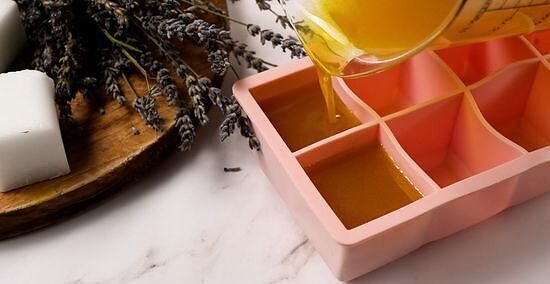
Use a 4 in (10 cm) silicone soap mold. This will create 4 rectangular bars of soap. A standard mold will have an approximate 4 by 4 in (10 by 10 cm) length and width, and 3 in (7.6 cm) height. Consider getting a silicone mold with a fun pattern or design to personalize your homemade soap. You can also use a loaf mold that is not sectioned off and cut the soap into individual bars later. Don’t use muffin tins or baking pans you already own since the batter can ruin them.
Wrap the mold for 24 hours.
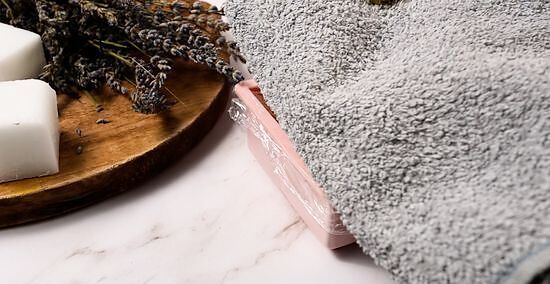
Cover the filled mold with freezer paper and a towel to trap the heat. Leave the soap covered for at least 24 hours, but check it periodically to prevent overheating and cracking. If it develops cracks, leave it covered, but move it to a cooler location like a dark closet or a cool basement. Use freezer paper over standard wax paper, as freezer paper is thicker. Wax paper might melt against the heat of the soap batter. Alternatively, you can use parchment paper.
Allow the soap to harden for 2-3 days.
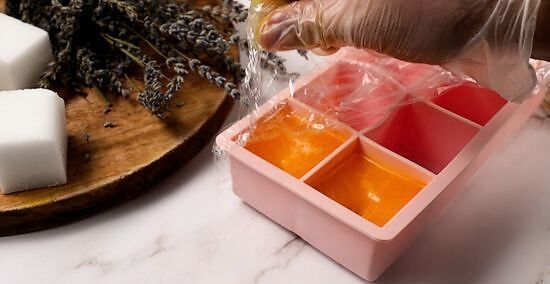
Uncover the mold and leave it to firm up. Check on the soap at least once daily to ensure it’s hardening properly and has not been disturbed. You will notice that the texture of the soap batter will gradually change to a gelatinous state over the 3 days. By the third day, it should seem fairly firm if you touch it with your finger. If your soap isn’t hardening, it may be a result of too much or too little lye, or too much oil. Double-check your measurements. If you’ve used too much lye, unfortunately, you’ll have to scrap the batch. If there’s too little lye, test it with pH strips and add 10 g (0.35 oz) of lye in 20 mL (0.68 fl oz) of distilled water. Add it slowly and test regularly until the pH is between 9 and 10. If you’ve used the correct amount of lye, add 15 mL (0.51 fl oz) of distilled water to a batch. Cut or grate the failed batch and add it to a slow cooker. Pour in the new solution and let it melt on low for 2 to 3 hours. Adding more liquid as needed. Then, pour it into the silicone mold and try again!
Cure the soap bars for 6-8 weeks.
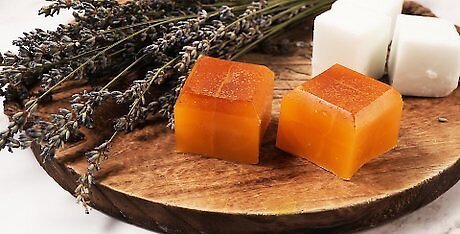
Pop the soap bars out of the silicone mold to cure them. Place the bars away from direct sunlight and leave them alone for 6-8 weeks. The air will dry out and fully harden the soap. After that time, the soap will be ready for you to use and enjoy! Store your soap away from direct sunlight and in dry, well-ventilated areas for up to 1 year. Soaps that use a higher water ratio to olive oil will only need to be cured for 4-6 weeks instead. If you used a loaf silicone mold, use a knife to carefully cut the loaf of soap into 4 equally sized bars before curing them.


Comments
0 comment