views
Sketching the Sunflowers

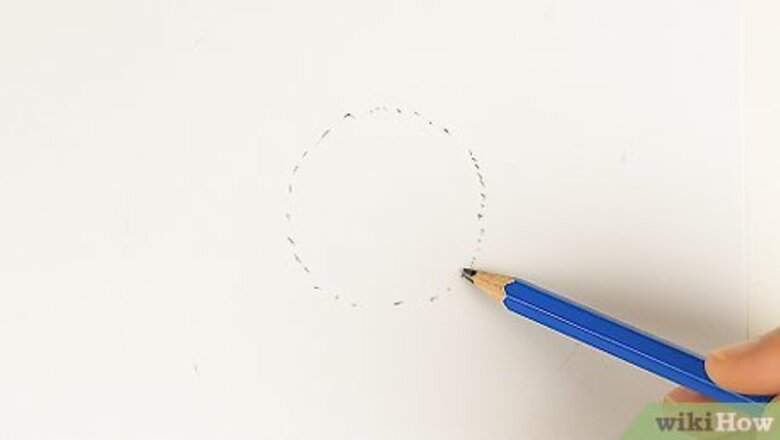
Start with a circle or the letter “C.” To start your sunflower drawing, you should begin with the center of the first flower. If you want to paint the flower from the front, make a circle, using dotted lines rather than a solid line. For a sideways flower, create a thin letter “C” so the flower’s center has more of an oval shape. When you’re trying to decide how large to make your circle or “C,” take the size of the canvas into consideration, as well as many flowers you want in your finished painting. If you’re painting a single sunflower, you should probably make the center fairly large. If you’re creating a sideways sunflower, make sure to leave the oval open to create the “C” shape. You’ll use that open area to add petals.
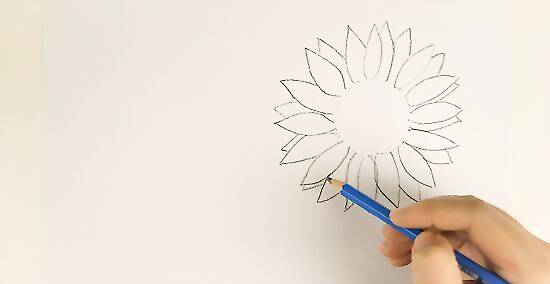
Add the petals. Once you have the first sunflower’s center drawn, you can start to add the petals. The easiest way to create the right shape is to make triangles that have all of the sides slightly curved. Keep in mind that all of the petals don’t have to look identical, though. You’ll get a much more realistic looking sunflower if they’re all slightly different. Line the entire center with petals. Make sure to vary the length of the petals and to create some that overlap. For the best looking sunflower, create at least two layers of petals. You can have the tips of the back row just peeking out over the first layer. If you’re creating a sunflower that faces forward, the petals will fairly large. On a sideways facing sunflower, the petals near the open area of the “C” will be smaller than the others that line the center.
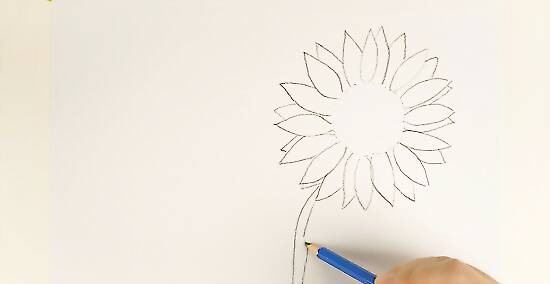
Draw the stem. Once you’ve finished drawing in all of the petals, you can add the stem. Depending on whether you want to paint a sunflower that’s growing outside or that is cut inside a vase, you may want to create a stem that’s slightly curved near where it attaches to the bloom or one that is entirely straight. Have the stem go all the way to the bottom of the sketch. Let the size of the sunflower’s size help guide the thickness of the stem. Larger blooms require a thicker stem to support them.
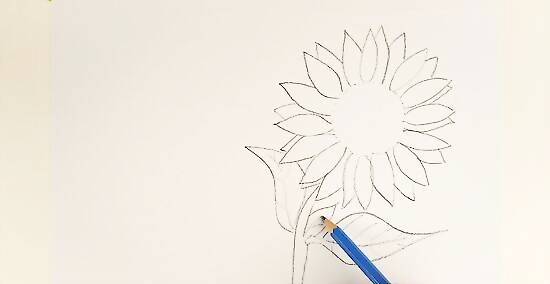
Mix in some leaves. To give your sunflower a more realistic appearance, it helps to add some leaves to its stem. You can place them wherever you like on the stem, but start with a curved line to create the top edge of the leaf. For the bottom edge, though, make the line slightly ridged so it resembles a real leaf. Depending on the size of your sunflower, it may be enough to add one leaf to the stem. However, if the stem is very long, you may want to add multiple leaves, placing them on both sides.
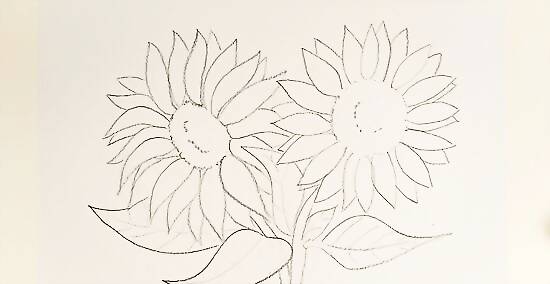
Add more flowers. When you’re happy with the sunflower that you’ve drawn, you can decide whether you want to paint additional flowers. You can use the same techniques to draw them as you did for the original flower, though you’ll need to vary the size and the direction that they’re facing. Adding some in the foreground and others in the background can help give the finished painting more dimension. Keep in mind that background flowers will be smaller than the original flower, while those in the foreground should appear larger. You don’t have to add complete flowers. You can just sketch in top, bottom, or side of a sunflower to help fill out the painting.
Painting the Sunflowers
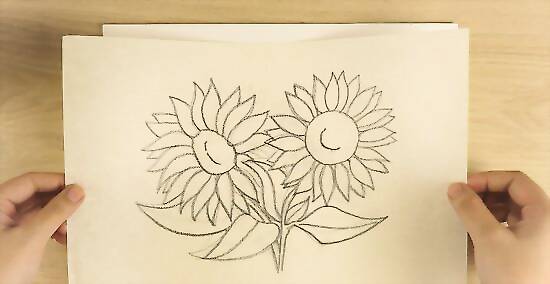
Transfer your sketch to the canvas. Once you’ve finished your sketch of the sunflower(s), you need to transfer it to the canvas before you begin painting. The best way to transfer the sketch is with artist’s transfer paper, which is coated with graphite that transfers to the canvas when you trace over it. Take a piece of transfer paper that the same size as your drawing, and tape it to the canvas, with the graphite side face down. Place the drawing on top of the transfer paper, and trace it onto the canvas with a pencil. It’s best to use artist’s archival tape to attach the transfer paper and drawing to the canvas because it is easy to remove and doesn’t leave any residue behind. Make sure that you position your transfer paper and drawing on the canvas in the exact spot that you want to paint your sunflowers. A mechanical pencil usually works best for tracing the drawing because you don’t have to worry about the point getting dull.
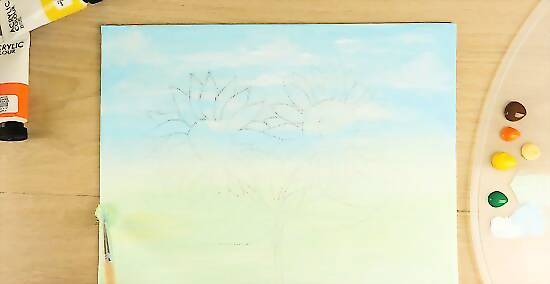
Paint the background first. After you transfer the drawing to the canvas as a guide for your painting, start by painting the background behind the flowers first. You can use the larger brush to fill in most of it, but take care around the flowers and other items that you might have included in the drawing, such as a vase. Around those areas, you may want to switch to a smaller brush. If you’re using multiple colors of paint to get the right shade for the background, you can usually mix them directly on the canvas. However, if you’re making a drastic change, such as taking a color extremely dark or extremely light, you may want to mix the paint on a palette first so you can be sure to get the right color.
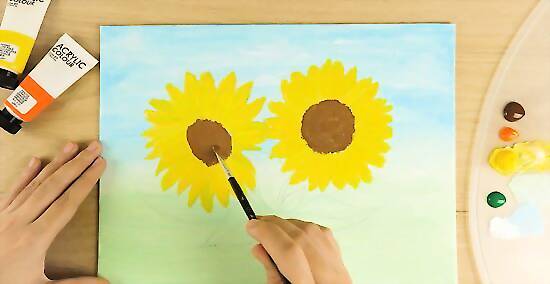
Fill in the petals and center with a base color. With your smallest brush, start filling in the petals around your sunflower(s). In most cases, it’s best to start with your brightest yellow shade for this step. Next, use a similarly sized brush to fill in the center of the sunflower with a brown shade. Just as with the yellow, it’s best to start with a lighter brown or tan color. If you don’t have a yellow or brown shade in acrylic paint that is light or bright enough to use as a base color, thinning a darker color with water can help lighten it. With oil or acrylic paint, you can mix in some white to lighten the yellow and brown shades.
Shade the petals and centers. To give your painting dimension, you’ll want to incorporate other shades of yellow on the petals. Shade some areas with mid-tone and dark yellows so the petals don’t look as flat. Do the same with the sunflower’s center by working in mid-tone dark shades of brown. To decide where to use the darker shades, consider where the light would hit the flowers and where shadows might fall. You can also use a small amount of white on the petals to act as a highlight. Create subtle blending by placing two very similar shades right next to each other. For example, if you want the center of the petal to be a little darker, you might place the lightest yellow on the outside, then brush a slightly darker yellow next to that. Continue doing that all the way to the center of the petal. Depending on the look that you’re going for, you may also want to incorporate subtle touches of red and orange paint in the petals’ shading.
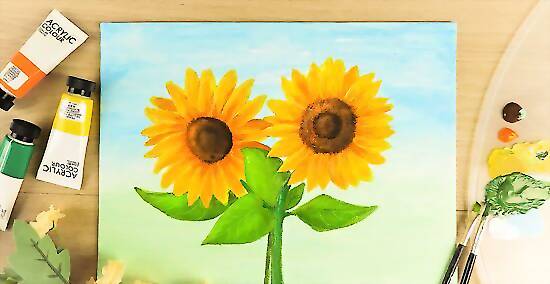
Finish the stem and leaves. The final step for your sunflower painting is to fill in the stems and leaves. You usually want at least two shades of green: a brighter green and a darker forest green shade. Use your smaller brush to fill in the stems and leaves to keep your strokes more precise.


Comments
0 comment