views
Setting up Your Gear
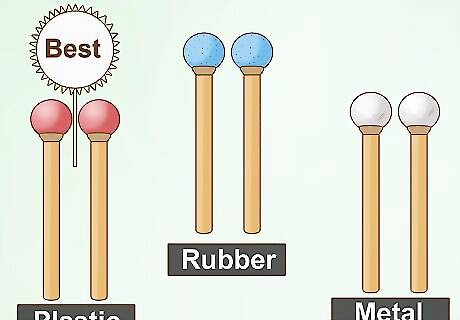
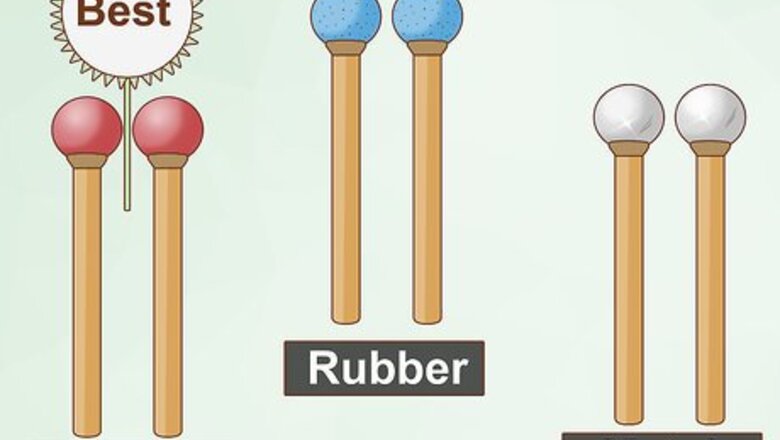
Buy a pair of plastic mallets. A set of good mallets will help you bring out the best sounds from the instrument. Mallets can be found packaged with the instrument or at music stores. Many mallet heads are made of plastic, while others are made of nylon, rubber, or metal. Plastic mallets are the perfect choice for beginning players. Plastic and nylon mallets are a useful tool for all players. Metal mallets produce a better quality sound but require more of a deft touch.
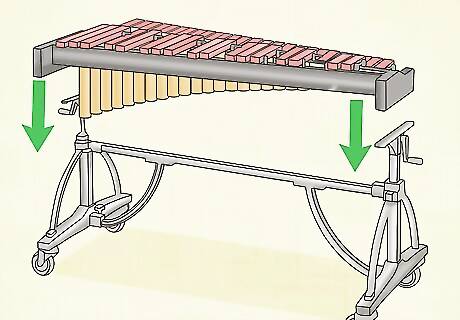
Rest the glockenspiel on a stand or table. Many kids play a glockenspiel while sitting. As you advance, the standard is to play the glockenspiel standing. The keys are set in a frame which makes the instrument ideal for the ground or another flat surface. Glockenspiels may also be placed on larger stands so you can play while standing. Find these at music supply stores.
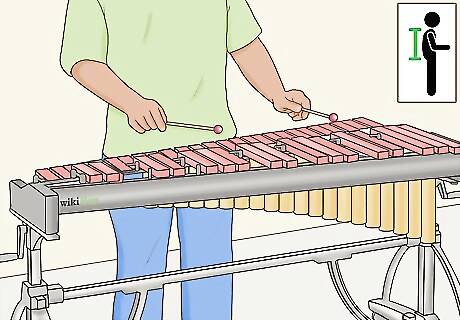
Stand or sit up tall. Before you play, make sure you feel comfortable. Bending over the keys is painful and sets a bad habit for beginners. Keep your back straight as you reach your hands out towards the keys. Adjust the glockenspiel until you can reach all of them without bending over or reaching up.
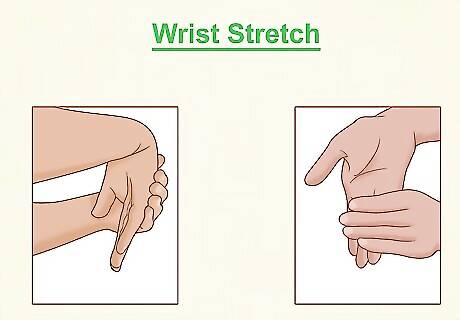
Relax before playing. Sometimes a tough day or nervousness can spill over into playing. Before you begin, take the time to shake out your arms. Practice turning your wrists and shrugging your shoulders until you feel loose. When you pick up the mallets, your grip should not feel tight. Tenseness will wear out your arms. You’ll also strike the keys too hard.
Using the Mallets
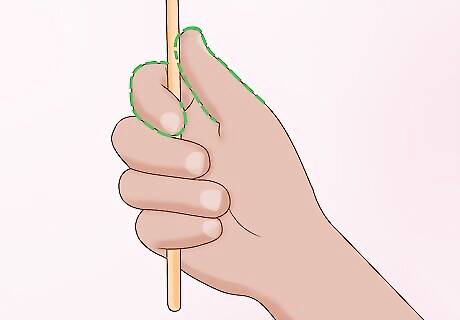
Pick up the mallets between your thumb and index finger. Holding a mallet is like holding a drumstick or bike handle. Use your thumb to support the outside of the mallet. Wrap your index finger around the other side. This finger should not be on top of the mallet. Move your other fingers under your index finger. Your grip should be about halfway up the mallet shaft. One way to check your grip is to open up your hand. Try to balance the mallet on your index finger. The spot where the mallet feels balanced is where your grip should be.
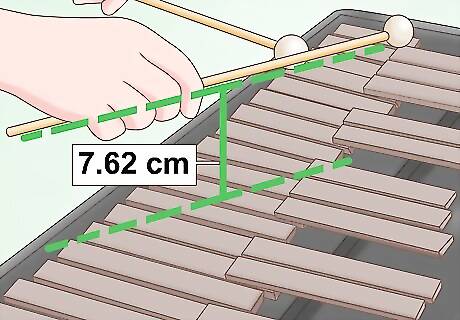
Hold the mallets straight and over the glockenspiel. Stay relaxed as you move the mallets towards the glockenspiel. Hold the mallets about three inches (7.62 cm) above the keys at all times. Adjust your hands so that the mallets are level with the ground.
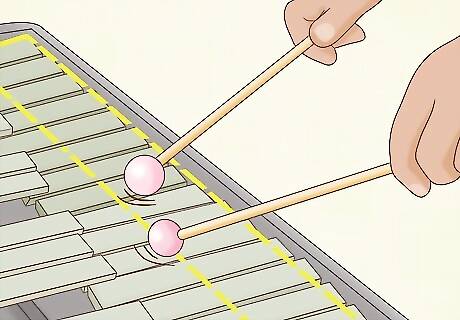
Aim for the middle of the bar. Try striking one of the keys. Listen as the note vibrates cleanly. Striking near the ends of the bars produces a more muted sound.
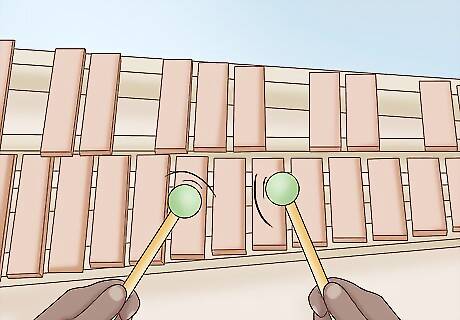
Bounce the mallet off the bar. The key to good sound is a gentle strike. Don’t use force. Instead, bring the mallet down gently and allow the impact with the bar to bounce it back into position. Striking too hard will also cause the bar to vibrate too much and produce a muted sound.
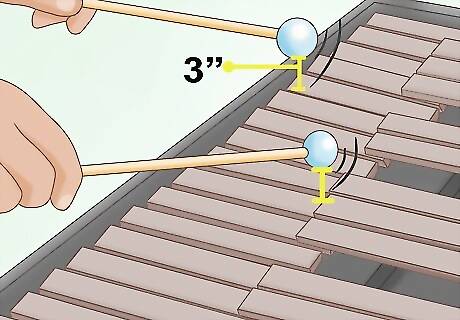
Keep the mallet near the bars. Don’t draw back when the mallet rebounds off the bar. Return it to a holding position right above the keys. As long as you keep the mallets about three inches above the keys, you’ll be able to play notes in rapid succession.
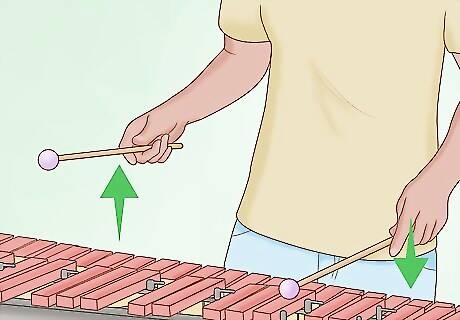
Alternate hands when playing notes. Strike the second note with your other hand. If you hit the first one with your left, hit the next one with your right. If you hit it with your right, switch to your left. You will need to cross over your arms as you play. As you advance, you may need to play two notes with the same hand. You do this to minimize crossovers between your hands. Alternating technique is needed for playing two nearby notes very quickly.
Mastering Playing Techniques
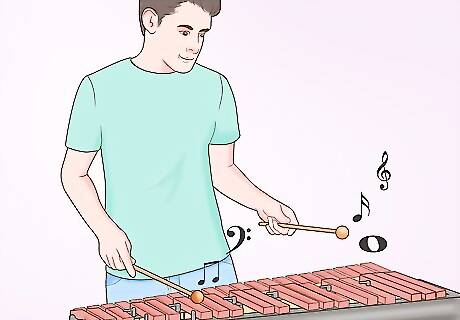
Memorize the sounds of the main keys. Learning the sound each key makes is enough to start you playing. Hit the keys one by one, familiarizing yourself with the tones. Larger keys are on the left side of the glockenspiel. These produce deeper, lower-pitched sounds. Smaller keys produce higher, lighter sounds.
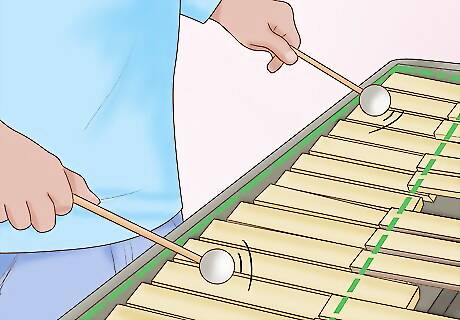
Listen to the sounds of the second row of keys. Larger glockenspiels feature a second set of keys. This set is above the regular keys and has less bars. These are sharp and flat notes. Strike these one at a time so you can learn what sound they make. They will make a sound that’s between whatever two bars on the lower set of keys they are positioned over. Try striking the lower bars they’re near. Start with the left bar in the bottom row, then strike the small key in the top row, and finish with the right bar in the bottom row. You’ll hear how the tone gradually increases as move right on the glockenspiel.
Dampening. The notes on the glockenspiel sustain for long periods of time. To stop the sound, you use a technique called “dampening”. Simply apply pressure on the note—with your hand or mallet—and the sound will stop resonating.
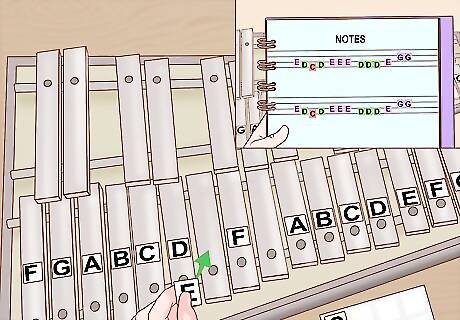
Label the keys to memorize the notes. Learning the notes the keys represents will teach you how to read music. You can write the notes on small stickers and place them on the keys. On an eight-key glockenspiel, the largest key on the left is a C key (middle C, or C4 on the piano). Larger glockenspiels often start at a low A note and end on a high A note. The notations such as C or C4 represent notes on the musical staff. The notes are named by letter. They go A-B-C-D-E-F-G and then start again at A. The sharp notes are represented like C#. Flat notes are represented like D♭. C# and D♭ sound the same and would be found on the small key between the C and D keys. Investing in a book on how to read music is very useful for learning. These books typically have a few simple songs you can sound out while memorizing what notes to strike.
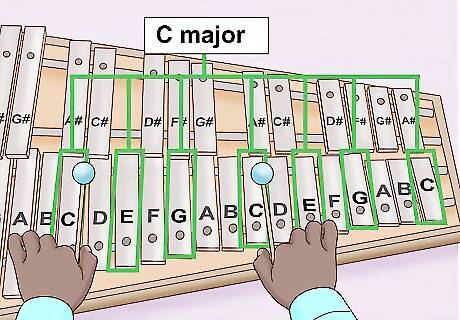
Practice playing scales. Scales are when you play up or down the glockenspiel keys. Start at one end and play all the way up to the other. Then reverse direction and go back to the beginning. Alternate the hand you use to strike each note. This is a great way to get used to crossing your arms and increase your playing speed. You can also try playing the individual notes of chords. The C Major chord arpeggio is C, E, G, C, E, G, C. Play the notes in order to practice your playing motion while learning the sounds of the notes.
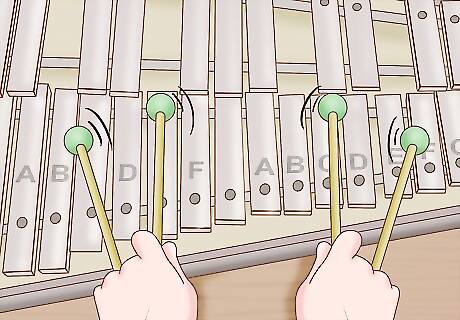
Grip two mallets in one hand to play extra notes. This grip is rarely used on a glockenspiel, and is meant for marimba, and vibraphone. Set the mallets down and cross the shaft of the one closest to you over the other one. Use your pinky, ring, and middle fingers to pick up the mallets. Place your thumb and index finger between the mallets. These two fingers adjust how close together the mallet are. You’ll be able to play two notes with one hand. You can use your other hand regularly or hold two mallets with it to play four notes at once. This grip is called the traditional cross grip and is commonly used outside of America. Many American players are taught the Burton grip. The mallet shaft farthest from you crosses over the other one. Your index finger goes between the shafts. Your thumb stays on the outside. A third grip is the Stevens grip. The mallet shafts do not cross. Place one mallet between your middle and ring fingers. Use your pinky and ring fingers to hold it. For the other mallet, set the bottom of the shaft in the middle of your palm, resting it against your index finger, then pinch it between your index finger and thumb.
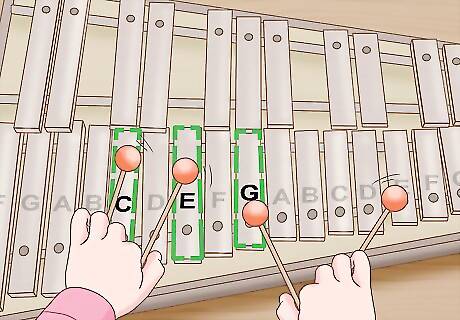
Play chords by striking three or more notes. You will need to use three or four mallets for this. A chord is produced when you sound three or more notes at once. Use your thumb and index finger to manipulate the mallets so you can reach the keys you want. Play the keys as you normally would by bouncing the mallets and returning them to position three inches above the glockenspiel. One chord you can try is the C major chord. Find a C key. Find the E and G keys next to it. Use one hand to reach either the C and E or E and G keys. Reach the other key with your remaining hand.


Comments
0 comment