views
- Open your Microsoft Word doc by double clicking the doc on your computer or going to File > Open... from the Microsoft Word app.[1]
- With your document open, go to File > Print...[2]
- Choose your printing options from the popup box that appears, and then click Print or OK.[3]
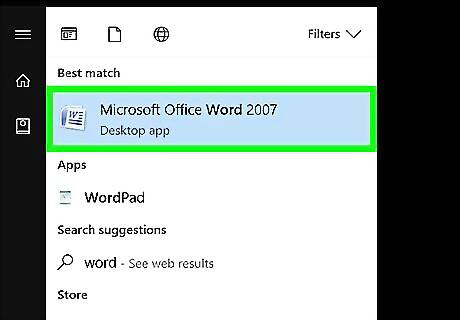
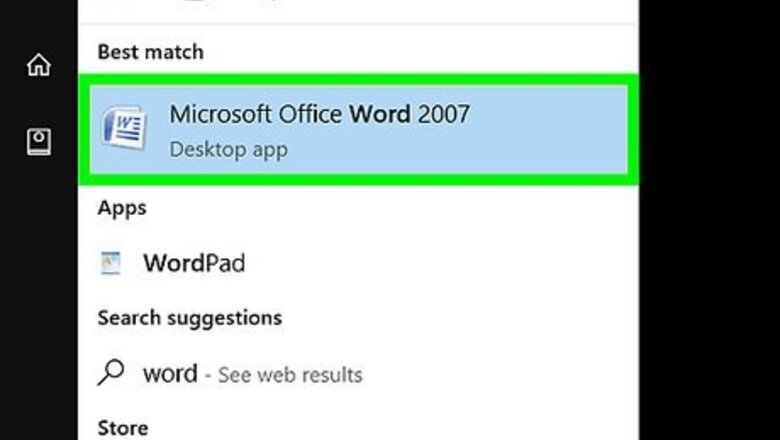
Open or create a Microsoft Word document. To do so, click on the blue app with a white document icon and bold "W," then click on File in the menu bar at the upper-left of the screen. Click on Open... to open an existing document or New... to create a new one. When you are ready to print, open the Print dialog box.
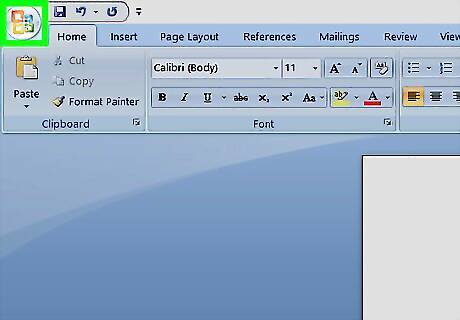
Click on File. It's in the menu bar at the upper-left of the screen or a tab at the upper-left of the window.
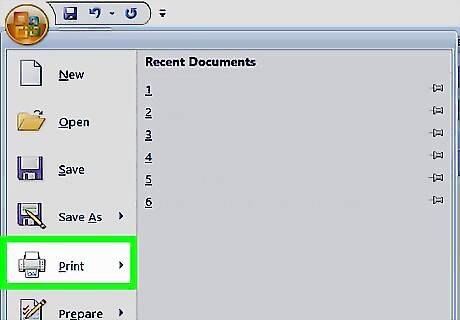
Click on Print.... The Print dialog box will open.
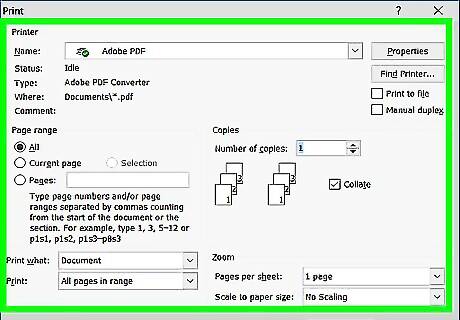
Select your printing options. Use the selections in the dialog box to select: Your default printer is displayed. Click on its name to select another printer from the drop-down menu. The number of copies to print. The default is 1; increase the quantity to print more copies. Which pages to print. The default is to print all the pages in the document, but you can choose to print the currently-displayed page, a highlighted selection, specific pages in the document, odd-numbered pages only, or even-numbered pages only. The size of paper to print on. The number of pages to print per sheet. Orientation of the paper. Select either Portrait (paper length vertical, width horizontal) or Landscape (paper width vertical, length horizontal). Margins. You can adjust the top, bottom, left, and right margins with the labeled up and down arrows or by typing numbers in the boxes.
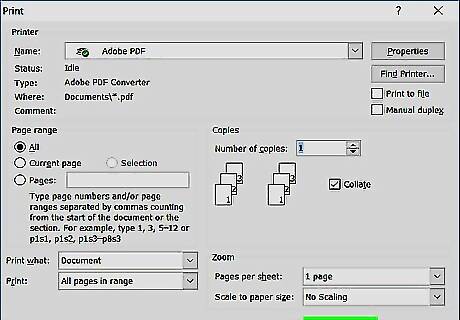
Click on Print or OK. The button label will vary based on the version of Word you're using. Your document will print to the printer you selected.




Comments
0 comment