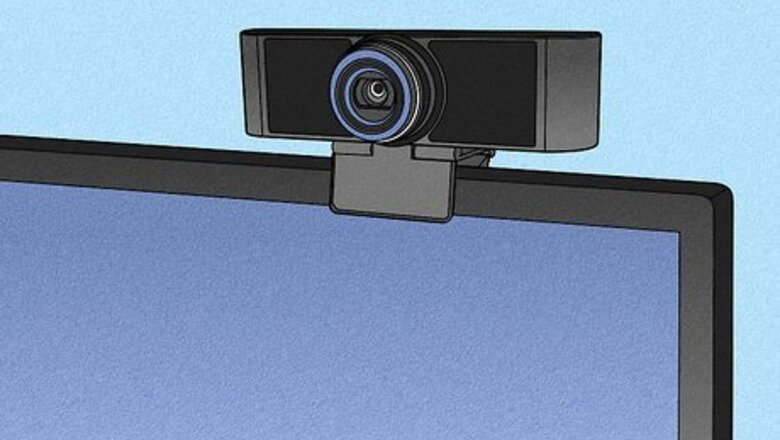
views
- Use the Windows Camera app with your webcam to record video straight to your PC.
- Record gameplay on your PC using the Windows Game Bar. Access it while gaming by pressing the Windows key + G and selecting "Record."
- You can also record your PC's screen using an online screen capture tool.
Windows Camera App
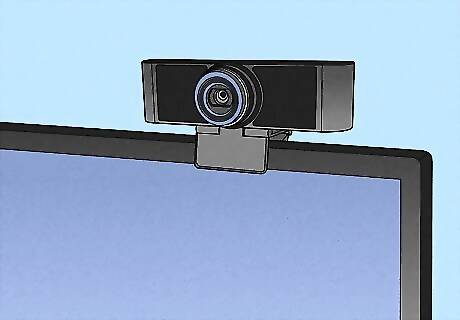
Connect your webcam to your Windows PC. If you don't have a laptop with a built-in webcam, you can connect an external webcam to your PC's USB port. If prompted to install software for your webcam, follow the on-screen instructions.
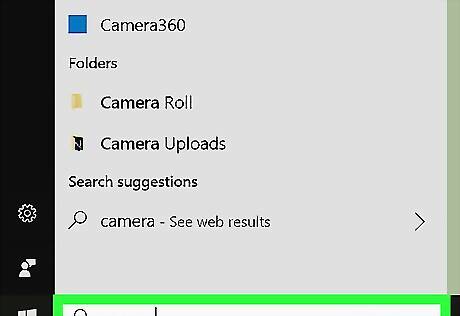
Press the Windows key on your keyboard and type camera.
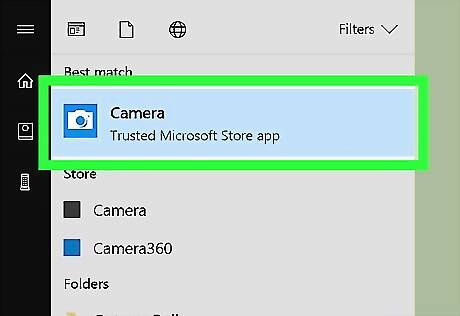
Click Camera in the search results. The camera app will open on the screen. This should automatically start your webcam. If asked to allow the app permission to access your webcam, give all requested permissions. Be sure to remove or slide off any webcam covers you might be using.

Click the video icon. It’s the outline of a video camera on the right side of the window. This switches the camera to video mode.

Click the video icon to start recording. It’s the large white version of the video camera on the right side of the window. The time count at the bottom-center part of the preview screen will increase as you continue to record.

Click the stop button to stop recording. It’s the red square on the right side of the window. The video will stop recording immediately. The finished video will be saved to the “Camera Roll” folder inside your “Photos” folder.
Online Webcam Recorder
Visit https://www.cam-recorder.com/. There are several free webcam recorders available online. We recommend this one for its simplicity and ease of use.
Grant the website access to your camera and microphone. No matter which online webcam recorder you opt for, you must grant the website certain permissions. Look for the pop-up in your browser's toolbar and click Allow to grant the site access to your camera and microphone. If you do not see the pop-up, click the lock icon next to the URL (in Google Chrome).
Click the record icon. It is the red circle at the bottom of the screen. Your recording will begin immediately, and you can see your video length at the bottom of the screen. Be sure to remove or slide off any webcam covers you might be using.
Stop your video. Click the stop icon (a white square) to complete your recording. You may also click the pause icon to stop your recording and resume.
Save your recording. You can save the video locally to your PC or upload it to YouTube.
Loom
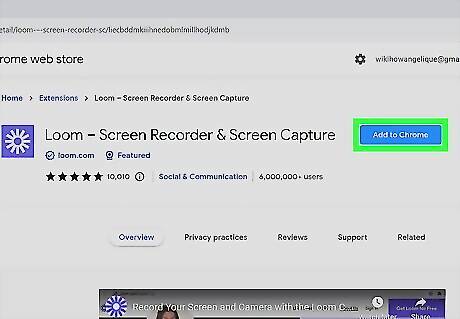
Add the Loom extension to Google Chrome. Loom is a powerful screen recording tool designed for business or creative purposes. It offers both paid and free access plans. Click here to add the Loom web extension.
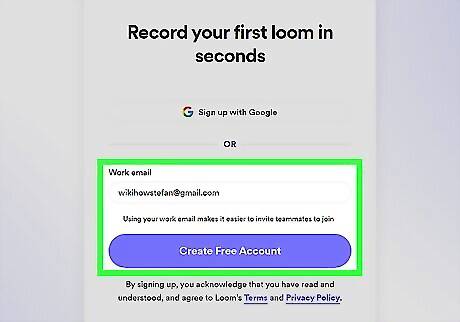
Create a Loom account. Once the extension is added, Loom will automatically invite you to create an account. The easiest way to do this is to sign in with Google.
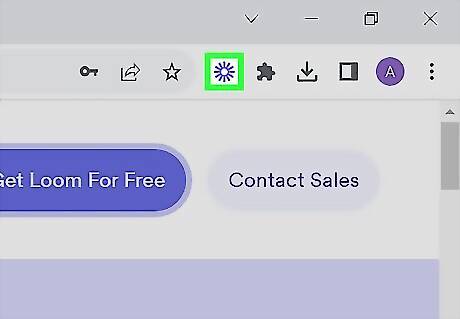
Open the Loom extension. Click the puzzle piece icon in the top-right corner of Chrome, and select Loom. A pop-up will open. Note that the free version of Loom allows you to record for up to five minutes.
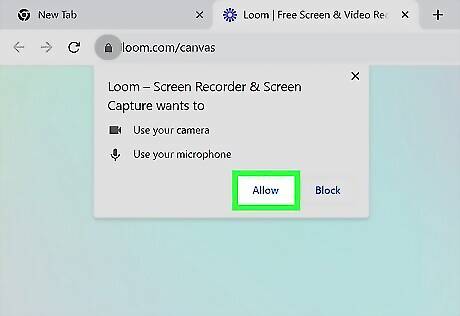
Grant Loom access to your camera and microphone. Look for the pop-up in your browser's toolbar and click Allow to grant the site access to your camera and microphone.
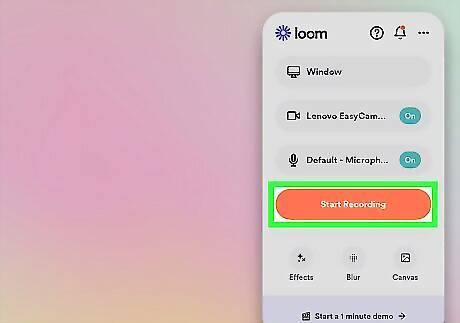
Start recording your screen. The Loom interface allows you to customize your video to suit your needs. Click Full Screen to change which part of your screen is being recorded. You can keep it as is or select "Window" or "Current tab." You may also decide to include yourself in the recording by turning on your camera.
ShareX
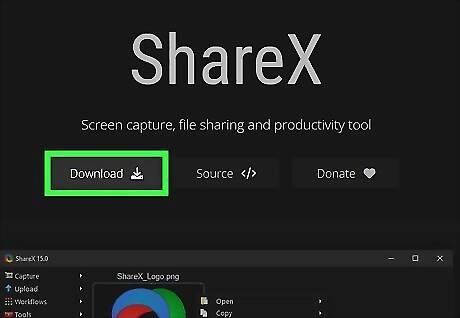
Download ShareX. ShareX is an open-source software that makes screen capturing easy. Visit https://getsharex.com and click Download to get started.
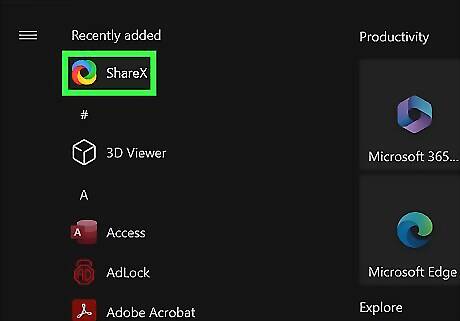
Open the app. Once ShareX has been installed, open and run it on your PC.
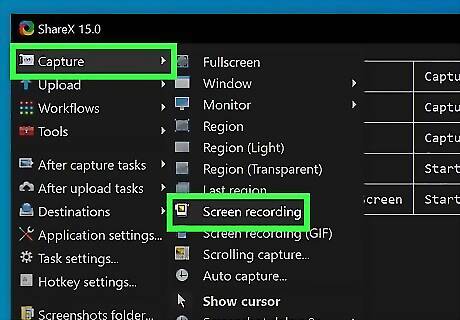
Click Capture > Screen Recording. When asked if you want to automatically download ffmpeg.exe, say yes.
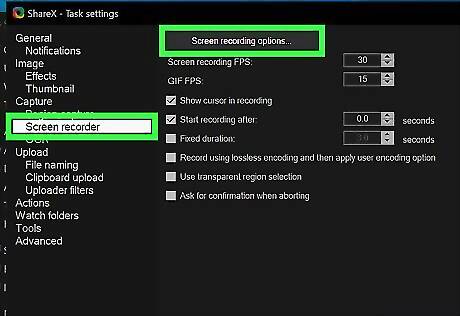
Navigate to Task Settings > Capture > Screen recorder > Option. Select "Screen-Capture-Recorder" as the video source and your PC's microphone as the audio source.
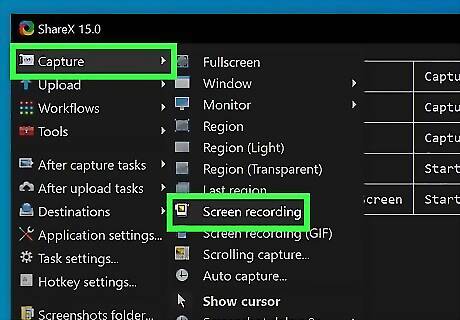
Click Capture > Screen Recording again. Now, you are prepared to record your screen, and you can even select the area of the screen to record. ShareX is a valuable tool if you want to record content off a streaming service on your PC.
Windows Game Bar
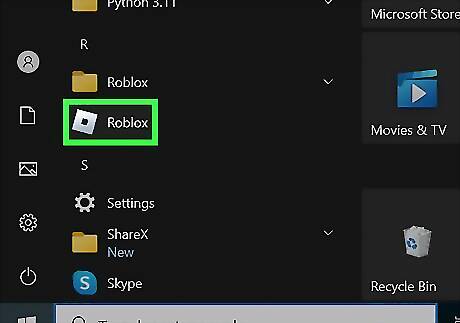
Start playing a game on your PC. Begin gaming on your PC before you can open the Windows Game Bar.
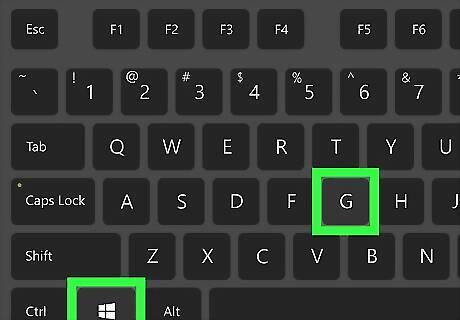
Press ⊞ Win + G on your keyboard to open Game Bar. If you have an Xbox 360 or Xbox One controller plugged into your PC, you can also press the Xbox button.
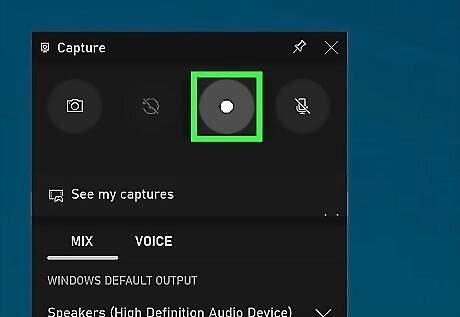
Click the Record icon. It is a red circle. For full-screen PC games, use ⊞ Win + Alt + G to start and stop the recording.
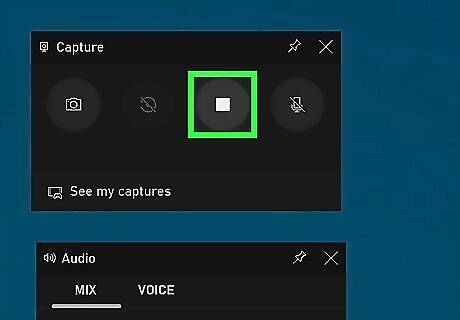
Stop the recording by clicking on the square icon. To edit a clip, open the Xbox app and select Captures
Windows Snipping Tool
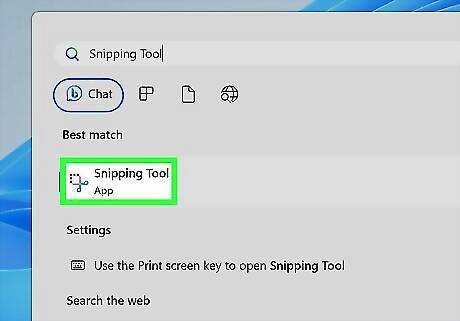
Search for the Windows Snipping Tool in the Start menu search box. Click on the app to open it.
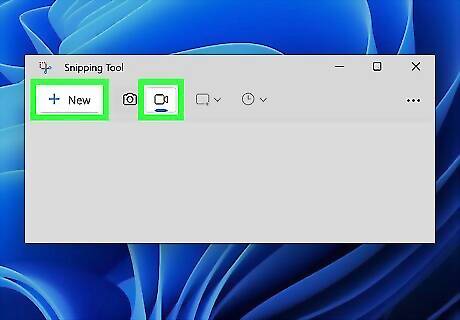
Click the video camera icon, then press New +. You can use the Snipping Tool to take photos or videos. Make sure the video camera icon is selected to capture video.
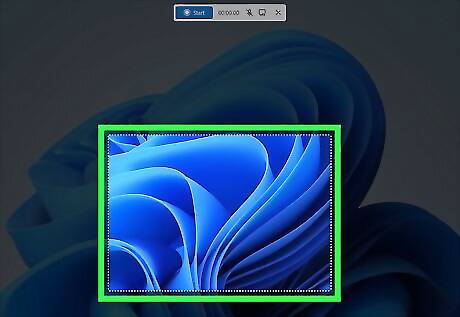
Click to drag and drop a rectangle over the portion of the screen you want to record. The Windows Snipping Tool will place an overlay over your desktop. Use it to select the area of your screen you want to capture.
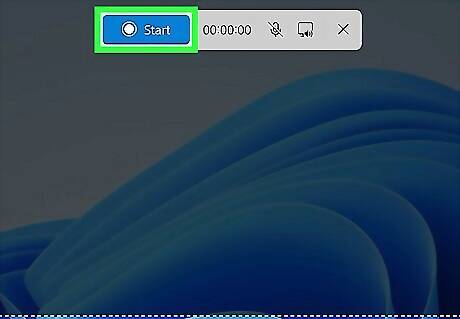
Press Start. You will see a 3-second countdown begin for your recording.
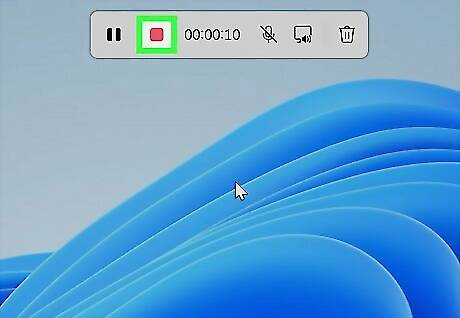
Press Stop when you have finished recording. Your recording will be saved to the Videos folder by default. It can then be copied into memory or shared via the Share dialog.
OBS Studio
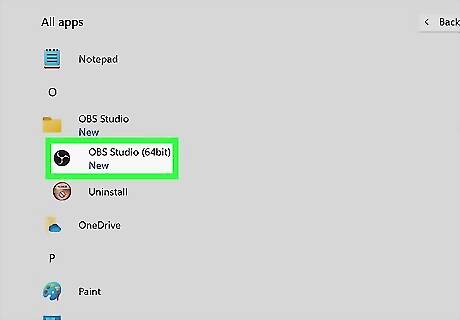
Open OBS Studio. Search for it via the Start menu on Windows. If you do not yet have OBS Studio installed, you can download it by visiting https://obsproject.com/download. If you want to record yourself playing a game, open the game on your PC before continuing.
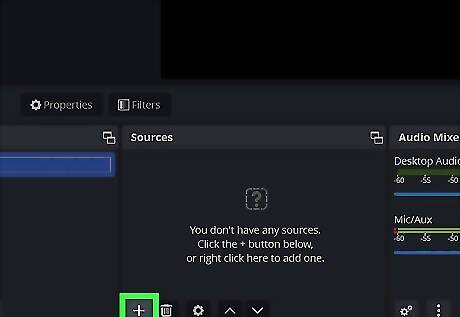
Click + under “Sources.” It’s near the bottom-left corner of OBS. A list of sources will appear.
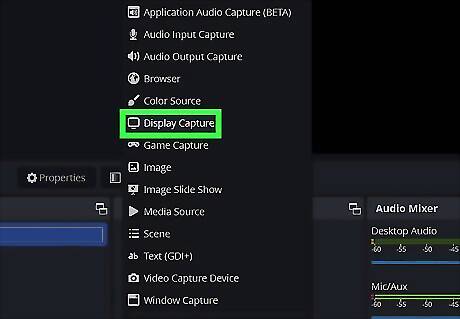
Select a capture source. Click Game Capture to let OBS detect any running games. Alternatively, click Display Capture to record your desktop. Both options open the “Create/Select Source” window. OBS Studio can record any DirectX or Open GL game.
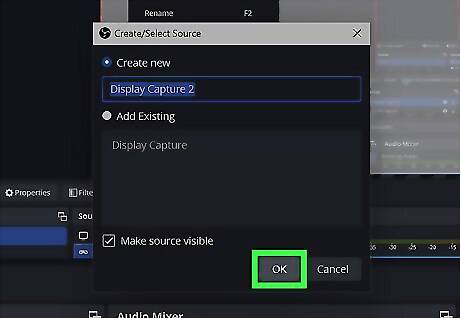
Click OK. This opens a window that displays a preview of your desktop.
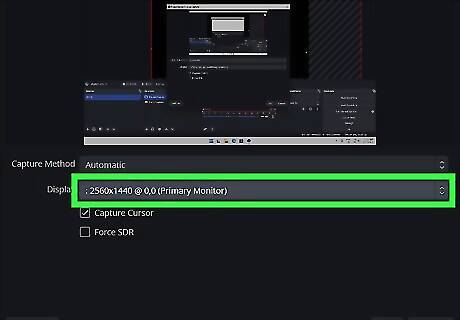
Select the display you want to record. If you only have one video card or monitor, there’s no need to make any changes. To record a different display, select it from the “Display” drop-down menu now.
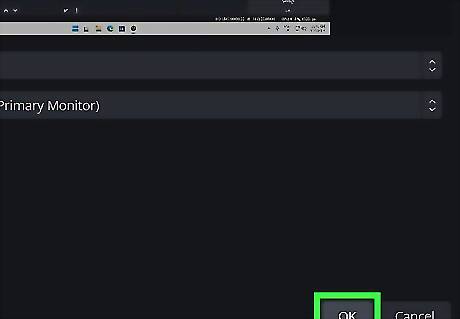
Click OK. This brings you back to the main OBS Studio screen.
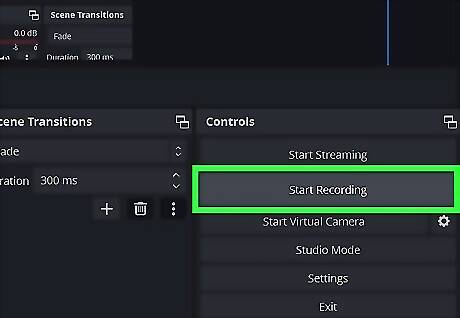
Click Start Recording. It’s near the bottom-right corner of OBS. The recording will begin immediately.
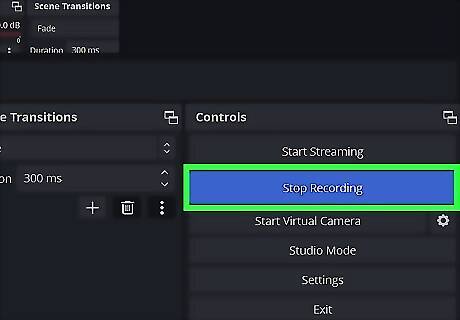
Click Stop Recording when you’re finished. It may be level to or right below “Start Recording.” The video file is saved in your Videos folder. To access this folder, press ⊞ Win+E to open the File Explorer, then click your Videos folder in the left column. To change the default saving location, click Settings at the bottom-right corner of OBS, click Browse… next to “Recording Path,” then select a different folder. You may then have to click on the Output tab on the left column.
Online Screen Recorder
Visit https://www.screencapture.com/. There are several free online screen recorders. Most of these services will leave a watermark on your video, although you can often pay to remove it.
Click Start Recording. This will open a pop-up menu.
Select what you want to capture. You can select a single tab or window or record your entire screen.
Stop your recording and save it. Click Stop Recording and then Download to save your recording locally.
Microsoft PowerPoint
Open the slide that you want to put the screen recording on. You will be able to save the recorded video as its own separate file later on in this method.
Navigate to Insert > Screen Recording. This will open a pop-up menu.
Choose "Select Area". A crosshair cursor will appear. Select and drag it to cover the area of the screen you want to record. The minimum size area you can record is 64x64 pixels. If you want to select the entire screen for recording, press ⊞ Win + Shift + F. PowerPoint automatically records the audio and the mouse pointer. Deselect "Audio" and "Record Pointer" if you do not want these featured in your video.
Select Record. Use Pause as needed and Stop when you are done. The control menu may slide into the margin while recording. Pin it in place to prevent this from happening. Your video is automatically added to the slide after recording.
Right-click the video frame, and select Save Media as. This allows you to save the video as a separate file from your PowerPoint presentation.
Save the video. Select a folder and name the file as you wish. Then, select Save.


Comments
0 comment