views
- To reveal hidden files in Finder, go to Go > Computer > Macintosh HD and press Shift + Command + . (period).
- In Terminal, enter the command “defaults write com.apple.Finder AppleShowAllFiles true”, then “killall Finder”.
- Use third-party file managers for quick and easy access to hidden files and folders.
- Reveal the Library folder by opening Finder, then holding the Option key while clicking Go.
Using Finder
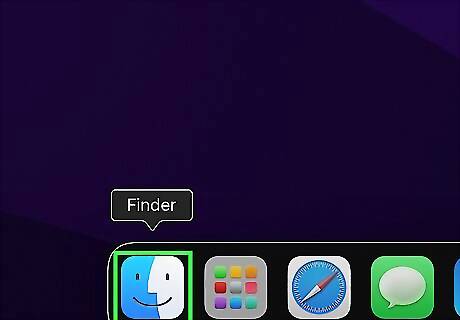
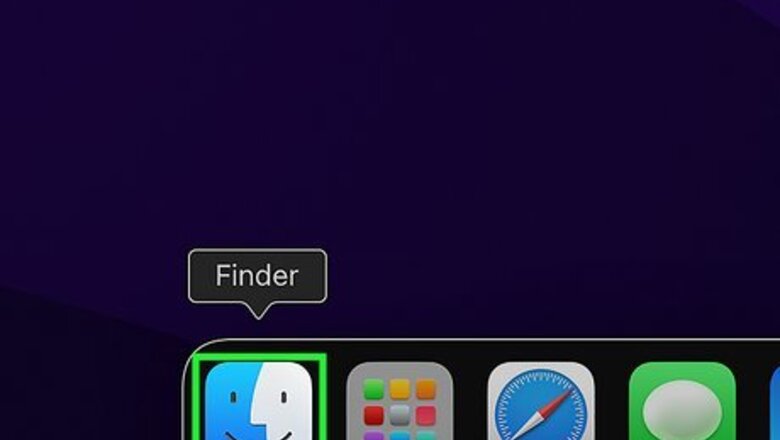
Open Finder. Click on the Mac Finder Finder icon on your Mac's Dock. This will open a new Finder window.

Click Go. It's in the menu bar at the top of the screen. Doing so opens a drop-down menu. If you don’t see Go at the top of your screen, double-check that you have the Finder window selected.
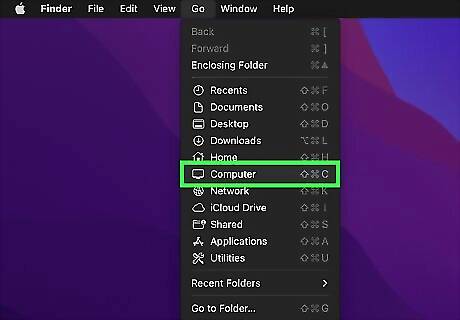
Click Computer. This option is about halfway down the Go drop-down menu. You can also use the keyboard shortcut ⇧ Shift+⌘ Command+C. If you want your computer to be visible in the Finder sidebar so you can access it more easily, click Finder in the menu bar at the top of the screen, then select Settings and click the Sidebar tab. Check Computer (or your device’s name) and anything else you want displayed in the sidebar.
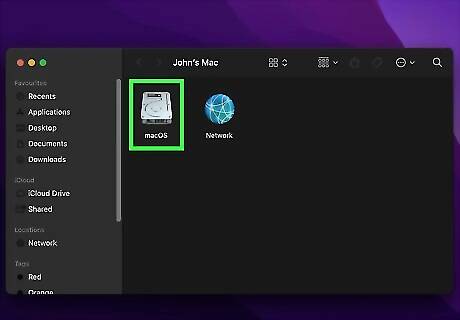
Double-click your hard drive's icon. It resembles a grey box. On most Macs, the hard drive is entitled "Macintosh HD".
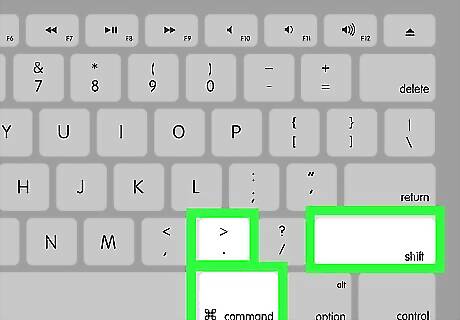
Press Shift + Command + period. Pressing ⇧ Shift+⌘ Command+. at the same time will display any hidden folders in your Mac's hard drive. Any hidden folders or files will appear as grayed-out. This keyboard shortcut can be done from any Finder window. The main Hard Drive folder usually contains hidden system files and folders so you should be able to see this better here when the hidden files are visible (grayed-out).
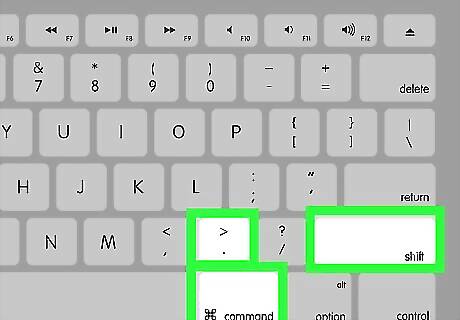
Hide the files again with Shift + Command + period. Use the same command again to make the files invisible.
Making Hidden Files Visible
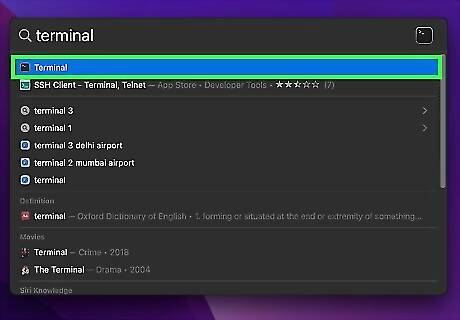
Open Terminal. Click the Launchpad icon in your Dock (it looks like a square with a grid of colorful icons in it), then search for terminal. Click the Mac Terminal Terminal icon when it appears. You can also search by pressing ⌘ Command + Spacebar, then typing terminal into the Spotlight search bar.
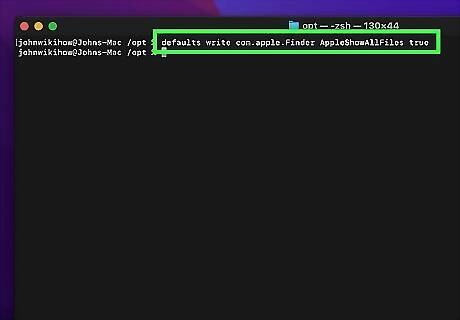
Type defaults write com.apple.Finder AppleShowAllFiles true. Once you’ve entered this command, press return.
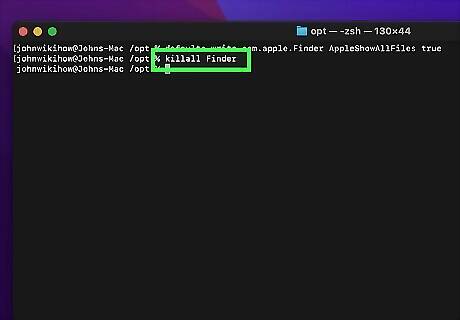
Enter the command killall Finder. Press return again. You should now be able to see all the hidden files and folders in Finder.
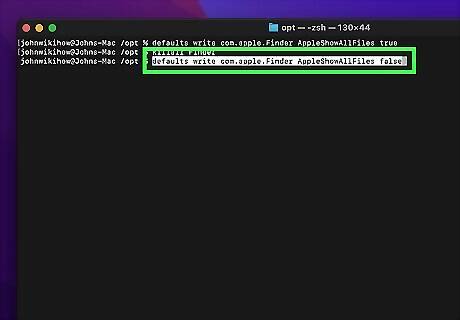
Hide the files with defaults write com.apple.Finder AppleShowAllFiles false. To reverse the process and make the files invisible again, enter the same command you used before, but replace true with false. Press return.
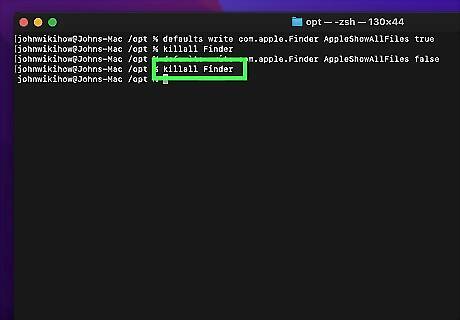
Complete the command with killall Finder. Enter this command and press return again. This will re-hide the hidden files and folders.
Using Third-Party Tools
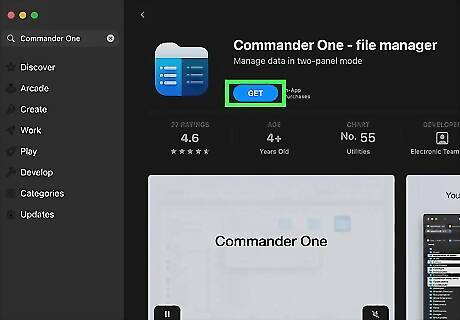
Download a file manager app. File managers are third-party apps that allow you to easily browse, edit, and organize your files. Some popular options that can show hidden files include Commander One, TotalFinder, and ForkLift. Some file manager apps are free, while others may require you to pay to get access to all the features you want. You can install many file managers through the App Store, but you may need to download others from the web.
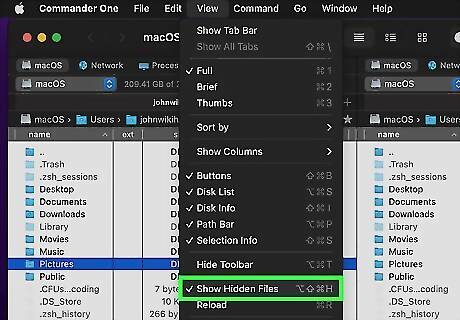
Follow the directions to reveal hidden files. The way to reveal hidden files and folders will depend on the app you’re using. You may need to do this through the Options menu, by using a keyboard shortcut, or by clicking a button in the app’s menu bar.
Revealing Library Folders and Files
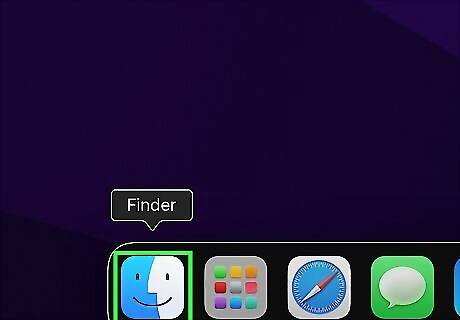
Open Finder. Click the Mac Finder Finder icon in the Dock to launch a new Finder window.

Hold ⌥ Option and click Go. While holding down the ⌥ Option key, click Go in the menu bar at the top of the screen. This will cause Library to become visible in the list of locations. You can also press and release ⌥ Option while the Go menu is open to toggle the Library option on and off.
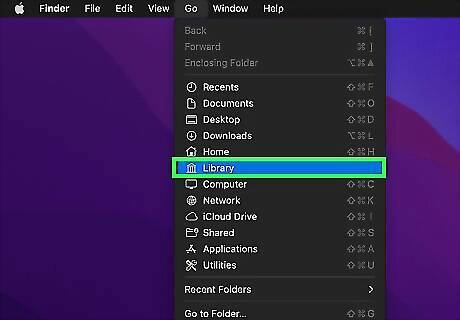
Click Library to open it. While still holding down ⌥ Option, click on Library. This will open the Library folder in Finder. Alternatively, you can open Go, then select Go to Folder…. Type ~/Library into the text box and select the Library folder from the results to open it.
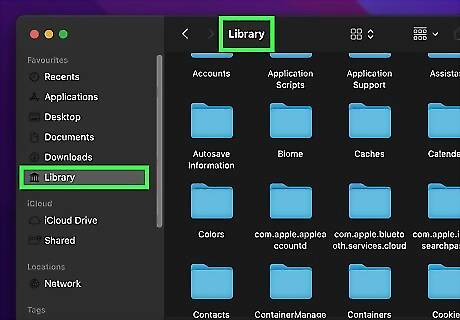
Drag Library to the sidebar to make it permanently visible (optional). If you want to make it easier to access the Library folder, click Library at the top of the Finder window. When the folder icon appears, click and drag it to the Finder sidebar. Drop it in whichever location you prefer (e.g., under the Favorites header). You can always hide Library from the Sidebar again by clicking it and dragging it outside of the Sidebar.


Comments
0 comment