views
Spawning Tank Setup
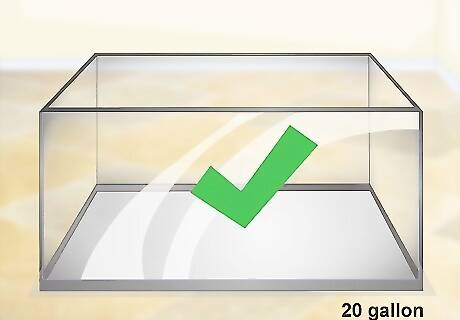
Use a 20+ gallon tank. Before you begin breeding, you must set up the spawning tank of 20 gallons or larger. Set it up at least 3 months in advance to make sure the conditions are ideal. A 20 to 30 gallon tank is best because Angelfish need a tall and fairly wide tank to accommodate their large size. If an Angelfish feels cramped, they will not feel secure and will not spawn.
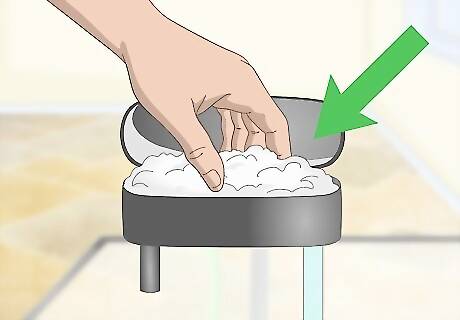
Use a sponge filter. Angelfish require clean water that’s not high in nitrites or ammonia for successful breeding. Using one or two sponge filters can rid the water of these. The sponge filter also doesn’t trap fry, the fledgling fish, like some other filters. Clean the sponge filter every couple of weeks to keep the tank water in the best condition.
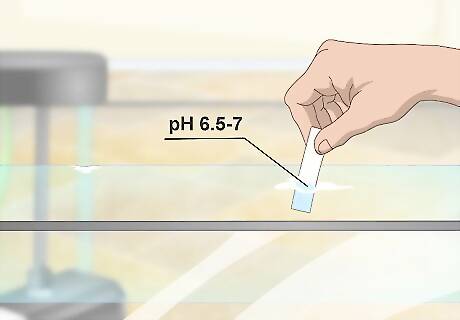
Make sure the pH is between 6.5 and 7. Though very adaptable, most Angelfish do best in soft water that’s slightly acidic to neutral with a pH of about 6.5 to 7. If your water is too hard, use a de-ionization filter. If your water is too alkaline, use a reverse osmosis filter. Either of these filters can be obtained at an aquarium supply store.
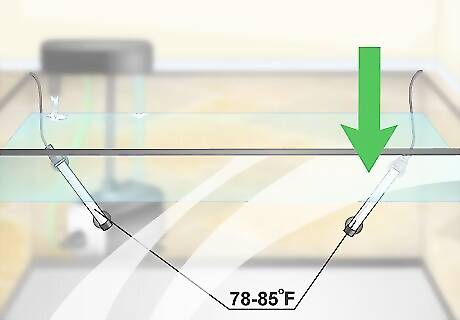
Place a heater on each end of the tank. Put an aquarium heater at each end of the tank to ensure the correct temperature. Set the heat to 78 to 85 degrees Fahrenheit (25 to 29 degrees Celsius) for optimal breeding conditions.
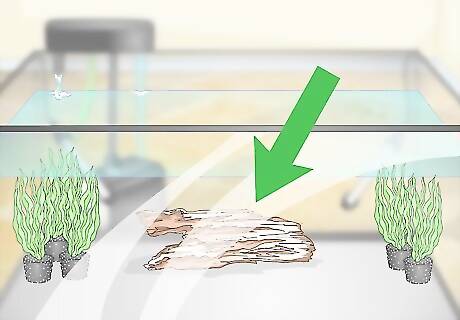
Place plants and driftwood in the tank. Make sure to include several plants and some driftwood in the tank, so the Angelfish will have places to hide and feel secure.
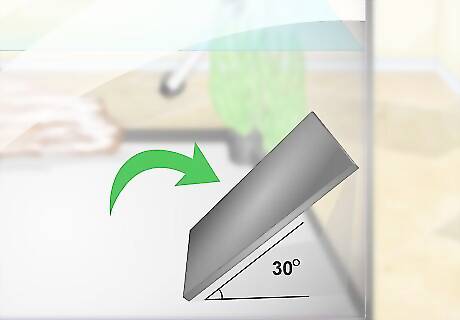
Insert a spawning slate or flower pot into the tank at an angle. Angelfish prefer a spawning slate or terracotta flower pot on which to lay their eggs. Place the slate at a 30 degree angle against the tank wall for optimal results. Place several spawning slates around the tank to give your Angelfish options.
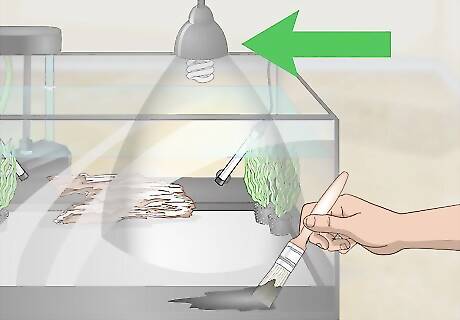
Create a dim environment. Angelfish will feel more secure in a dim environment, so arrange for natural light and make the tank darker by painting the outside bottom of the tank a black matte. This cuts down on reflection, which will make the Angelfish feel more secure. Instead of overhead lights in the room, use plant lights.
Pairing Angelfish
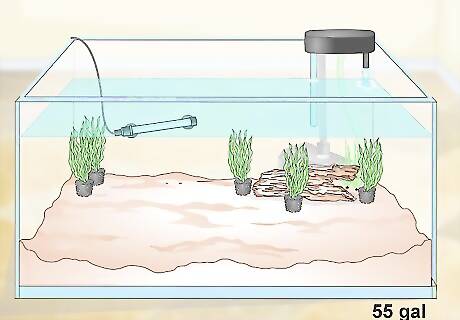
Set up a 55 gallon aquarium. In order to prepare for establishing a mating pair of Angelfish, get a 55 gallon or larger sized aquarium. An aquarium of this size will allow the Angelfish enough space to comfortably live. Use a filter to keep the tank clean. Make sure the water temperature stays between 78 to 85 degrees Fahrenheit (25 to 29 degrees Celsius) with a water heater. Keep the pH level between 6.5 and 7. Line the bottom of the tank with sand and add large water plants. Also include driftwood for the fish.
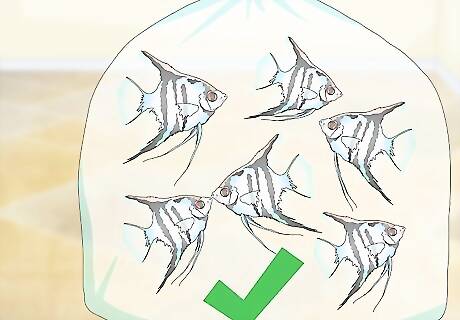
Obtain 6 to 12 juvenile Angelfish of good breeding quality. Since Angelfish prefer to choose their own mate, you’ll have the most successful breeding experience if you obtain 6 to 12 juvenile Angelfish and let them choose their own mates. Choose fish that have good shape, finnage, and color to produce the best results for reproduction. Because it’s near impossible to tell the sex of Angelfish, you can’t know what sexes you’re getting. If you get somewhere between 6 to 12 Angelfish, chances are you’ll have enough of each sex for the Angelfish to find a mate they prefer. When choosing a quality Angelfish, look for a body that’s round and taller than it is wide. Because Angelfish fins are the hallmark of the species, the best fins are straight and free of curves or blemishes. Coloration of the Angelfish is difficult to assess since it’s often based on environment or stress levels. However, be aware of a lack of color or dullness.
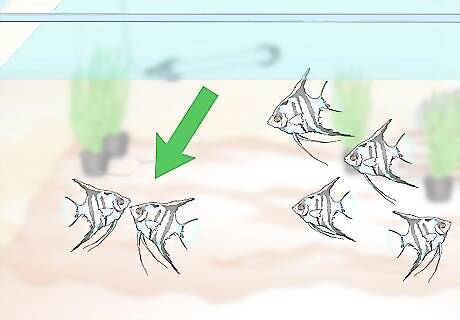
Watch for pairing from 6 to 12 months of age. When your Angelfish is 6 to 12 months old they’ll reach sexual maturity, and you should begin looking for signs of them pairing off. You can tell that two Angelfish have paired by observing your fish and seeing which ones are staying close together and displaying territorial behavior. Pairs of Angelfish will often claim a section of the tank as their own and chase off others who come near. If you think you’ve identified a pair, watch them for 1 or 2 days until you’re certain.
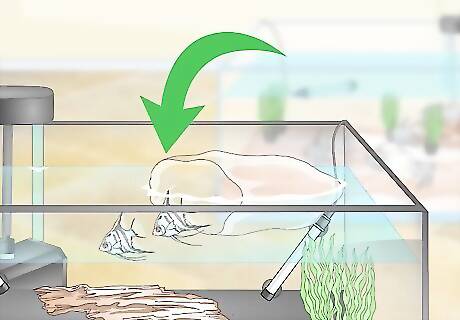
Remove the pair to the spawning tank. Once you’ve identified your pair, remove them to the spawning tank, as they’ll spawn more successfully when isolated. This ensures that they do not spawn in the larger tank with the other fish, who might eat the eggs or fry. Because the spawning tank will have similar conditions to the 55 gallon tank you can transition the Angelfish quickly. Place the Angelfish in a bag of water from the 55 gallon tank, and put this bag in the spawning tank for an hour. Then you can open the bag and allow the fish to swim out.
Breeding Pair Care
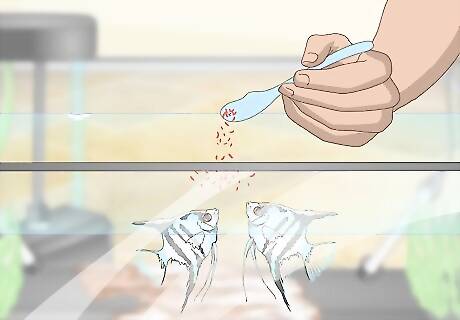
Feed the Angelfish heavily. Once you’ve relocated your paired Angelfish to the spawning tank, begin feeding them more heavily than you had before. Try feeding them about three to four times a day. An increase in food consumption induces breeding in Angelfish. Feed Angelfish bloodworms, frozen brine shrimp, white worms, or a beef heart mixture. Remove any uneaten food after 3 to 5 minutes to help keep the water clean.
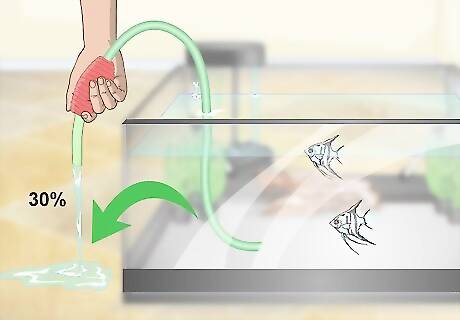
Change the tank water frequently. Angelfish require clean water to breed successfully, and because of the increased feedings, the tank water will need more frequent replacing. Change out at least 30% of the water once a week. It’s even better to change out out 30% of the water daily.
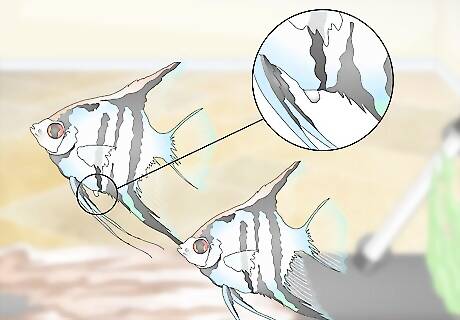
Look for signs of reproductive readiness. Usually within 5 to 8 days of being placed in the spawning tank, your Angelfish will be ready to breed. The female Angelfish’s belly will swell and a papilla, an organ between the ventral and anal fin, will appear on both the male and the female. The female’s papilla is larger than the male’s, which is how you can tell the sexes of Angelfish apart.
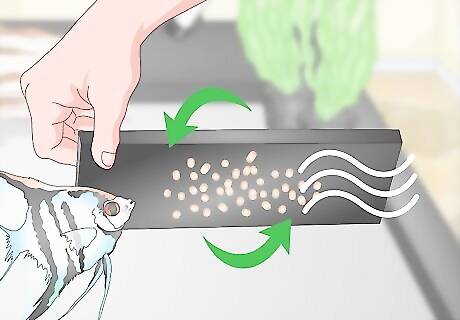
Make sure the eggs get air circulation. Because the Angelfish are captive, they might not retain all of their wild parenting instincts. After the eggs are laid and the male fertilizes them, you need to watch to see if the Angelfish fan the eggs with their fins. If not, this means the eggs aren’t getting the air circulation they need. You should turn the spawning slate upside down to increase a good flow of water. If using a flower pot, you can remove the eggs entirely from the tank and place them in another tank with the same pH and water temperature as the spawning tank.

Be patient. It may take the Angelfish a few tries at breeding to be successful. Sometimes Angelfish will eat their eggs or sometimes the eggs don’t hatch. Angelfish breed as often as every 7 to 10 days, so be patient and let them try again.
Raising the Fry
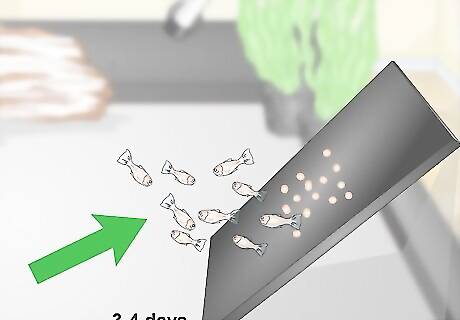
Wait for the fry to hatch and free-swim. About 3 to 4 days after the eggs were laid they’ll hatch and wiggle, still attached to the slate. After an additional five days, the fry will detach from the slate and begin free-swimming.
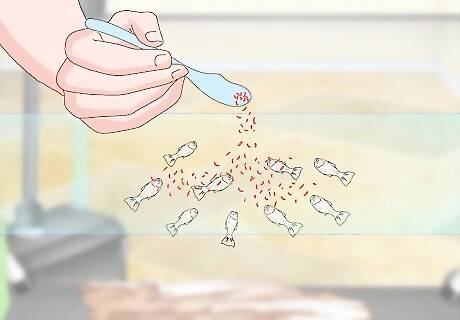
Feed the fry. After you notice the fry free-swimming in a cloud, it’s time to begin feeding them up to six times a day. Feed them with newly hatched brine shrimp or micro-worms.
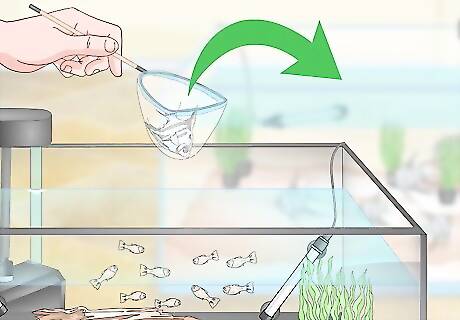
Remove the parents after several days. After one or two days of feeding the fry, remove the parent Angelfish from the spawning aquarium, and reintroduce them to your 55 gallon tank with the rest of your Angelfish.
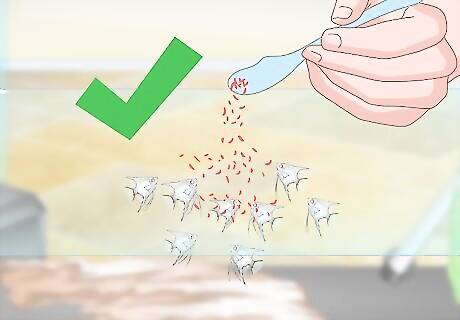
Increase feeding after two weeks. Around two weeks of age, the fry will begin taking on the shape of an Angelfish. At this point they’ll begin needing more food and you can feed them as you feed your adult Angelfish. Feed them twice a day only what they can eat in three minutes.


Comments
0 comment