
Steps
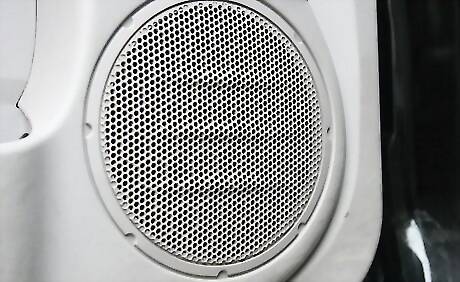
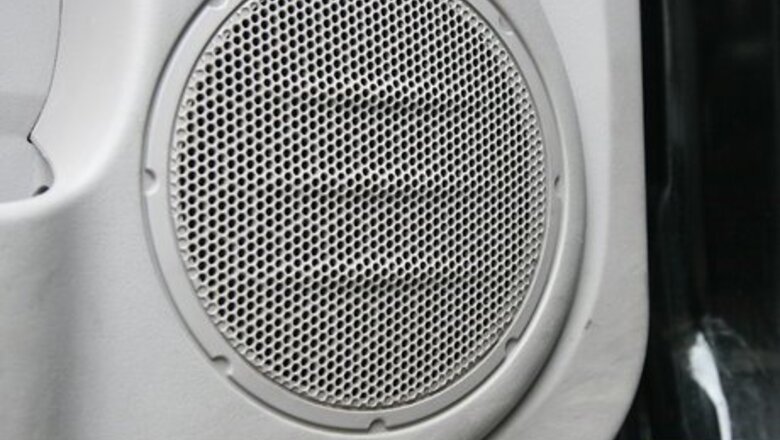
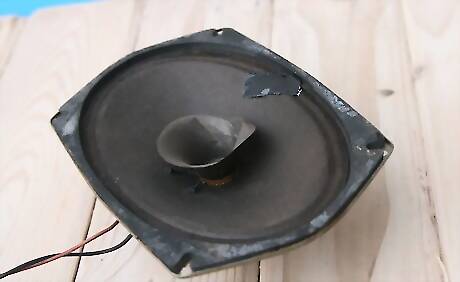
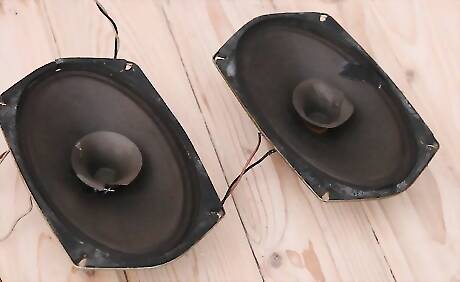
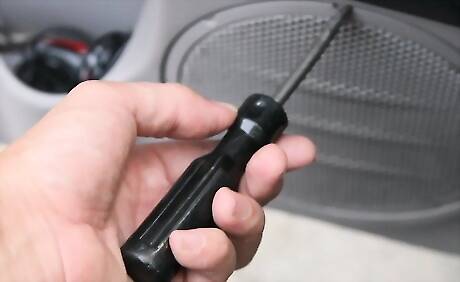
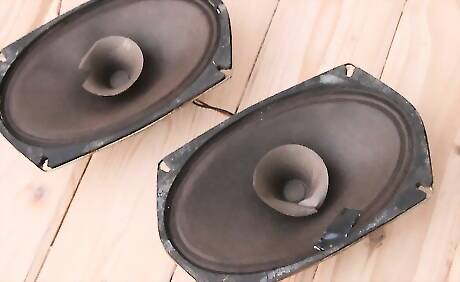
Access the speaker. Ideally, the speaker should be removed so both sides of the speaker cone are accessible. Remove door panels, grill work or covers to allow removal of the mounting screws or fasteners.
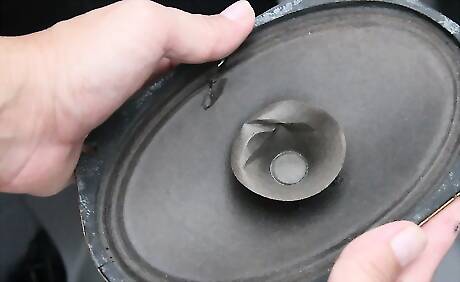
Support the speaker. The cone may be brittle if old, so be sure to handle the speaker with care. Hold the speaker so it does not fall when the last couple of screws are removed.
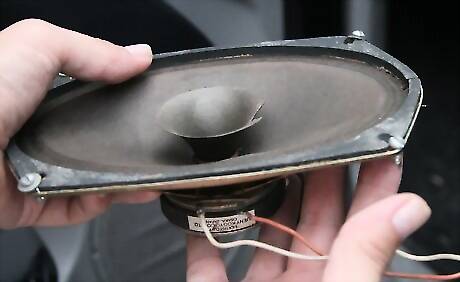
Gently pull the speaker away from support. It may stick to grommet material or paint if it has been in place for some time.
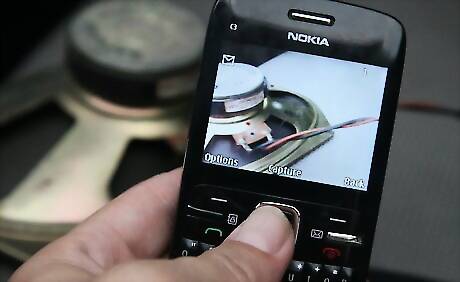
Observe the connection to the speaker. Speakers require two wires to receive signals from the source or amp. Polarity (which wire connects to which terminal) is important. Take a photo (with cell phone), draw a diagram, label wires or make marks near the speaker terminals themselves to assist in properly reconnecting when reinstalling later.
Repair Holes
Obtain material for repair. Most speaker cones are made from paper or a thin plastic. To fix the hole, an amount of similar type and density material, but slightly larger will be needed. If unable to find the thin plastic used in some speakers, paper may be used.
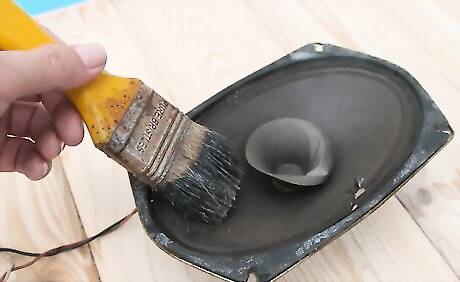
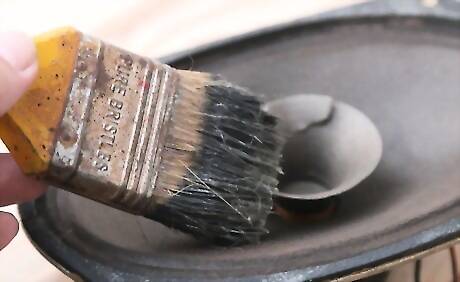
Prep the speaker. Carefully remove any dust, dirt, etc. from the front of the speaker cone. The cone may be brittle if old, so be sure to handle the speaker with care.
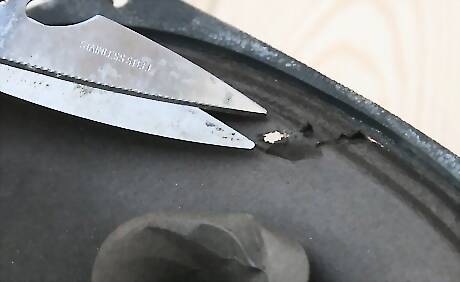
Remove with scissors or razor any dangling edges. The smaller the hole and smoother the edge, the better the repair will be. Balance size and smoothness.
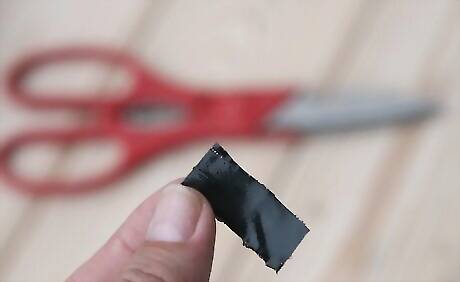
Cut the mending material to form a patch. The patch should be the same general shape and slightly larger than the hole.
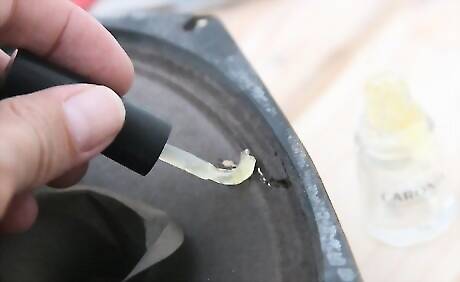
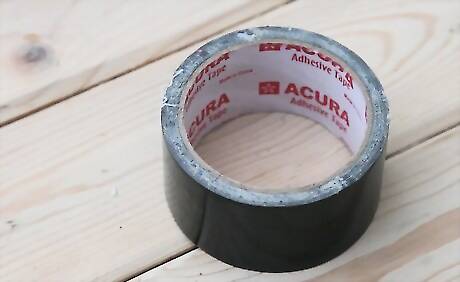
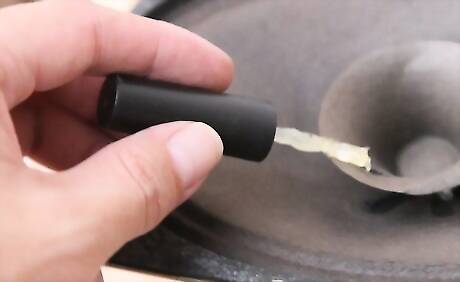
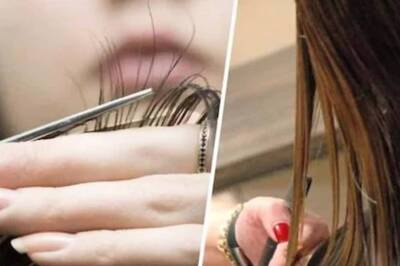
Apply fingernail polish along the edge of the hole. Apply a liberal amount of polish along the edge of the hole in the speaker cone.
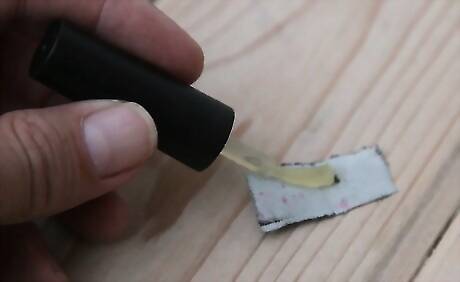
Apply fingernail polish along the edge of the patch. Apply a liberal amount of polish along the edge of the patch.
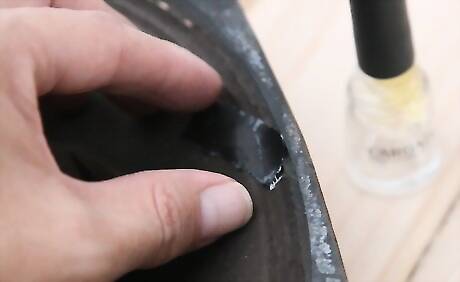
Join the patch material and speaker cone together. Align the patch to the hole and join. Press together by pressing from both sides at the same time. Do not push on one side without supporting the other side, otherwise the hole will tear.
Allow to dry completely.
Touch up. Check for areas that did not adhere and "fill" with additional polish. Use only enough to fill the void. Securely "tack" any edge that is not held in place by polish.
Reinstall speakers in reverse order of removal, noting polarity of the speaker wire connections.
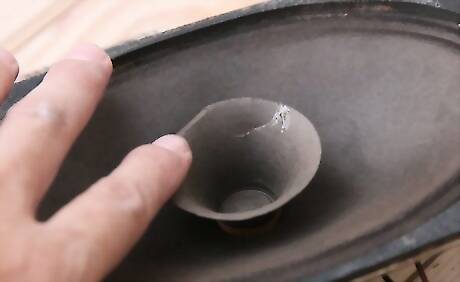
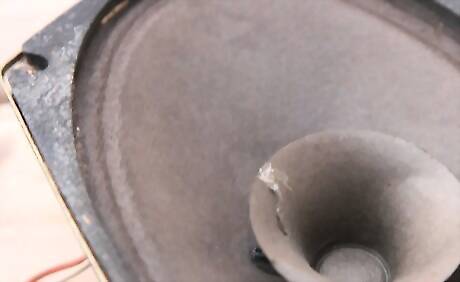
Repair Tears
Remove and prep the speaker. Follow the steps above up to "Prep the speaker" Do not cut or trim any material from the speaker cone.
Apply a liberal amount of fingernail polish on the tear. "Paint" the nail polish on and around the tear. Apply the polish to both sides of the speaker cone.
Allow to dry completely.
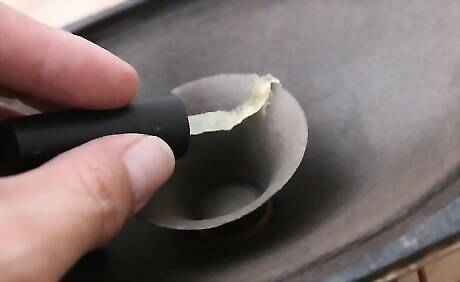
Apply a second "coat" of polish.
Allow to dry completely.
Reinstall speakers in reverse order of removal, noting polarity of the speaker wire connections.
Finished.


Comments
0 comment