views
Using Spray Paint
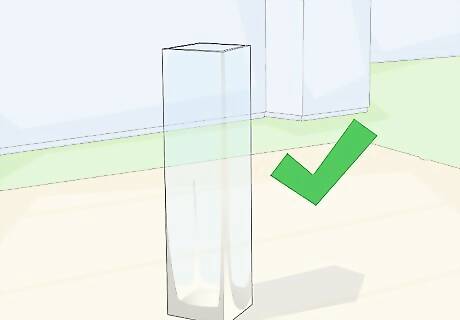
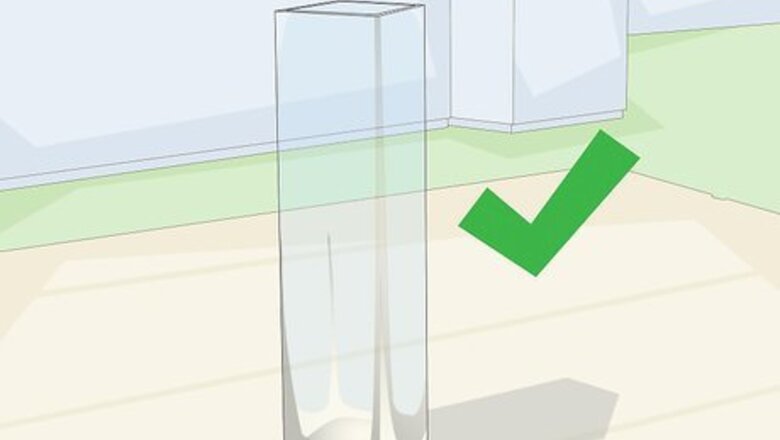
Select a smooth, glass vase without any grooves, raised designs, or embellishments. The best type of vase to use is one with straight sides. You can also use a clear wine bottle or a mason jar.
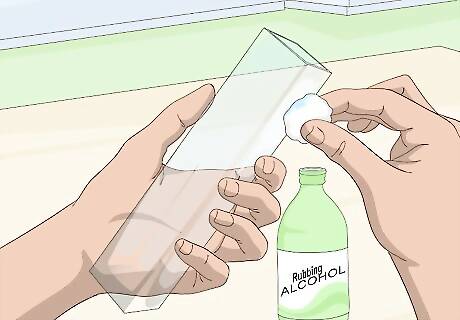
Wipe the vase down using a cotton ball and rubbing alcohol. This will get rid of any oils that might prevent the paint from sticking. If the vase is especially dirty, wash it using soap and warm water.
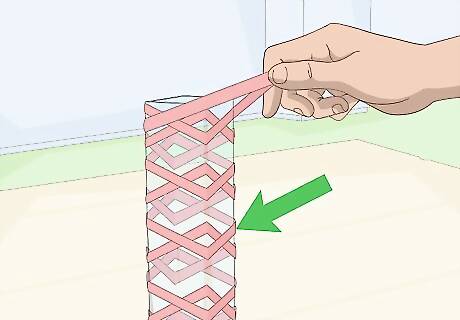
Wrap rubber bands around the vase. You can position them straight across, at various angles, or a combination of the two. Don't be afraid to overlap some of the rubber bands either! For a more interesting design, choose a variety of rubber bands, both thick and thin.
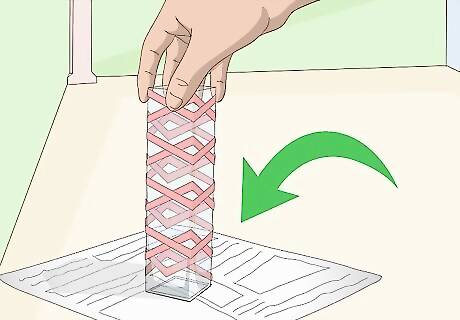
Take the vase into a well-ventilated area and place it upside down on a sheet of newspaper. The best place to work would be outdoors. If you can't work outdoors, make sure that you have plenty of windows open. Cover your work surface with newspaper, and make sure that there's nothing nearby that can get ruined.
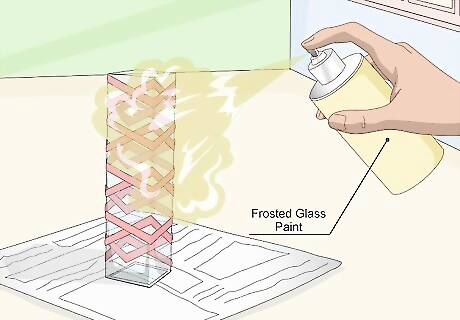
Spray the entire vase using short, even strokes. Shake the can until you can hear it rattle, then hold it 6 to 8 inches (15.24 to 20.32 centimeters) away from the vase. Apply the sealer in quick, even strokes. It will take about 10 to 20 minutes for the paint to dry. For the typical, frosted look, choose a paint that says "frosted glass" on it. For a more interesting look, you can use a colored spray paint, such as gold or silver. You can even experiment with glittered spray paint.
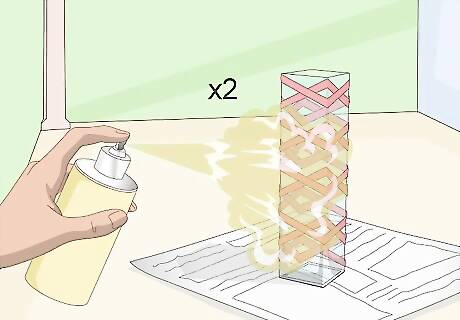
Apply one or two more coats, if needed. Allow each coat to dry for 10 minutes before applying the next one. If you are working with "frosted glass" spray paint, don't worry if it looks clear at first; it will look frosted once it dries.
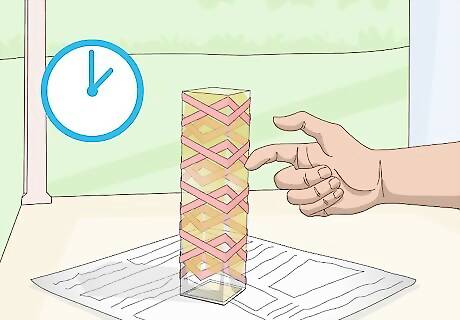
Allow the vase to dry overnight before removing the rubber bands. If a little paint got under the rubber bands, use your fingernail to scratch it off. If there is a lot of dust on the vase, wipe it down with a damp cloth.
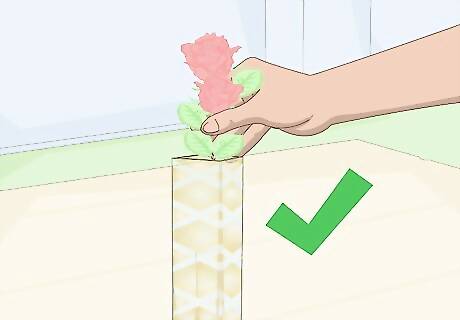
Display the vase. You can use it to hold flowers or candles. You can even make it fancier by wrapping a pretty ribbon around the center.
Using Etching Cream
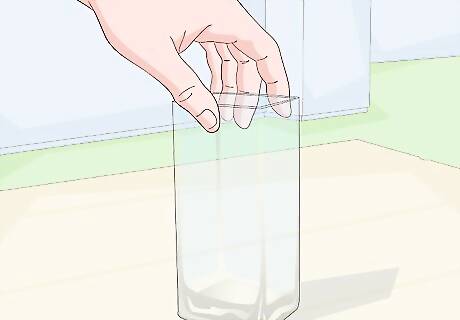
Choose a plain, glass vase without any grooves or raised designs. The best vase to use is one that has straight sides, but you can also use a mason jar instead.
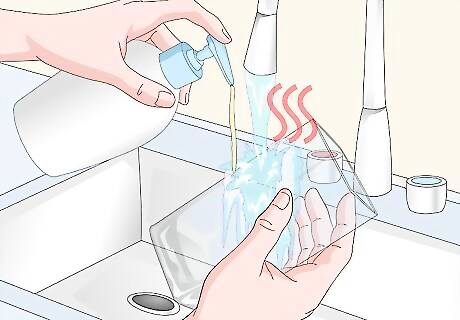
Rinse the vase using soap and warm water, and pat it dry. If there is any oily residue on the vase, wipe it off using rubbing alcohol.
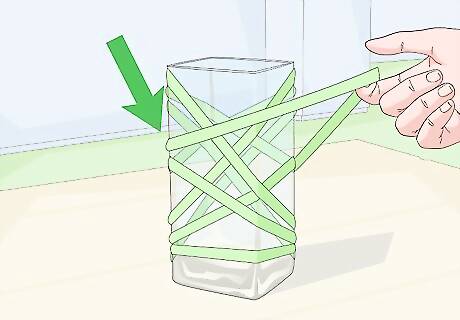
Wrap some rubber bands around the vase. You can position them straight across, at different angles, or a combination of the two. You can even try overlapping some of the rubber bands. For a more interesting design, get both thick and thin rubber bands.
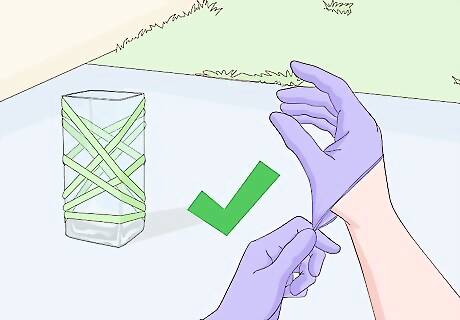
Take the vase into a well-ventilated area, and put on a pair of rubber gloves. A pair of safety goggles would also be highly recommended at this point. The rubber gloves are absolutely necessary, however; etching cream is caustic and can burn your skin.
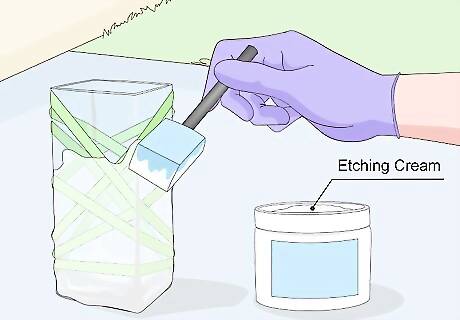
Apply the etching cream generously to the vase. You can do this using a cheap paintbrush or a foam brush. Apply it in a thick, gloopy layer, and be careful not to "scrape" across the rubber bands. If you do, you might get some etching cream under them and disrupt the banded design.
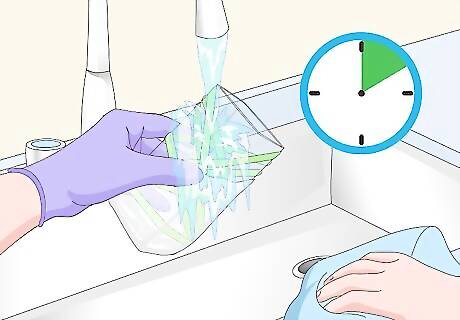
Wait 10 to 20 minutes, then rinse the etching cream off and gently pat the vase dry. If you find the cream difficult to remove, you can gently scrub it off using an old toothbrush. Use an old rag or towel to dry the vase and remove any residual cream. Do not rinse the cream off in an enamel sink. Use a metal sink or a plastic bucket.
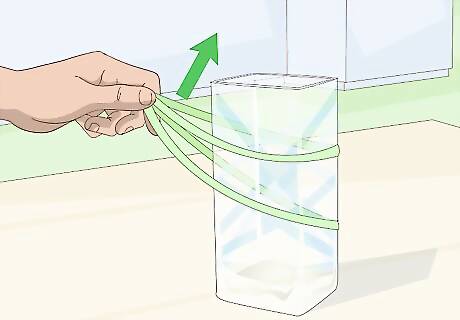
Carefully remove the rubber bands. Be careful not to snap the rubber bands, as some of the etching cream may have seeped under them. The etching will be faint and subtle at first, but it will become more opaque as the glass dries. If you are still not happy with the results, reapply the rubber bands and etching cream, wait another 10 to 20 minutes, and rinse it off again.
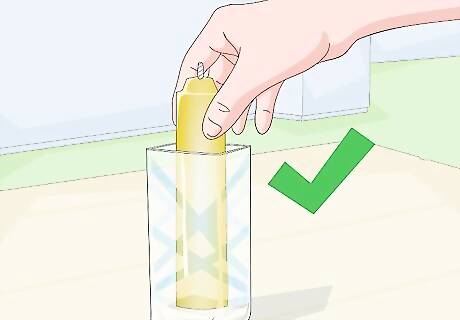
Display the vase. You can add flowers to it, or use it as a candle votive. For an added touch, you could wrap a pretty ribbon around the middle.


Comments
0 comment