
Choosing the cutlery
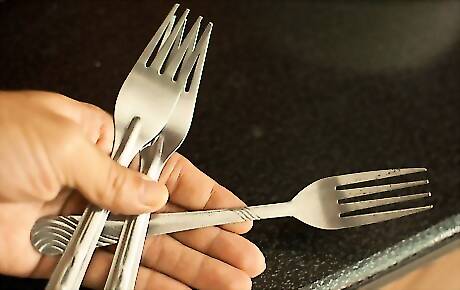
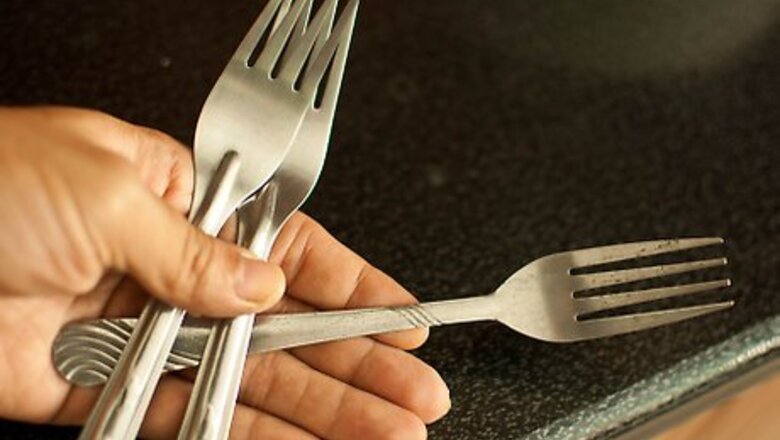
Root out some cool cutlery. Check your drawers for lonely pieces of cutlery or silverware or use spares from sets that have many pieces. If you don't have interesting designs at home, rummage through the sales bins in department stores or kitchenware outlets. For even more fun though, try antique, thrift and used item stores for older, more eclectic finds––in fact, these utensils will often have a range of lovely patterns and embossing that will add flair to your home décor. Another place to look for interesting cutlery is online; check out auction sites and sites like Freecycle. When choosing cutlery, here are some key things to bear in mind: The cutlery must be all metal––plastic, semi-plastic, wooden or other breakable/non-bendable cutlery won't work. Use cutlery in good condition. Avoid using pieces that are flaking or badly stained. They risk detracting from your décor. If the cutlery appears weak, use if for a different craft purpose. The cutlery needs to withstand being bent into its new shape. If you're planning a row of hooks (such as for a coat hanging space), varied patterns can look just as elegant as matching ones. In fact, the designs may prove more interesting mixed up. Weave a story into the cutlery you choose. For example, instead of allowing your grandmother’s old set of cutlery to gather dust in storage, use those pieces (perhaps with your family’s permission) to become your hanger art.
Determine what each piece of cutlery could be turned into by way of hooks. The size and sturdiness of the cutlery will determine the viability of its end hook purpose. For example, teaspoons should only hold light items, such as keys, baby bonnets or the dog's leash. On the other hand, full size forks and spoons may be able to take the weight of a coat or bag, depending on how you attach them. To choose one of the mounting methods suggested below, match the cutlery to the method. Of course, you're also free to experiment with your own approach to making hooks.
Safety and tools
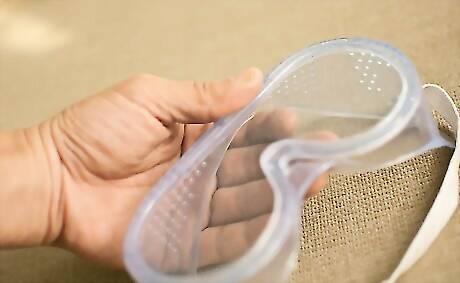
Wear appropriate protective gear when bending and drilling the cutlery. You're dealing with metal and if it is placed under stress and a part of it flings eye-ward, you risk losing an eye. It is recommended that you wear eye protection (goggles or safety glasses) and also gloves when manipulating and drilling the cutlery.

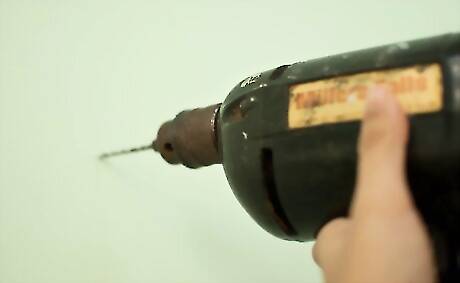
Choose good tools to work with. The tools needed are basic: Bending the cutlery: In some cases, you'll be able to bend the cutlery with your own strength. In other cases, you'll need the help of another item to apply pressure. Items that might help you complete the projects include: a vise and rubber mallet or hammer; piers, channel locks, or a vice grips; an anvil; fishing wire; and screws. The drill: The drill and bit should be suitable for drilling through metal––some drill bits are designed specifically to do this or are combination bits for both wood and metal. Ask to borrow one from a friend if you don't have one already. Wire cutters: In some cases, these may come in handy. Vice grips: This might be handy to help hold the cutlery piece in place for bending. Screws: For attaching to the wall, wood or other object used. Liquid nails (industrial strength glue): If you don't want to deal with drilling holes, try liquid nails. This might be strong enough to attach the cutlery hooks to a variety of surfaces––be sure to check the product instructions first.
Project one: Teaspoon key hanger
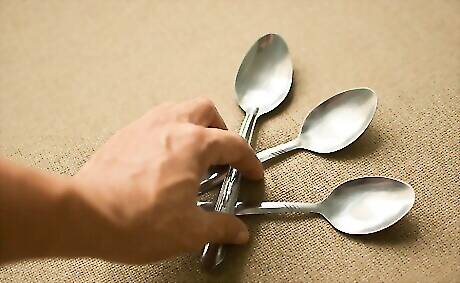
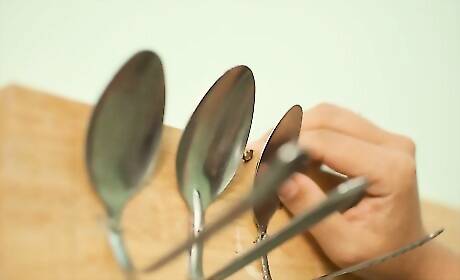
Select three teaspoons that you like.
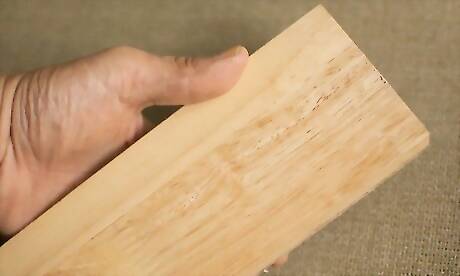
Find a small piece of wood. The wood can be a simple rectangle or you could choose a design, such as an animal, flower or house. Pieces of wood already cut into such shapes can be found in craft stores or you can fashion one yourself with a jigsaw. You might like to paint a design on the wood before adding the spoon hooks or sand and finish the wood attractively.
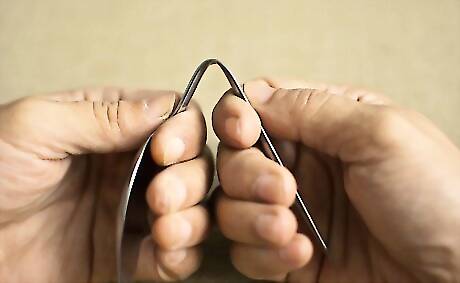
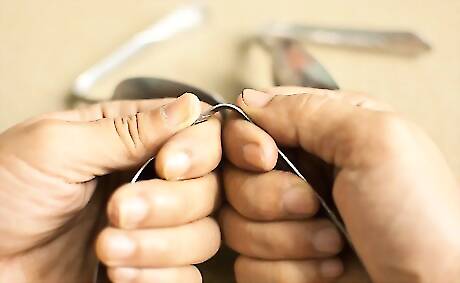
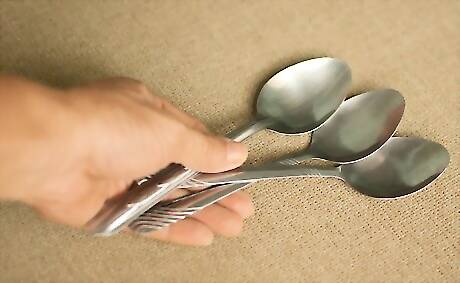
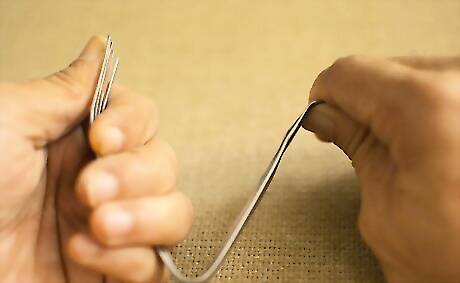
Gently bend the handle end of the first teaspoon near the middle of the handle. Bend into a U shape but not too much––leave the tail of the handle pointing more outward than back toward the spoon.
Repeat with the remaining two spoons.
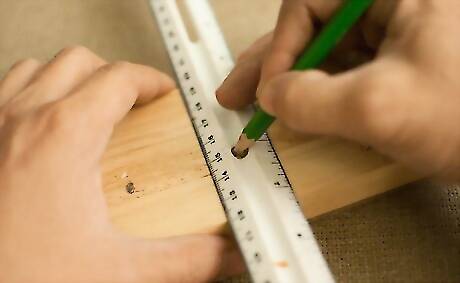
On the piece of wood, mark three even positions for placing the bent spoons.
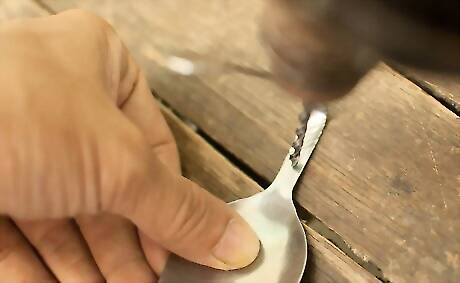
Using the drill, make a hole in each teaspoon just at the base of the head, top of the handle. Then drill the screw into the wood, through the handle, aligning carefully with each marked spot on the piece of wood or use liquid nails.
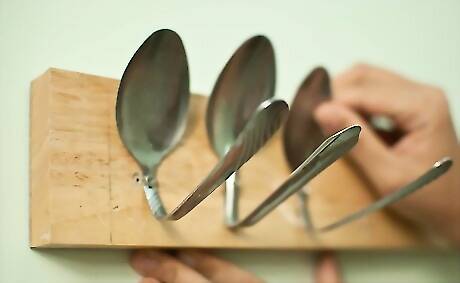
Attach hanging/mounting hooks to the back of the wood and use fishing wire/thin gauge wire to make a hanging thread. Hang near the front or back door for ease of finding your keys. Keys are slipped over the hooks in the same way as any key hanger hook.
Project two: Kitchen hooks
Find some solid, quality spoons or forks. You might even mix them.

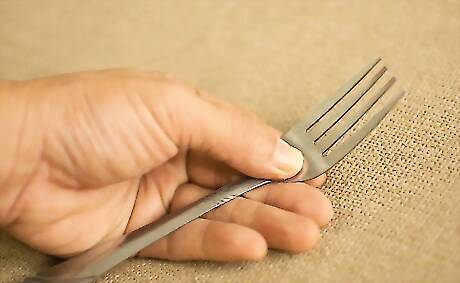
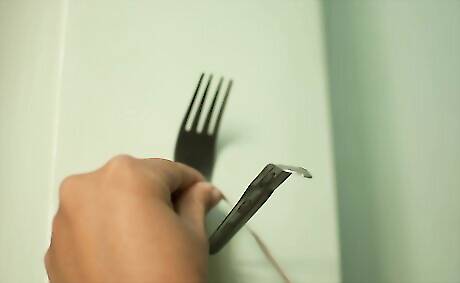
Bend the spoons or forks into a hook shape. Bend the hand from around the middle to form a slight U-shape hook. Keep the hook slightly facing outward––don't press too far back toward the cutlery. Whether you bend toward the front of the fork or spoon, or away from it, will depend on your preference for the final look, as well as whether the base of the cutlery has a monogram you'd like to show. If you bend to face the front of the spoon or fork, a monogram at the base of the handle will be hidden, whereas if you bend the hook toward the back of the fork or spoon, the monogram will show up clearly on the outside of the hook. This is much better where you want the monogram to feature.

Choose a good place to attach the hooks. The hooks should be located for ease of use, such as near the stove, above a work space, over the sink, etc.
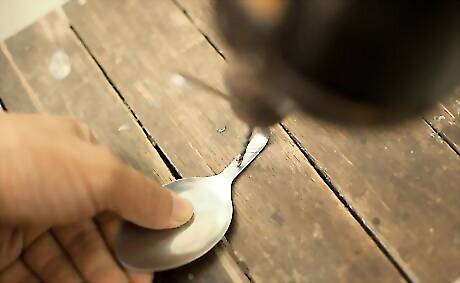
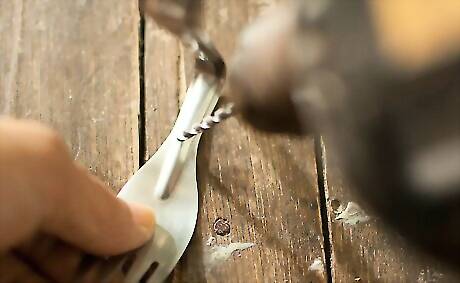
Using the drill, make a hole in the fork or spoon just at the base of the head, top of the handle.
Drill a hole into the wall. Attach each utensil hook with a screw. (Or use liquid nails if you're not drilling.) Slide a small screw or nail through the hole and center the piece on the surface or wall. You could use a pencil to place a small hole on the surface before screwing it in to ensure you mount it in the right place.
Project three: Stationery pick-me-up
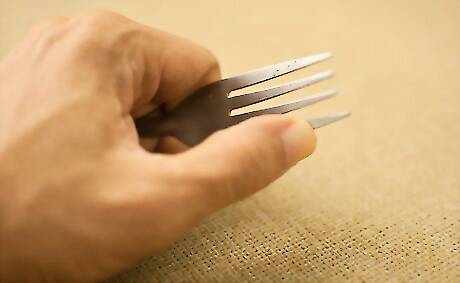
Choose a quality fork.
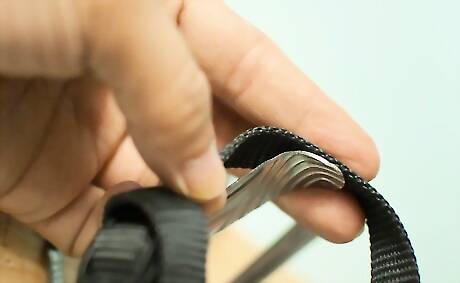
Bend the base of the fork into a small U shape hook, keeping the tail slightly faced outward. Bend toward the front of the fork, not its back.
Find a suitable place to attach the fork to the wall above your desk. Alternatively, it might be better attached to a bookshelf or other item near or on the desk, to even on the desk itself.
Using the drill, make a hole in the fork just at the base of the head, top of the handle. Drill a hole into the wall. Attach with a screw. (Or use liquid nails if you're not drilling.)
Use. Paperclips and other sundry stationery items can be slipped over the tines for safekeeping, while the hook can be used to hang your USB sticks and other items from.
Finished.


Comments
0 comment