
Getting Started with Pixlr

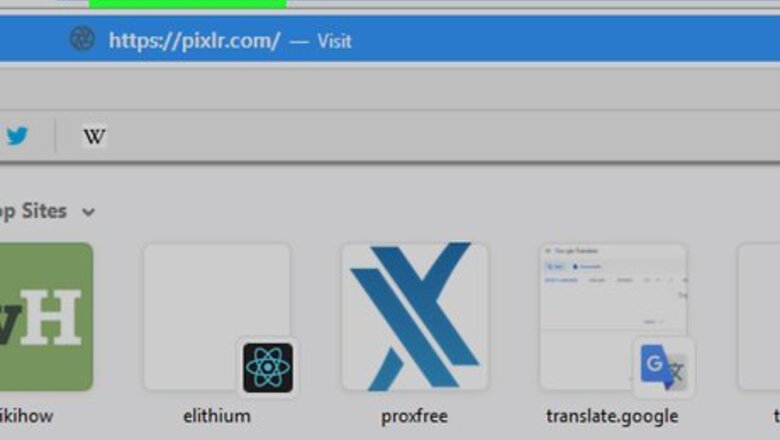
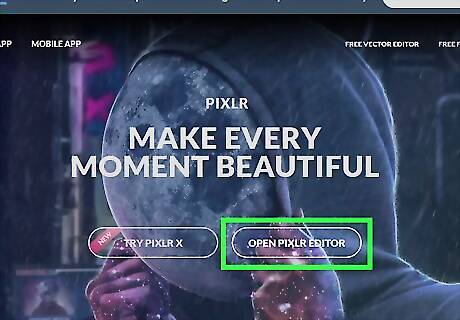
Go to the Pixlr.com. This opens the main Pixlr website.

Click OPEN PIXLR EDITOR. It’s a link in an oval-shaped button near the center of the page. Depending on your browser, you may be prompted to enable Adobe Flash. If so, click anywhere on the page, and then follow the on-screen instructions to enable Flash.
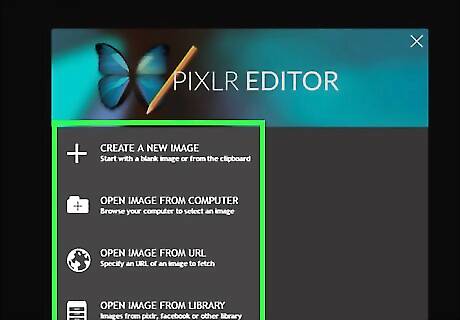
Select a photo upload or creation option. Click one of the following options in the window, and then follow the on-screen instructions to load the image or canvas: CREATE A NEW IMAGE: This option starts with a blank canvas on which you can draw or paint your own custom image. On the pop-up that appears, select a size for the canvas, and then click OK. OPEN IMAGE FROM COMPUTER: Select this option if you want to edit a photo that’s on your computer. When the file browser opens, select the image you want to edit, and then click Open to upload. OPEN IMAGE FROM URL: Select this option if the image you want to edit is online. When the ″Open image URL″ pop-up appears, paste the direct URL into the ″URL″ box, and then click OK to import it.
Browse the menu bar. This is the bar that runs along the top of the page. File: This is where you’ll find file-related options such as Save, Open, Close, and Print. Edit: Contains editing options such as Cut, Paste, Undo, and Select all. Image: This is where you’ll find options to rotate, flip, crop, and resize the image. Layer: Lets you manage the different layers in your project. For example, if you have one photo opened on top of another one, you have two layers. Adjustment: Has options related to the image's composition and appearance, including Exposure, Color balance, and Levels. Filter: This is where you’ll find the color and lighting filters, such as Vignette, Glamour glow, and Sharpen. View: This menu contains tools to change how you see the image. For example, you can zoom in or out, or you can remove certain toolbars from Pixlr. Language: Allows you to change the menu language. Help: If you need support, this is the place. Font: If you plan to type on your image, this is where you’ll find a selection of fonts to choose from. Freebies: You can find fun backgrounds, vector images, and other resources in this menu.
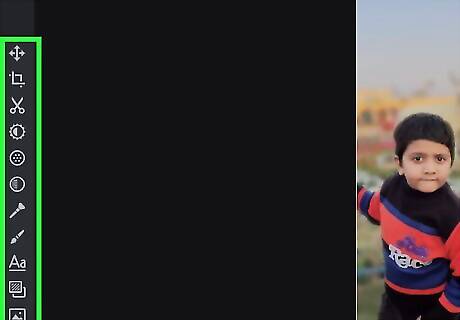
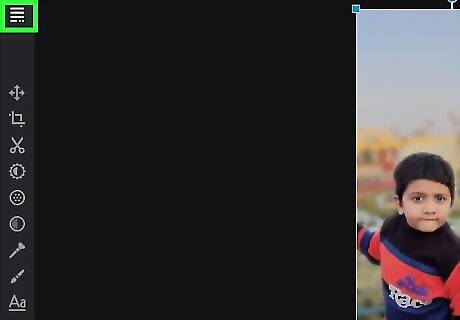
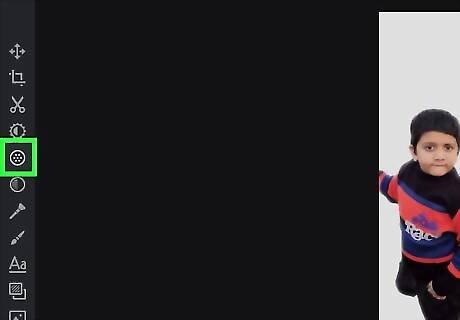
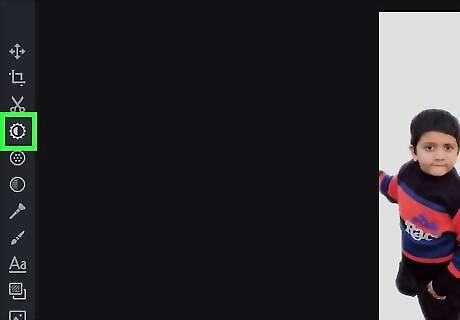
Check out the toolbar. The toolbar is the icon panel that runs along the left side of the page. Each of these icons represents a different tool you can use to edit your image. To find out what a tool does, hold the mouse cursor over its icon. When you click a tool on the toolbar, additional options for that tool will appear near the top of the page (below the menu bar).
Try the "Navigator" panel. It’s the first box (titled “Navigator”) running along the right side of the page. If you don’t see this panel, click the View menu at the top of the page, then click Navigator. This panel displays a smaller version of your image. Use it to quickly zoom in, out, or change which part of the image appears on the screen. Drag the slider at the bottom of the panel to the right to zoom in, and to the left to zoom out. If you’re zoomed in pretty far and want to see a different part of the image, drag the red square at the center of the Navigator panel to the part of the image you want to bring into view.
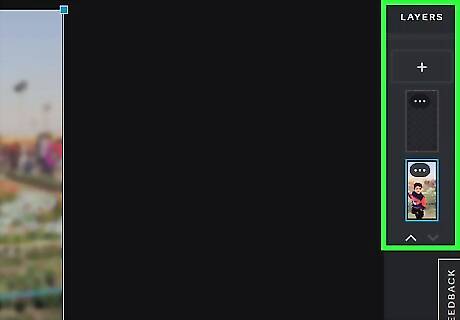
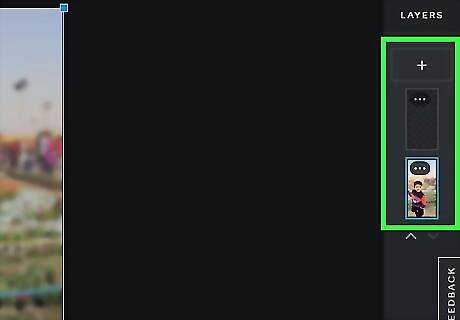
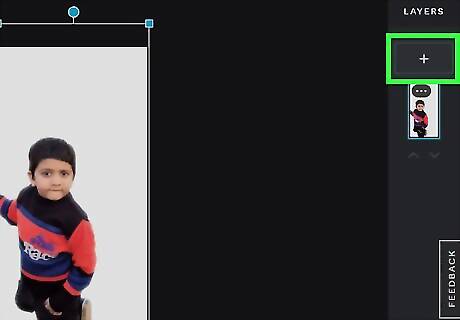
Work with layers in the ″Layers″ panel. It’s the second panel on the right side of the screen. If you don’t see it, click the View menu and select Layers. This panel shows the layers in your project. To create a new layer, click the small sheet of paper with a down-turned corner at the bottom of the panel. Click a layer’s name to work on that layer. Every layer has a check box to the right of its name. Toggle the check mark to choose whether a layer appears on the image. To delete a layer, click its name in the panel, then click the trash icon at the panel’s bottom.

Manage the changes you’ve made in the ″History″ panel. It’s on the right side of the screen below the ″Layers″ panel. If you don’t see it, click the View menu at the top of the page, then select History. This displays a list of every editing action you've taken on this project. This is helpful in determining which actions to replicate or which actions to roll back while reviewing your edited picture.
Create an account (optional). You don’t have to have a Pixlr account to use the editing tools. However, if you want to save your images to Pixlr’s online service so you can work on them later, an account will be necessary. Here’s how to create one: Click Sign up at the top-right corner of the page. Fill out the form and click OK. Review the agreement and click Agree. This creates your account and logs you in.
Cropping and Resizing

Go to the Pixlr.com. This opens the main Pixlr website.

Click OPEN PIXLR EDITOR. It’s a link in an oval-shaped button near the center of the page. Depending on your browser, you may be prompted to enable Adobe Flash. If so, click anywhere on the page, and then follow the on-screen instructions to enable Flash.

Upload or create an image.
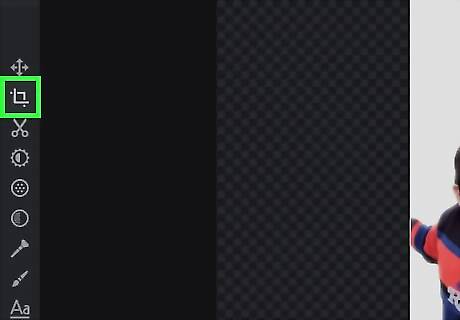
Click the crop tool. It’s the first tool in the toolbar (at the top-left corner). The toolbar is the panel of icons that runs along the left side of the screen.
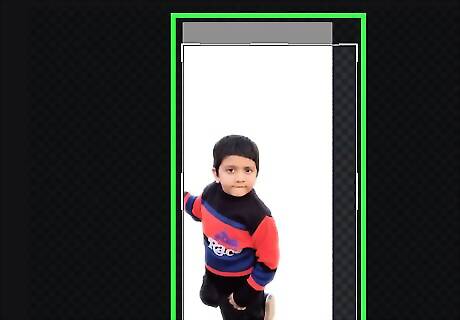
Click and drag the area you want to preserve. Everything outside of the selected area will be trimmed from the image.
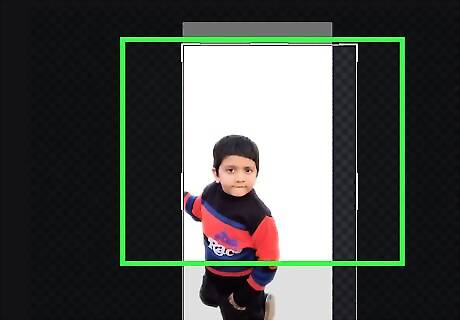
Click anywhere on the image. A confirmation pop-up will appear, asking if you want to apply the changes.
Click Yes. The image is now cropped.
Click the Image menu. It’s in the menu bar at the top of the screen.
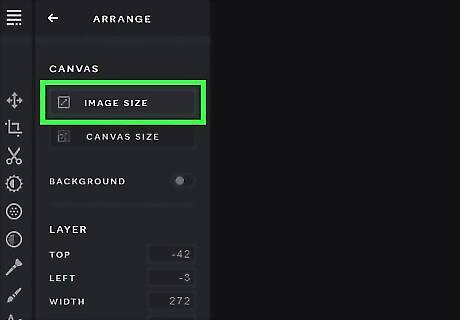
Click Image size. It’s the first option. A pop-up will appear.
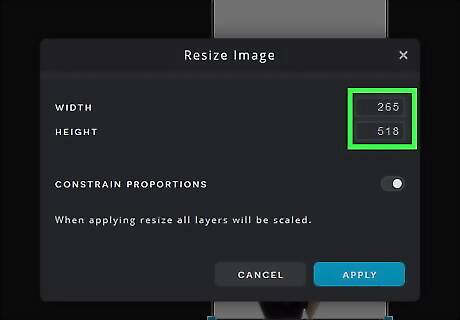
Set your desired size. If you don’t want to warp the image, make sure the ″Constrain proportions″ box is checked, and then choose your desired size from either the Width or Height menu. This automatically adjusts the Width or Height (whichever option you didn’t choose) to the proper size without distorting the image. If you want the image to have a specific width and height regardless of whether it stretches or distorts the image, remove the check mark from ″Constrain proportions,″ then select values from both the Width and Height menus.
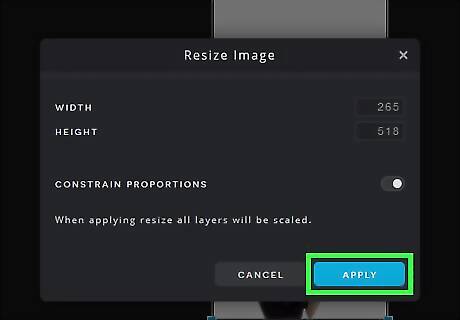
Click OK. The image now displays in its new size.
Painting, Drawing, and Using Filters

Go to the Pixlr.com. This opens the main Pixlr website.
Click OPEN PIXLR EDITOR. It’s a link in an oval-shaped button near the center of the page. Depending on your browser, you may be prompted to enable Adobe Flash. If so, click anywhere on the page, and then follow the on-screen instructions to enable Flash.

Upload or create an image.
Create a new layer. Before you start drawing or painting, you’ll want to add a new layer so you can make edits easily. There are two ways to create a new layer: Click the sheet of paper with an upturned-corner at the bottom of the Layers panel (it’s on the right side of the page. Click the Layer menu at the top of the screen, then click New Layer.
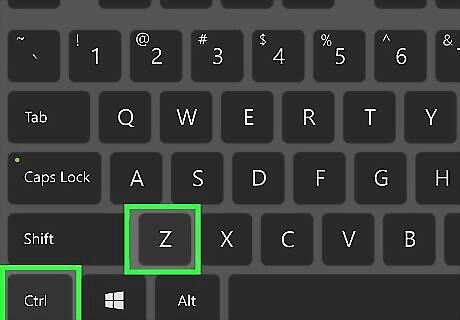
Click the pencil tool to draw in pencil. It’s in the toolbar that runs along the left side of the screen (the fourth icon down on the left side). To draw with this simple black/gray pencil-style tool, just click and drag your desired drawing on the image. To undo the last action, press Ctrl+Z (PC) or ⌘ Command+Z (Mac). To change the style of the pencil, click the ″Type″ menu near the top-left corner of the page, then choose an option. Select an option from the ″Size″ menu to change the thickness of the lines you draw. Select a percentage from the ″Opacity″ menu to choose how dark your pencil marks should appear.
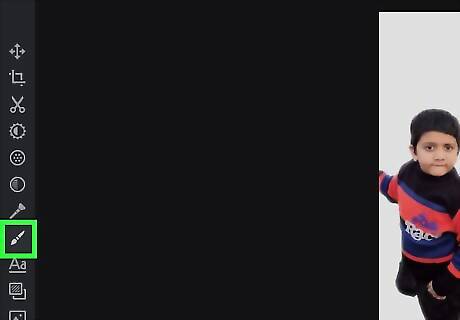
Click the paintbrush tool to paint with a brush. It’s in the left toolbar, to the right of the pencil. To paint, click and drag the brush anywhere on the image. Here’s how to change your paintbrush options: To select a color, click the large square near the bottom of the toolbar (it’s black by default) to bring up the palette, select a color, and then click OK. To change the size and style of the brush, click the Brush menu near the top-left corner of the page (below the menu bar). Click your desired size and shape, adjust the diameter and hardness at the bottom if you wish, and then click Brush again to close the menu. To make the brush less opaque, click the Opacity drop-down and pick a lower percentage.
Click the Filters menu to select a filter. If you want to use one of Pixlr’s built-in filters to stylize your image, click the menu, and then click the filter you want to use. Most filters will display a pop-up window that let you fine-tune the way the filter works. Make your selections, and then click OK to apply the filter. To undo a filter, press Ctrl+Z (PC) or ⌘ Command+Z (Mac).
Click the Adjustment menu to manually adjust color and brightness. If you want more control over the way the image looks, you can use the various options in this menu.
Adding Text to an Image

Go to the Pixlr.com. This opens the main Pixlr website.

Click OPEN PIXLR EDITOR. It’s a link in an oval-shaped button near the center of the page. Depending on your browser, you may be prompted to enable Adobe Flash. If so, click anywhere on the page, and then follow the on-screen instructions to enable Flash.

Upload or create an image.
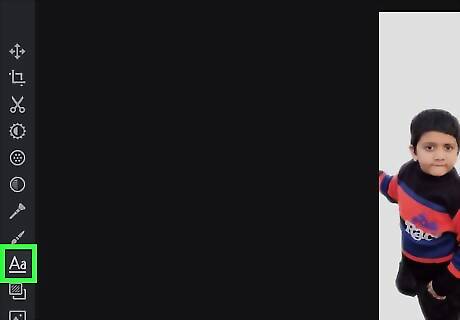
Click the text tool to type on the photo. It’s the ″A″ icon in near the bottom of the toolbar that runs along the left side of the page.
Click the mouse cursor where you’d like to place the text. A pop-up will appear.
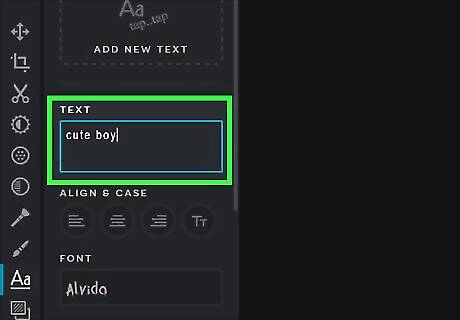
Type some text into the ″Text″ box. It will appear on the image in a generic font.
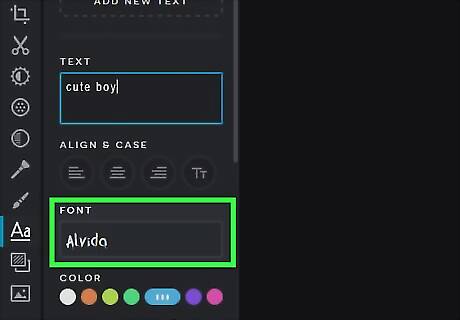
Select a font, size, and style from each drop-down menu. The text on the image will update as you make changes.
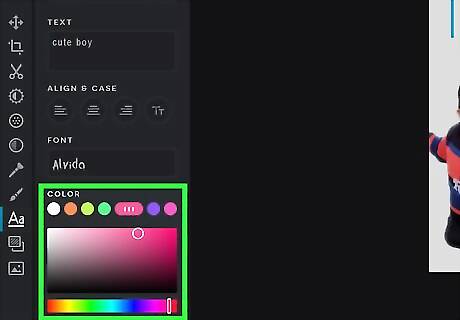
Select a color. Click the square under ″Color″ to bring up the color palette, then click the color you want to use. The text will update immediately.
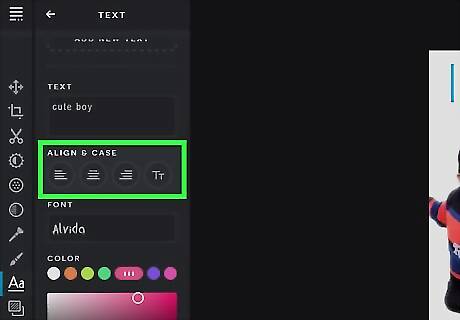
Click your desired alignment pattern under ″Align.″ You can align to the left, center, or right.
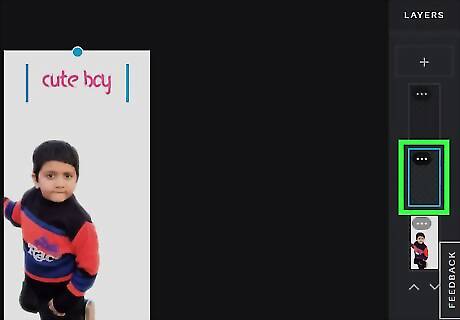
Click OK. The text now appears in its own layer on the image. You can reposition the text at any time by clicking the text layer in the ″Layers″ panel on the right side of the screen, and then dragging the text to the desired location. To edit text you’ve already placed, click the text tool again, then click the cursor somewhere on the text to bring back the editing pop-up window.
Saving and Downloading
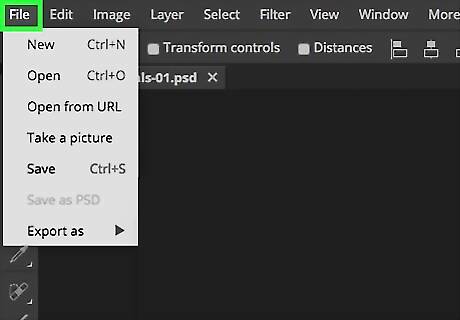
Click the File menu. It’s at the top-left corner of Pixlr.
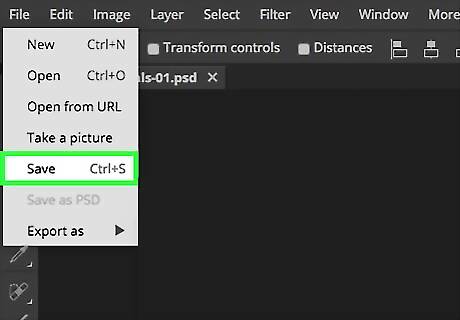
Click Save. The ″Save image″ dialog will appear.
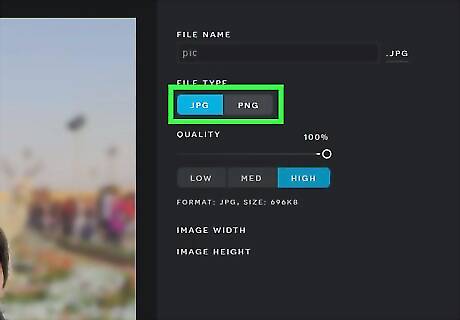
Select a format. Click the ″Format″ drop-down menu to see a list of file types, then click the one you want to use. A description of each format appears next to its name. If you choose JPEG, you’ll have the option to choose a quality level. The higher the quality, the larger the file size. If you’re not worried about file size, you can choose the highest setting. If you’ll be sharing the image with others on the web, select JPG or PNG.
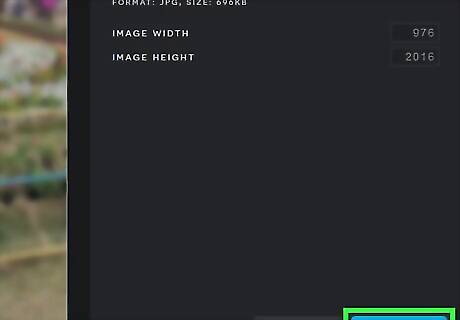
Click OK. This opens your computer’s ″Save″ dialog.
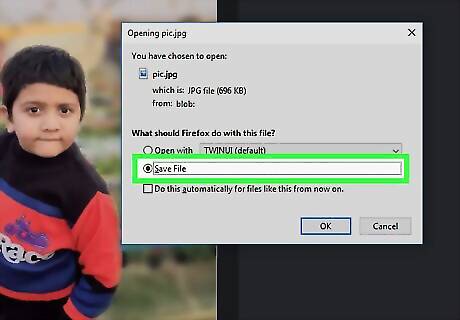
Navigate to the folder where you want to save the image. If you want to use your web browser’s default download folder, you can skip this step.

Click OK. This saves the file to your computer.


Comments
0 comment